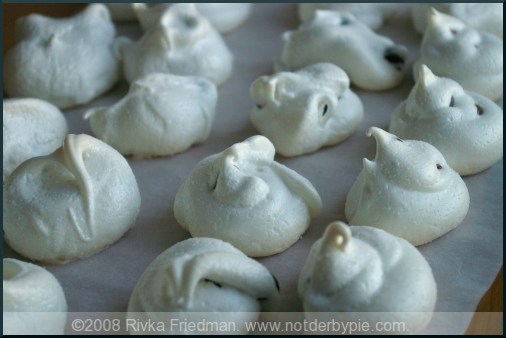
 For all those anticipating Passover, these meringues are the perfect Passover dessert. They require no flour or leavening, but actually taste good. I simply can't go the week without them.
I was looking through my archived photos today and discovered something utterly shocking: I've had a website for...how long now? a year and a half?...and somehow escaped until today without posting a recipe for one of my most reliable, fool-proof, standby, can't-live-without desserts. I make them all all all the time, especially when I have leftover egg whites. On top of being nearly effortless to make, they achieve one of the rare feat of being both non-dairy and delicious. Like I said, rare.
Meringues, my friends, meringues. They are a fundamental part of my dessert repertoire, and the basis for many other desserts (including, among others, this crazy buche de noel, and the ultimate meringue-based dessert, Macarons.
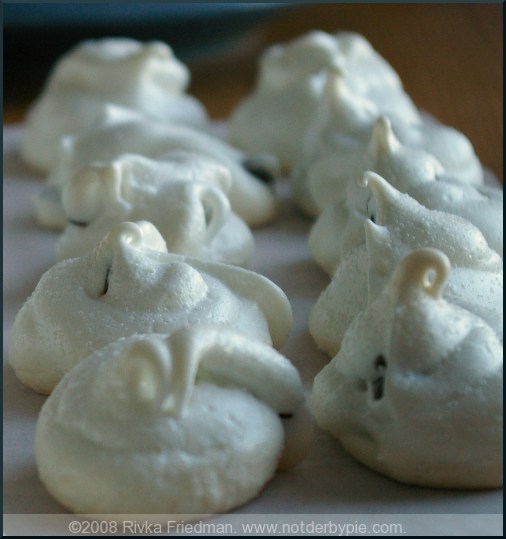 Before I get knee-deep in apologizing, I'll be out with the recipe. As I said, they're great on their own, or with any number of additions, including extracts (vanilla, almond if that's your thing), spices (cinnamon, cocoa, etc) and other add-ins (nuts or chocolate chips, pictured).
A few tips on making good meringue:
- Make sure your mixing bowl is bone-dry: any liquid will kill your meringue's ability to foam up. Along these lines, add any extracts only after the meringue is made.
- Egg whites will whip up much more easily if at room temperature. Leave them out for a couple hours before beating, if possible.
- The standard egg:sugar ratio for meringue is 1 egg white per quarter-cup of sugar. I usually double this for a batch of meringues.
- Cream of tartar is an acid that helps increase the volume of, and stabilize, whipped egg whites. You only need a teeny bit -- about 1/4 tsp. for 6 egg whites, so a scant pinch for my recipe.
- Traditionally, the egg whites are whipped until soft peaks form, and only then is sugar added. There's nothing wrong with adding sugar earlier in the process -- promise, I've done it by accident many times -- but your eggs will take longer to foam up if there's sugar in them.
- There are two methods for baking meringues: some bake them for a couple hours in a low oven. Others bake them overnight in an oven that was preheated and then turned off. Either works; I prefer the former.
Keep these things in mind, and meringue will be your friend. Have any great uses for meringue? I'm already thinking of making a pavlova (big pillow of meringue topped with fruit and whipped cream) this weekend -- leave other great ideas in the comments.
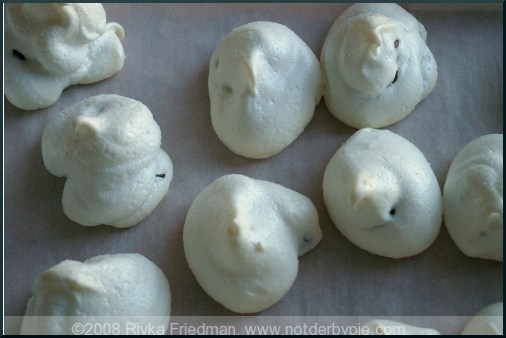
2 large egg whites, at room temperature a scant pinch teaspoon cream of tartar a pinch kosher salt 1/2 cups granulated sugar, divided 1/4 teaspoon pure vanilla extract 1/2 cup high-quality chocolate chips, optional
Preheat the oven to 200 degrees F. Line 2 baking sheets with parchment paper.
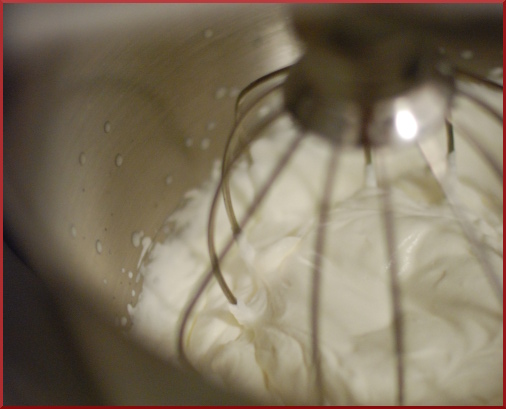
In the bowl of an electric mixer fitted with the whisk, beat the egg whites, cream of tartar, and a pinch of salt on medium speed until very soft peaks develop. Add 1/4 cup sugar and increase the speed to high until the egg whites form very stiff peaks. Whisk in the vanilla. Carefully fold the remaining 1/4 cup of sugar into the meringue. Either pipe the meringues onto the baking sheets using a pastry bag (or plastic bag with a bit cut off the end), or spoon them onto the sheets, au natural.
Bake for 2 hours, or until the meringues are dry and crisp but not browned. Turn off the heat and allow the meringues to sit in the oven for about half an hour**, then set on the counter to dry out completely.
**Meringues do not keep very well; they're best within a day of when they're made. However, if you do want to keep them, and it's not terribly humid outside, let them dry out in the oven overnight, or until the oven is completely cool and the meringues are really dry. They'll keep better this way. I stack them in tupperware between layers of parchment paper, and hope for the best.
 Today was an absolutely beautiful day in Washington. It was probably 75 degrees outside, and while the sky was cloudy in the morning, it cleared up quite a bit in the afternoon and the streets were packed. I've been waiting for a day like this for months, mostly because I so long for those lovely Spring and Summer Saturdays when lunch is lots of little salads, various breads and crackers and other dipping vehicles, a bunch of cheeses and spreads, and something uber-light for dessert. Today, that's what we had for lunch. A big Greek salad (thanks to Jeremy and his chef de cuisine Jana), homemade chickpea-walnut hummus and labneh (yogurt-based cheese), muhammara (syrian pomegranate-red pepper dip), laffa (Mediterranean flatbread) and challah and pita chips (thanks Dina!), and an open-faced tart with mushrooms, dates and goat cheese. The table had so many elements on it, many of them fresh and most of them cold, and people built their plates out of bits and pieces of everything. Don't forget a few good glasses of chilled rose to wash everything down (tx, Lilah and Dan). I have to say, it was pretty darned tasty.
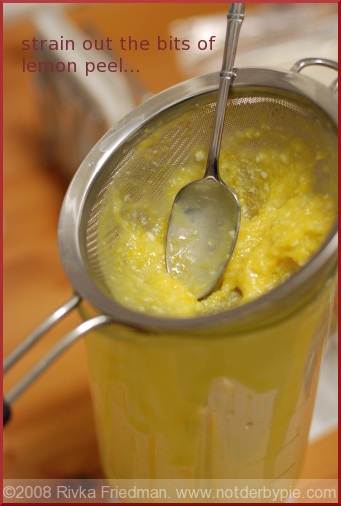
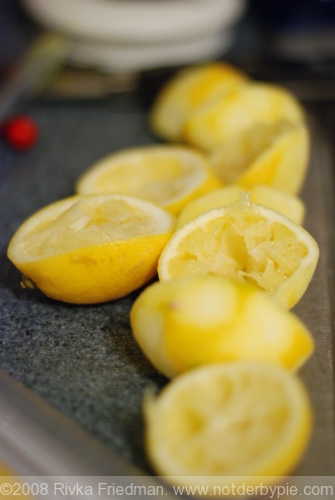
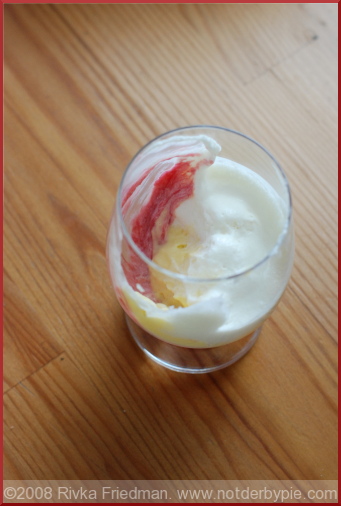 The bottom layer was a simple rhubarb mousse, which I made by baking rhubarb with a bit of sugar and water, chilling it, and then folding in some whipped cream. The middle layer was a heavenly lemon cream (much like lemon curd, only richer, lighter, and better), dreamt up by Pierre Herme. The top layer was some simple, unsweetened whipped cream, that balanced out the other two layers well. I stuck a ginger snap into the top of each parfait glass, which could then be eaten or crumbled into the parfaits.
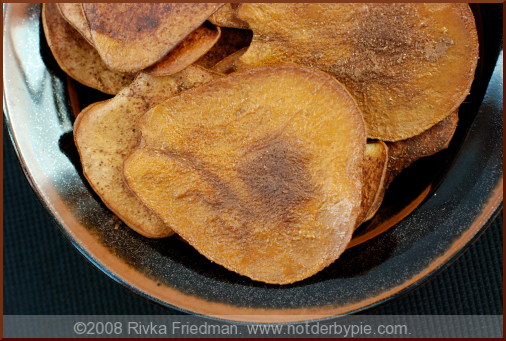 It's not every day that a half-eaten fruit turns into something truly out-of-this-world. I suppose I should thank the odd confluence of events that brought about these treasures: one, I bought a mandoline last week. After reading oodles of reviews about the best mandolines on the market, I learned that the two cheapest models (the Benriner and the OXO) are actually the best. My waffling back and forth about whether the 75 bucks was worth it was for nothing: I threw restraint out the window and got my new toy guilt-free. That's one.