 Every once in a while, dates make their way into my shopping cart during my snacks run at TJs. The large, dark brown Medjool dates are my favorite variety (and, arguably, the best variety out there). I first discovered them during my time in Israel, where if you're lucky, you can pluck some low-hanging fruit off a tree toward the end of a hike. Commonly considered the crown jewel of dates, Medjools are a deep, rich amber, and they're coated with a thin, glossy skin that is at once smooth and wrinkled. Far less stringy then other dates, their texture is soft, chewy, and ever so luscious. No other date even compares.

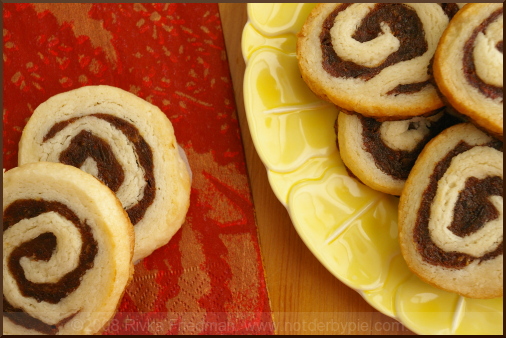
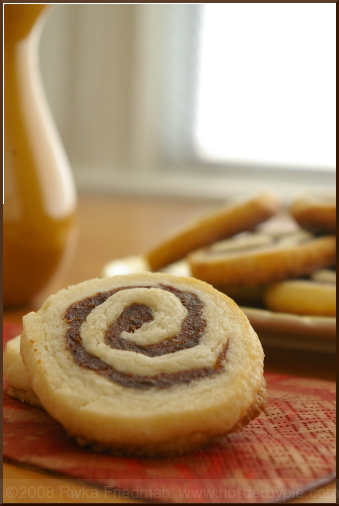
When my officemate offhandedly mentioned these date swirl cookies, I knew instantly that they'd be next in my queue. Her prescription was simple: "make a refrigerator cookie, mix a paste of dates, brown sugar, spices, and some citrus, roll out the cookie dough, spread the paste overtop, roll up, slice, bake." Sounded simple enough, but the instructions left me plenty of room to play.
Knowing that dates are quite sweet, I knew I'd need to add both the juice and the zest of whatever citrus I chose, to help cut the sugar. But I also worried that a standard sugar cookie dough would be too sweet when combined with the date paste. That in mind, I settled on a cream cheese cookie dough; the cream cheese would add another, different kind of tang, so that both elements of the cookie would smack with tart-sweetness.
My date paste was fairly simple, consisting in smashed dates, a bit of cinnamon, lemon juice and lemon zest, and a bit of brown sugar. But making a cream cheese dough was, without a doubt, the single best decision I made that day. The cream cheese added both richness and tartness to the dough (think rugelach) that no other ingredient could mimic.
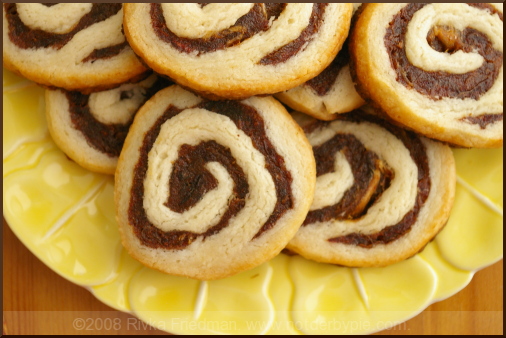
To be perfectly honest, these cookies were best out of the oven, as all cookies are; however, a week later, they were still exactly as moist as they were when I first made them. The dates keep them just moist enough that they don't dry out but still keep their flaky crumb. In all, I'd say they came pretty darn close to perfection.
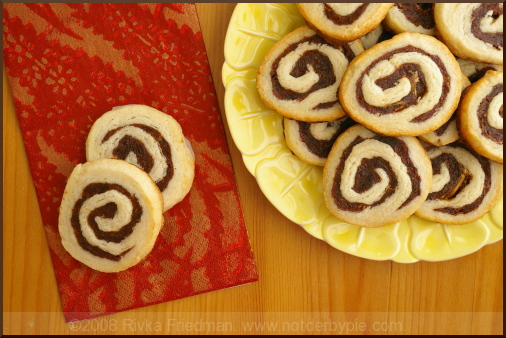
Date Swirl Cookies
Butter Cookie Recipe
from The New Best Recipe
2 1/2 cups unbleached all-purpose flour
3/4 cup sugar
1/4 teaspoon salt
1/4 teaspoon baking powder
2 sticks (1 cup) unsalted butter, softened but still cool, cut into 16 pieces
2 teaspoons vanilla
2 tablespoons cream cheese, at room temperature
Date Paste Recipe
1 1/2 cups (packed) dried dates, preferably Medjool
1/4 cup brown sugar
a couple teaspoons of lemon juice
zest from half a lemon
dash cinnamon, optional
In the bowl of an electric mixer, mix together flour, sugar and salt at low speed. With the mixer on low, add butter one piece at a time. Add cream cheese and vanilla and beat until until mixture just forms a dough.
Knead the dough by hand in the bowl for 2 or 3 turns to form a large, cohesive mass. Turn the dough out onto the countertop; divide it in half, pat each half into a 4-inch disk, wrap each in plastic, and refrigerate until they begin to firm up, about 20-30 minutes.
Roll out 1 dough disk to a rectangle with an even 1/8-inch thickness between 2 large sheets of parchment or wax paper. Slide the rolled dough, still on parchment, onto a baking sheet and slip into the refrigerator for 10 minutes, until firm. Repeat with the second disk.
To make the date paste, mash (either by hand or with a fork) dates with the other ingredients until no large chunks remain. I like mine pretty smooth, but it's a matter of preference. Taste and adjust for sweetness, tartness, and spice -- every batch of Medjools is different.
Remove disk from refrigerator. with a long edge of your rectangle facing you, leaving about 1/2 an inch of space at the far long edge, spread half the date paste over the cookie dough. Coax the close edge of the dough up, using the parchment paper to guide you; slowly and carefully roll the dough to make a roll the length of the long edge. The half-inch of space you left will be useful for sealing the roll, so that no date paste leaks out. Repeat with second half of dough.
Stick the finished roll in the freezer for 45 minutes, or in the refrigerator for at least 2 hours, until completely firm.
Adjust an oven rack to the middle position; heat the oven to 375 degrees. Remove dough from fridge/freezer. Using a very sharp knife, slice 1/4-inch slices off the roll. Place on a baking sheet 1 inch apart. Repeat with second half of dough.
Bake cookies until golden brown at the edges but still soft in the center, 10-12 minutes. Cool completely before storing. Cookies keep, sealed, for 1-2 weeks (if you can keep 'em around that long.)
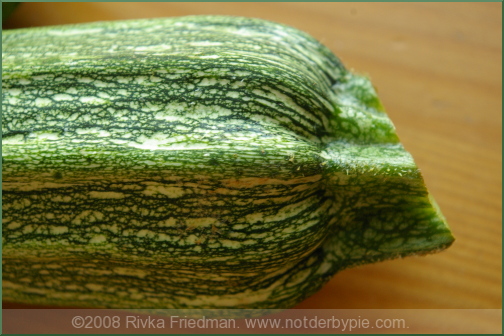
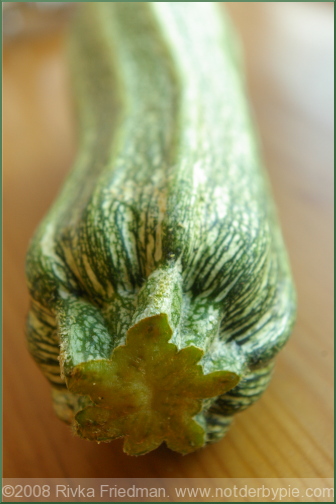
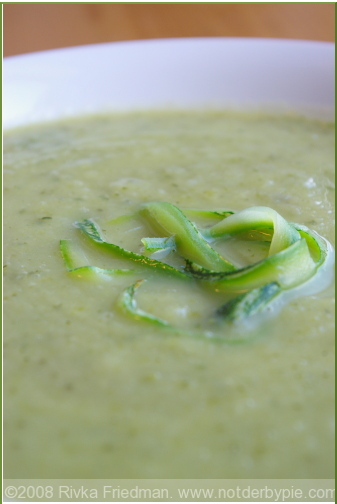
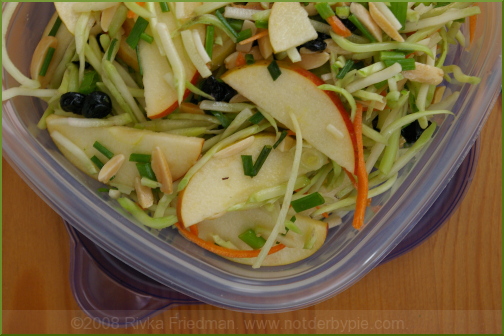
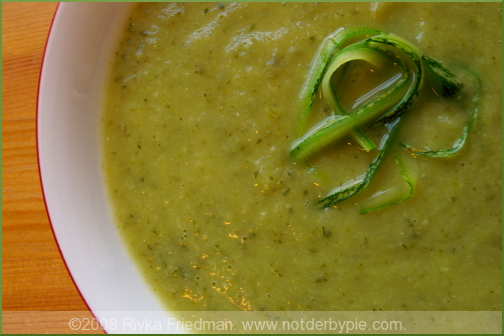 From the archives -- just in time to use up those zucchinis.