• Home
  • About
  • Recipe Index
  • Contact
Menu

Rivka Friedman

Street Address
City, State, Zip
Phone Number

Your Custom Text Here

Rivka Friedman

  • Home
  • About
  • Recipe Index
  • Contact

Apple-Cheddar Scones with Sage

November 5, 2014 Rivka

Since this pregnancy, I've taken a rather uncanny - you might call it obsessive - interest in apples. I buy them by the bushel, which is silly when you consider that we're still only two of us (excluding the wee thing) and my fridge isn't even regulation-size. But it's true: I buy all of the apples, often seconds, still: there are never enough.

1-DSC_0063.jpg

I've been a Honeycrisp girl for the past couple years, but this fall, I think I overdid it. Now I've taken up with the Mutsus and the Jonagolds: they're crisp, sweet, and still plenty tart. I'm hooked.

I hauled home a batch last Sunday without remembering the drawer full of apples in the fridge, an occurrence not uncommon for me these days. And if you're with me - and I'm thinking you are, because, well, you're here - you know that the most logical solution to this so-called problem is to spend a bit of time baking up a batch of apple-cheddar scones. Of course.

1-DSC_0056.jpg
1-DSC_0074.jpg

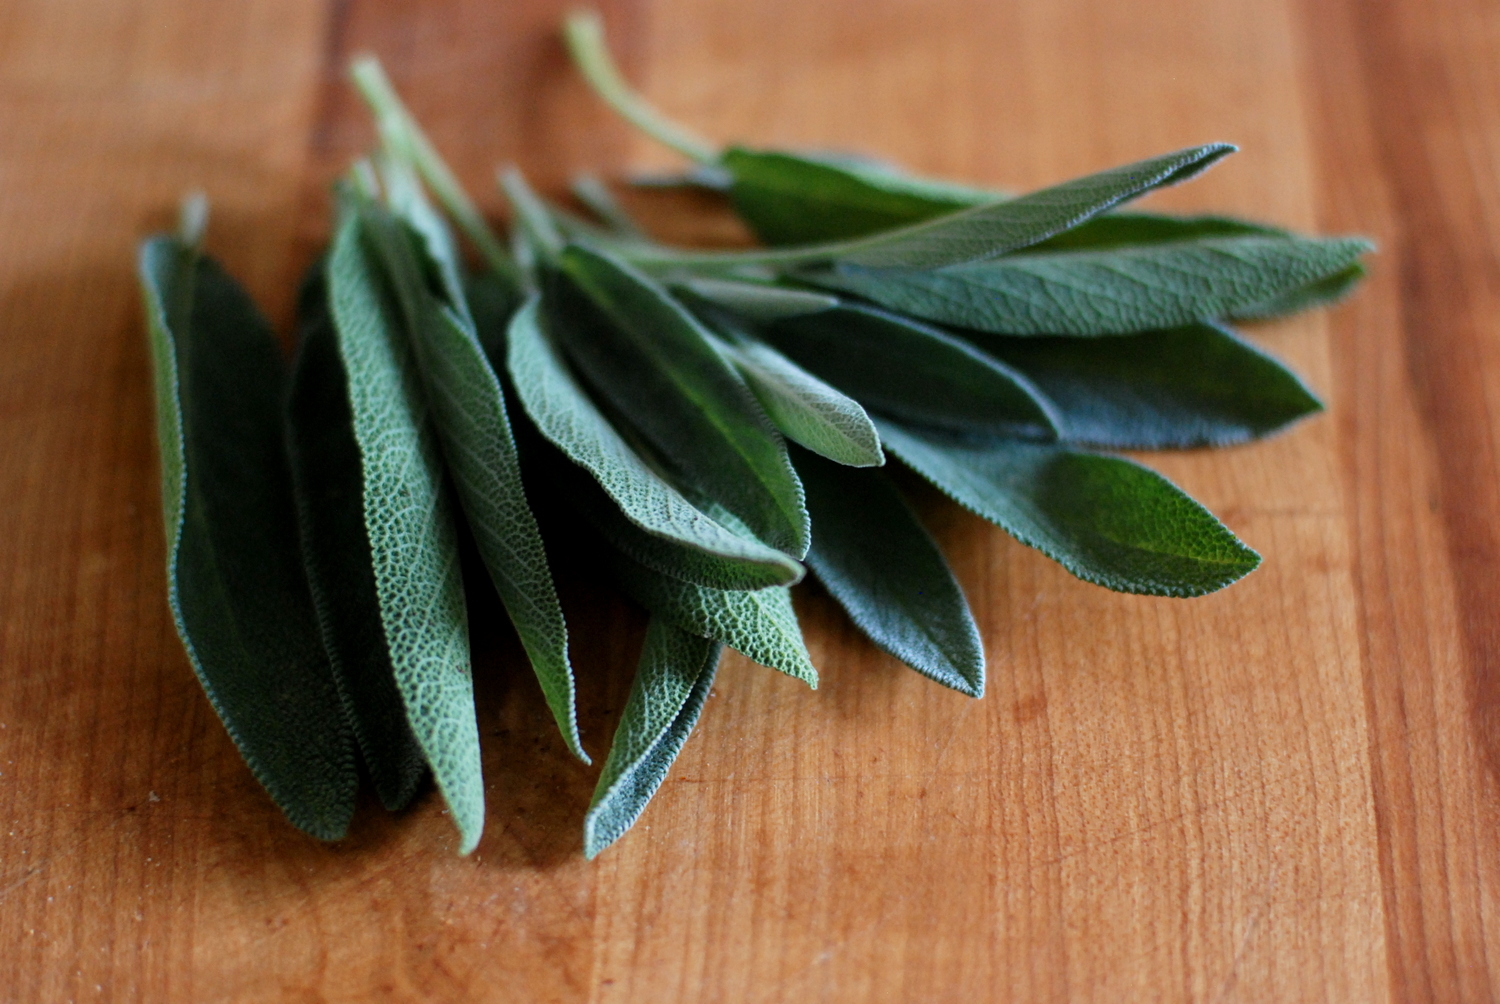
The idea came to me before I walked in the front door, actually. Back in spring, my neighbor and I planted a slew of herbs out front. We've been pretty good about using the chives, thyme, and basil, but our poor sage plant has gone so underused that at this point, it's overflowing everywhere, practically begging to be picked. I plucked a few sprigs, mentally planning for Spaetzle with Sage Butter and Hazelnuts (a fantastic recipe, btw) and Mrs. Larkin's Butternut Sage Scones (another keeper). But then I remembered that a couple versions of apple-cheddar scones/biscuits had been lingering in my recipe file for a wee bit too long. It was time to give them a spin.

1-DSC_0083.jpg
1-DSC_0098.jpg
1-DSC_0104.jpg
1-DSC_0116.jpg

Of course, I had to tinker. First, I was out of cream. Second, I'd picked up some beautiful rye flour at the market that I wanted to incorporate. Third, I didn't want to dirty the food processor or mixer, and I didn't see any reason why I'd need to. And fourth, I wanted little baby scones that I could freeze and bake off as needed. So it was that these little hybrids were born. They require no special equipment, and they come together fairly efficiently. All in all, they're a great addition to the breakfast/brunch repertoire. You know, for those days long in the future when I'll be preparing brunch again.

1-DSC_0123.jpg

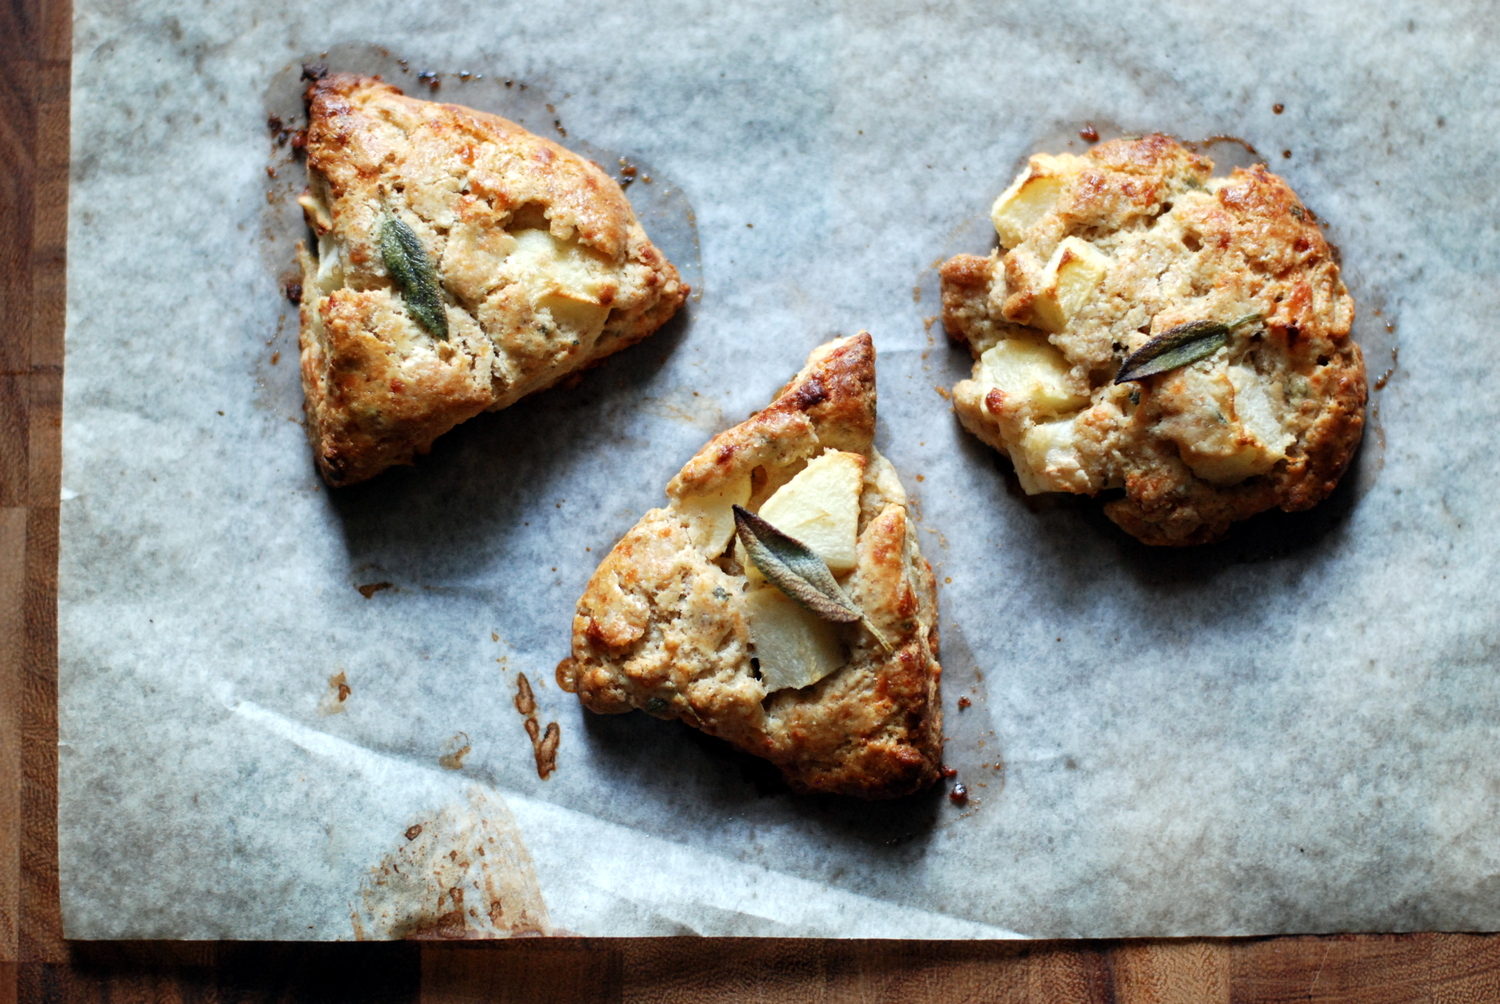
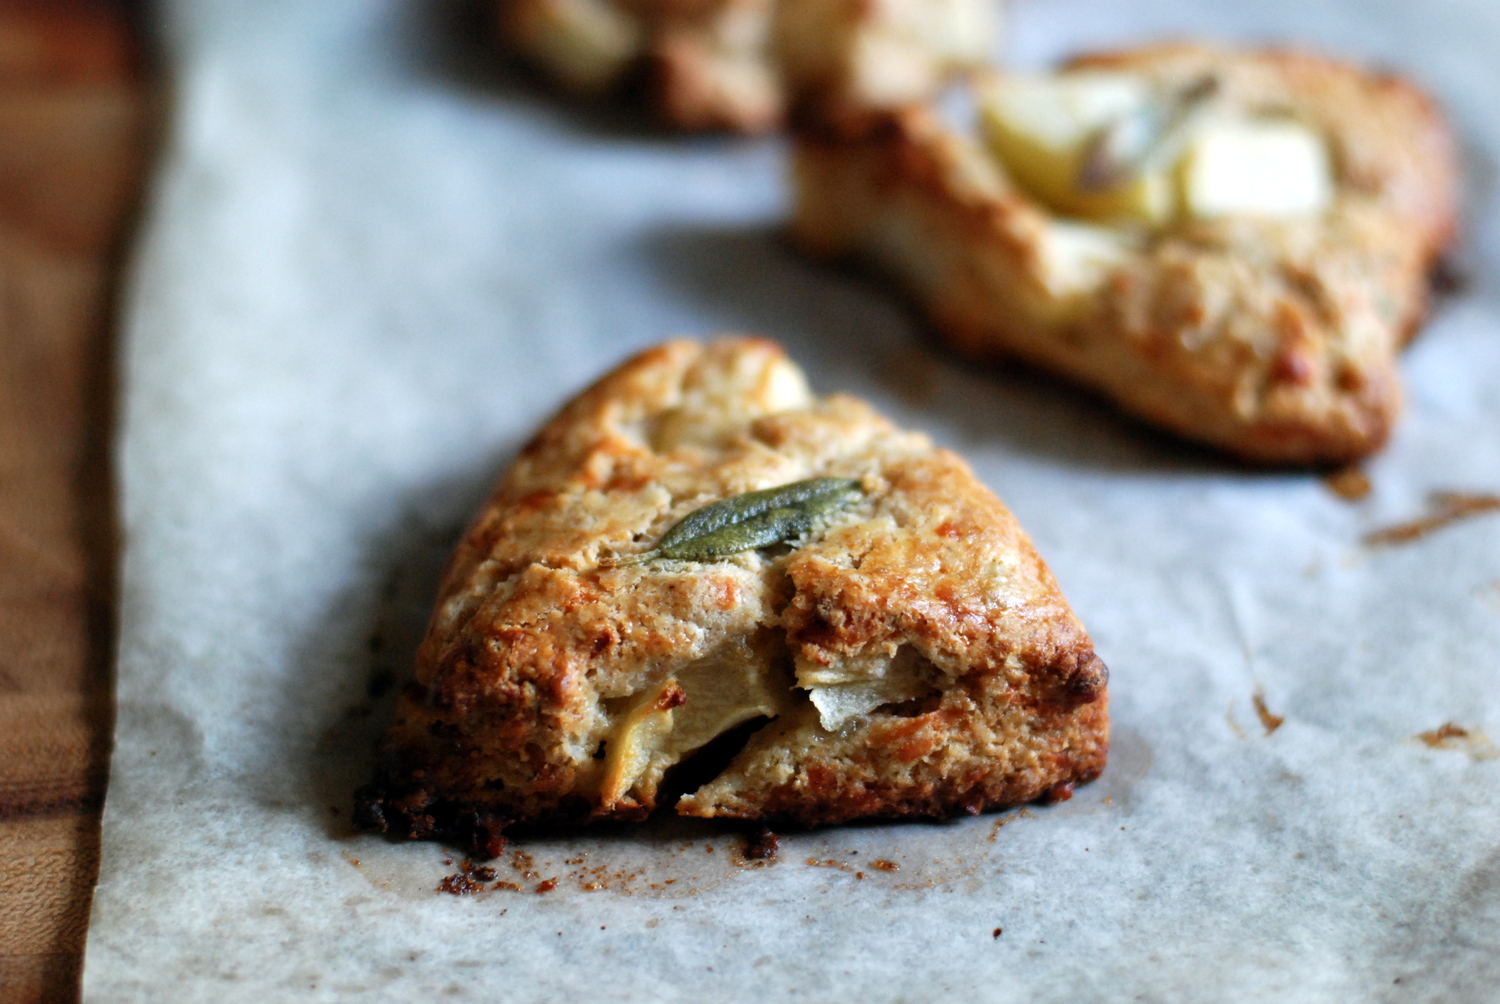
Apple-Cheddar Scones with SageInspired by the Apple and Cheddar Scones in The Perfect Finish, via Deb

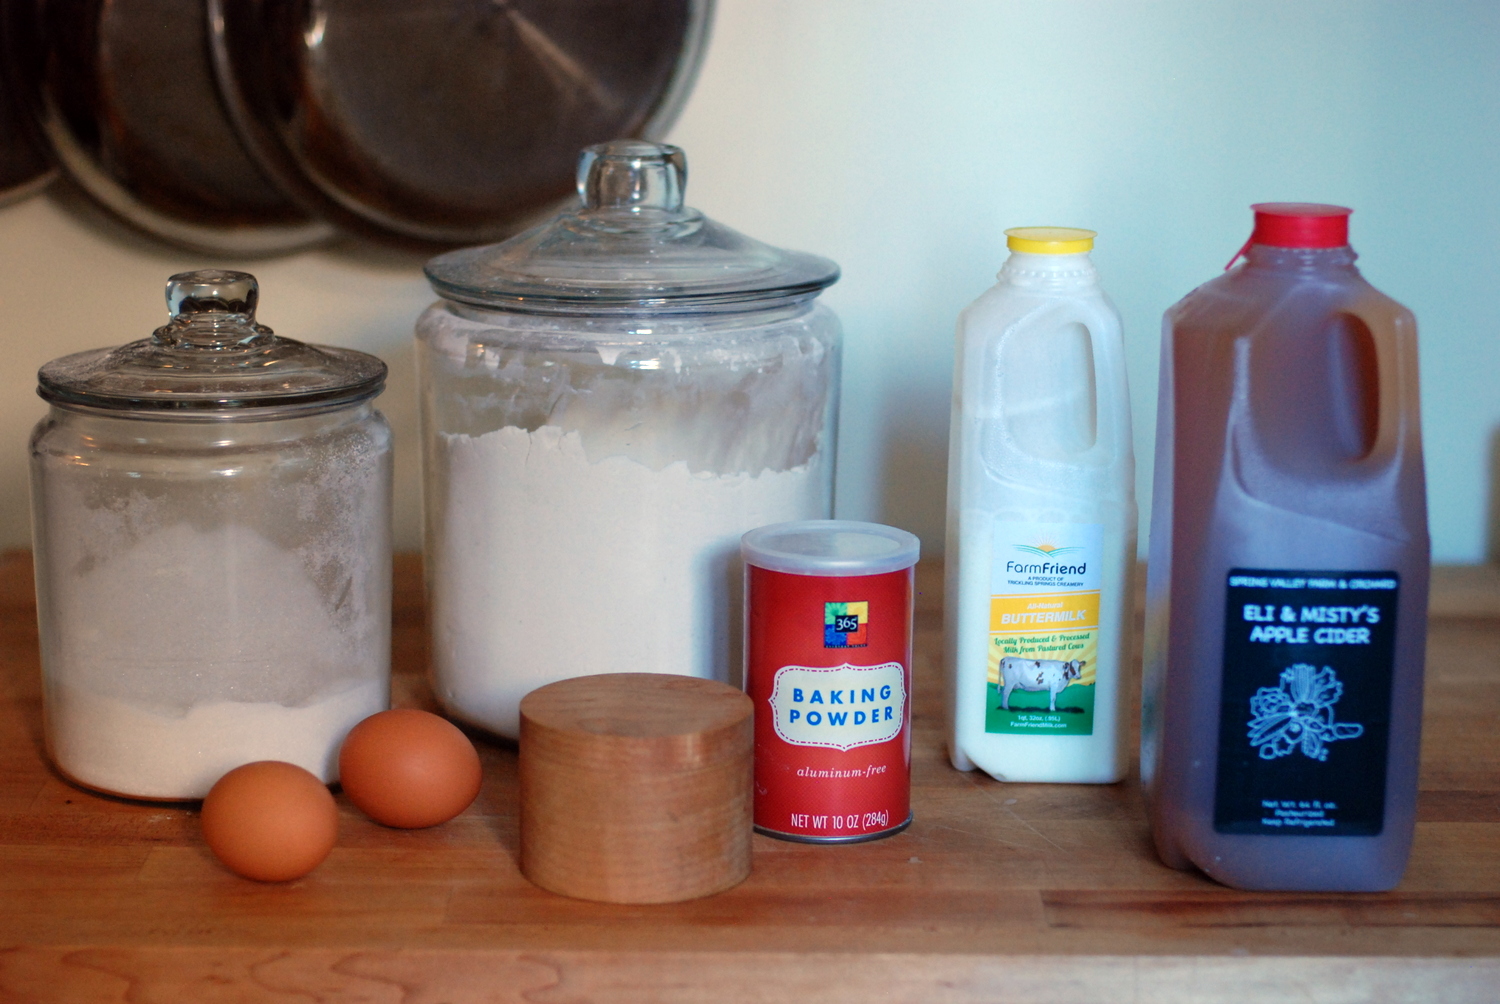
Thanks to the addition of some rye flour, these scones have craggy tops and wholesome texture. If you don't have rye flour, whole wheat will work well, too. Same is true for the dairy: whole milk, half-and-half, and cream will all work well. I wouldn't put my money on skim, though.

2 tart, firm apples
1 cup all-purpose flour
1/2 cup rye or whole wheat flour
1/4 cup sugar
1/2 tablespoon baking powder
1/2 teaspoon kosher salt
1/4 teaspoon fresh cracked black pepper
2 tablespoons chopped fresh sage, plus several smaller leaves left whole for topping
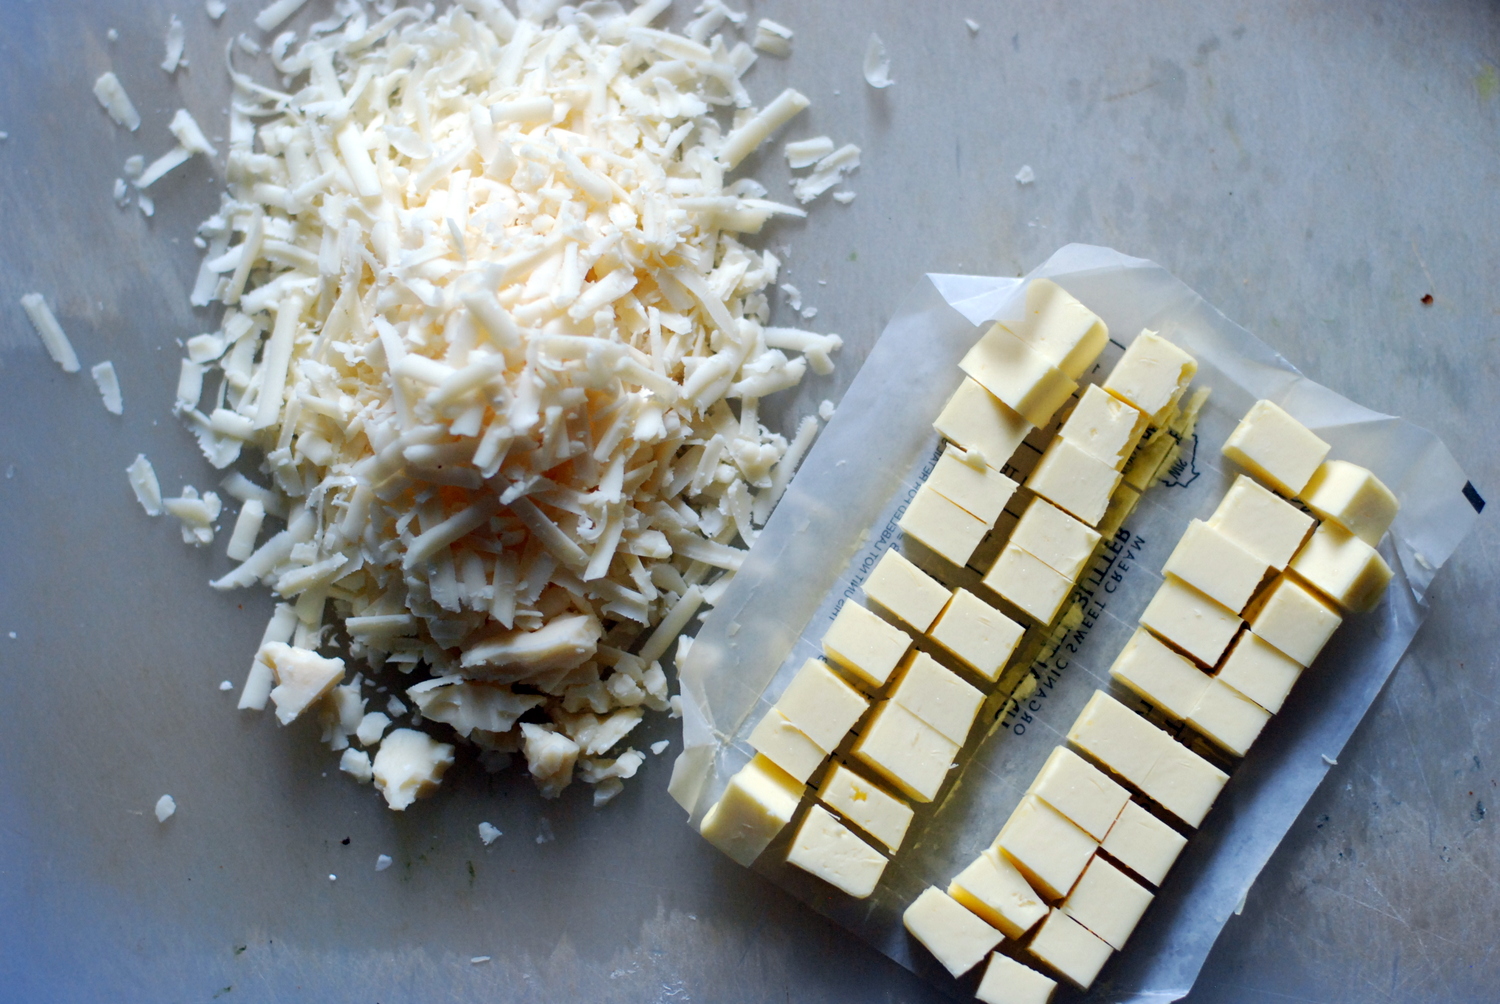
3/4 cup grated white cheddar cheese
8 tablespoons (1 stick, 4 oz.) unsalted butter, cut into 1/2-inch cubes and fully chilled
1 egg, lightly beaten
1/4 cup whole milk (or substitute cream or half-and-half, if that's what you have), plus more for brushing

Preheat the oven to 375 degrees F and line two baking sheets with parchment paper.

Peel and core apples and cut into a 3/4-inch dice. No need to be precise; mixed textures can be nice. (I'm done with the rhyming, promise.)

Spread apples on the lined baking sheet and bake for about 20 minutes, until dried out and about halfway baked. Cool completely (on a rack or, even faster, in the fridge). Leave oven on.

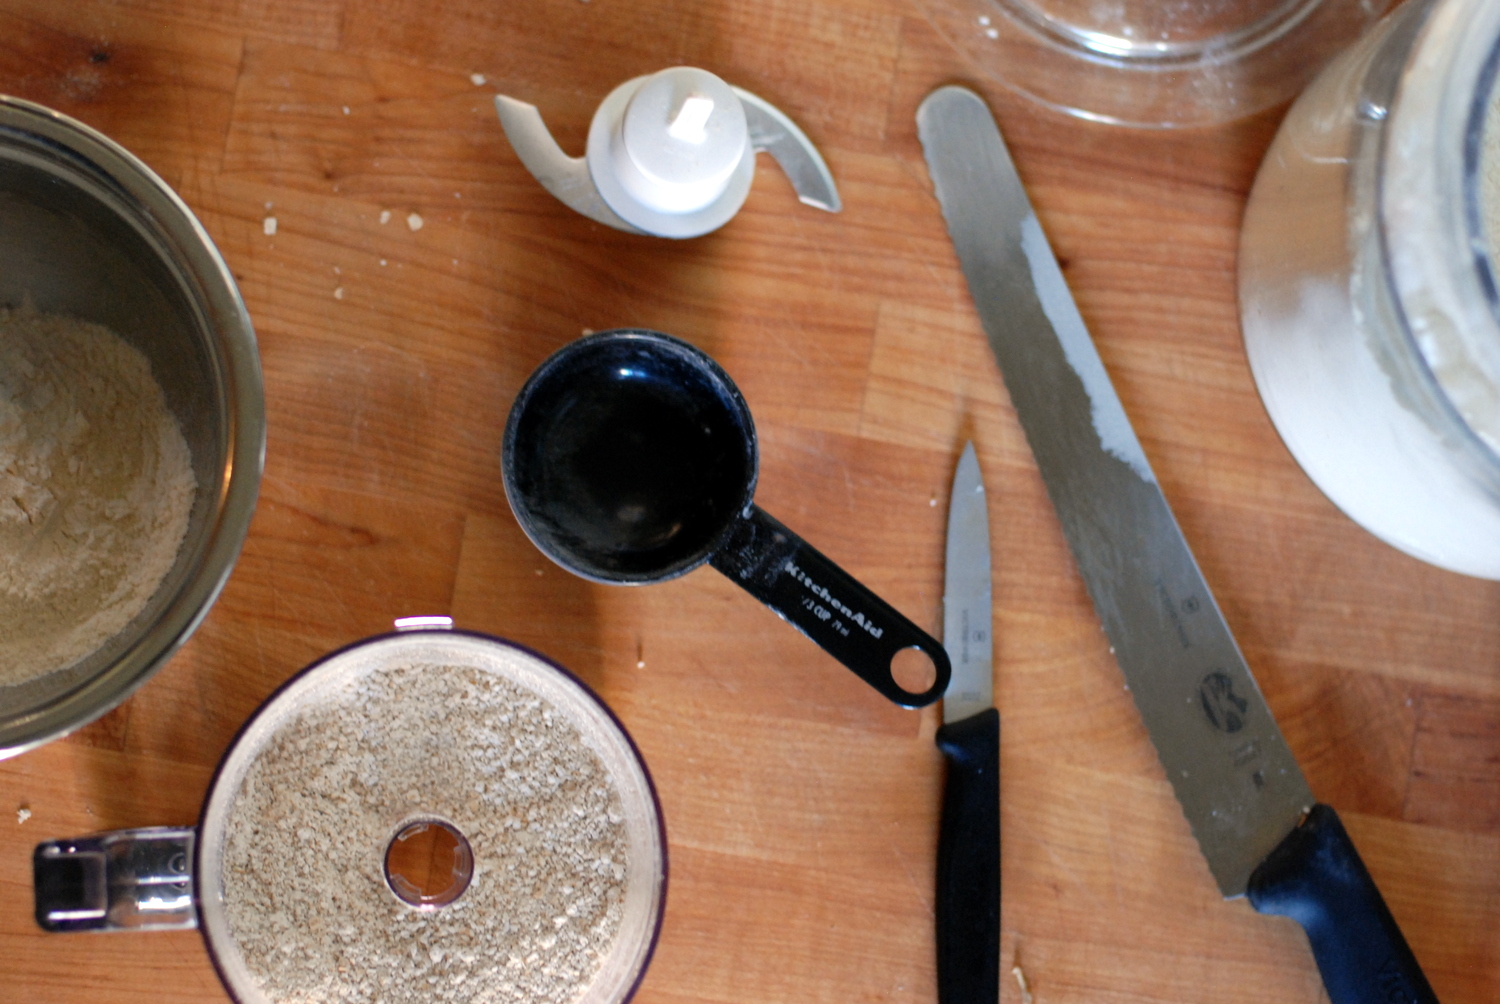
In a large bowl, combine flours, sugar, baking powder, salt, pepper, and chopped sage. Toss with a fork to fully combine. Add cubed butter and use a fork, pastry blender, or your fingers to cut butter into flour until mixture forms pea-sized crumbs and no "dry" flour remains. Add cheese; stir to incorporate.

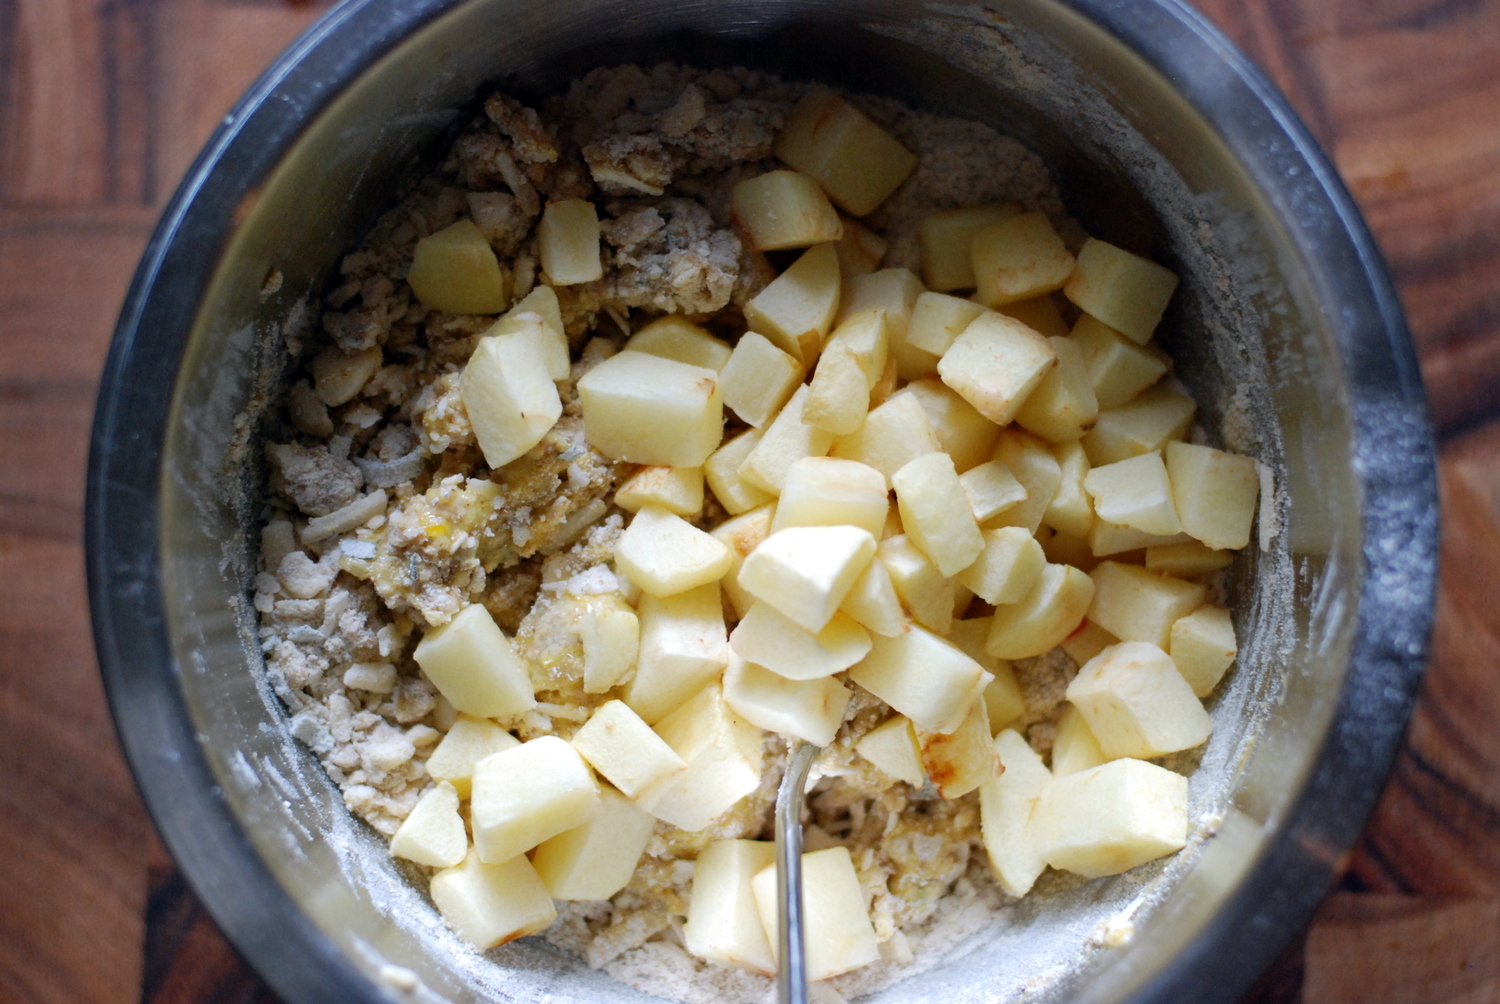
In a small bowl, whisk together egg and milk. Add to dry ingredients along with baked, cooled apple chunks, and stir until dough comes together. Do not overmix.

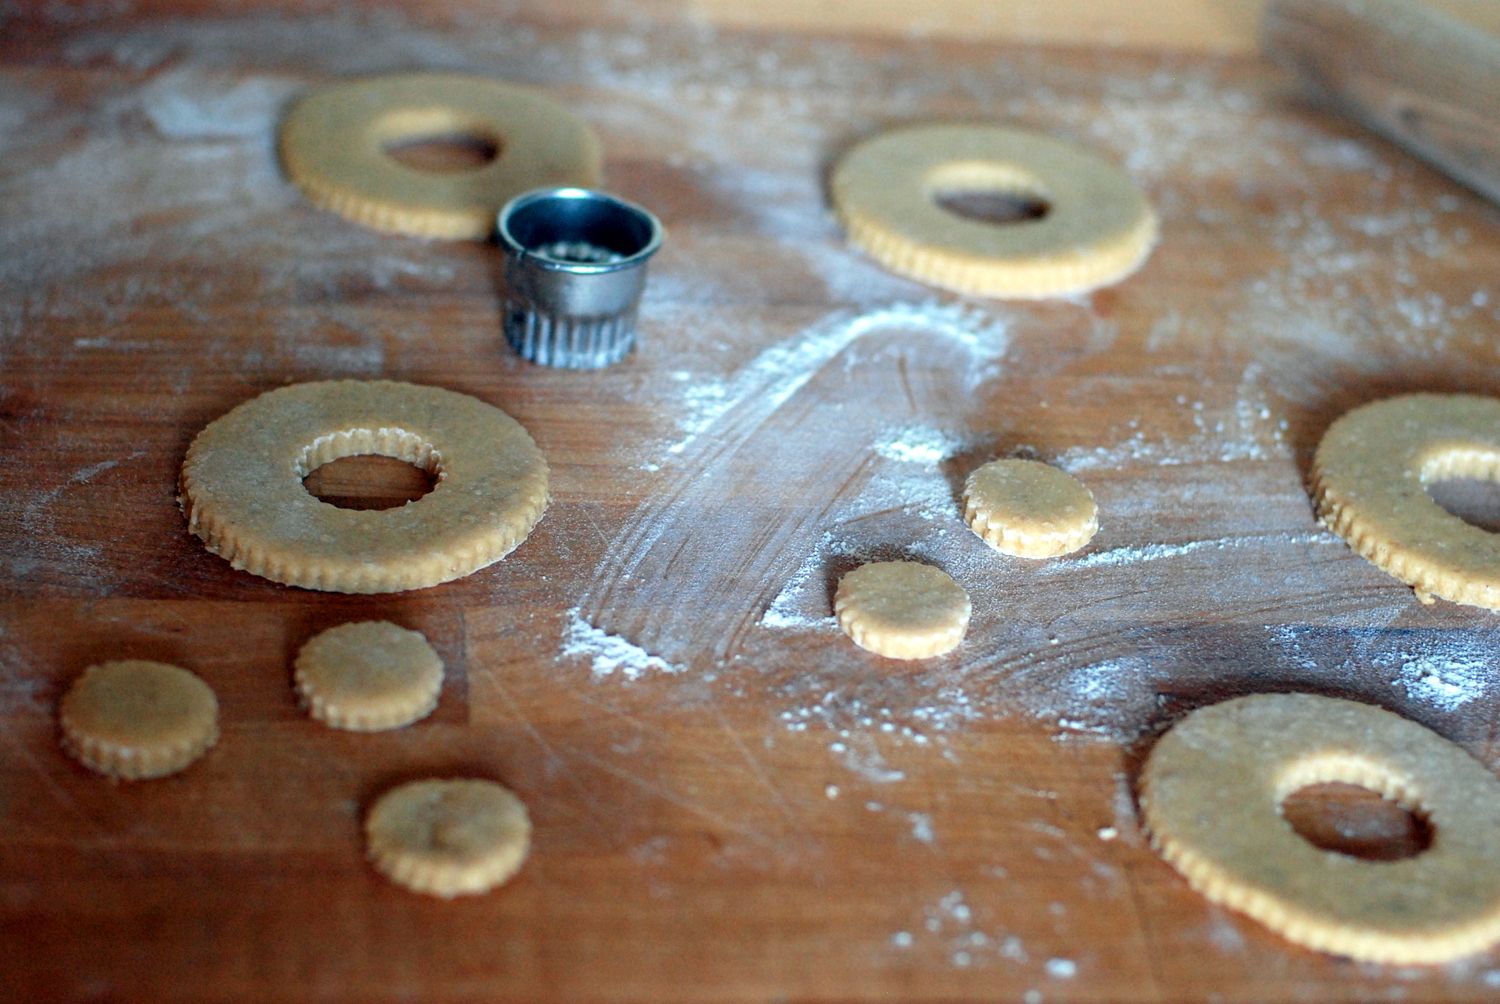
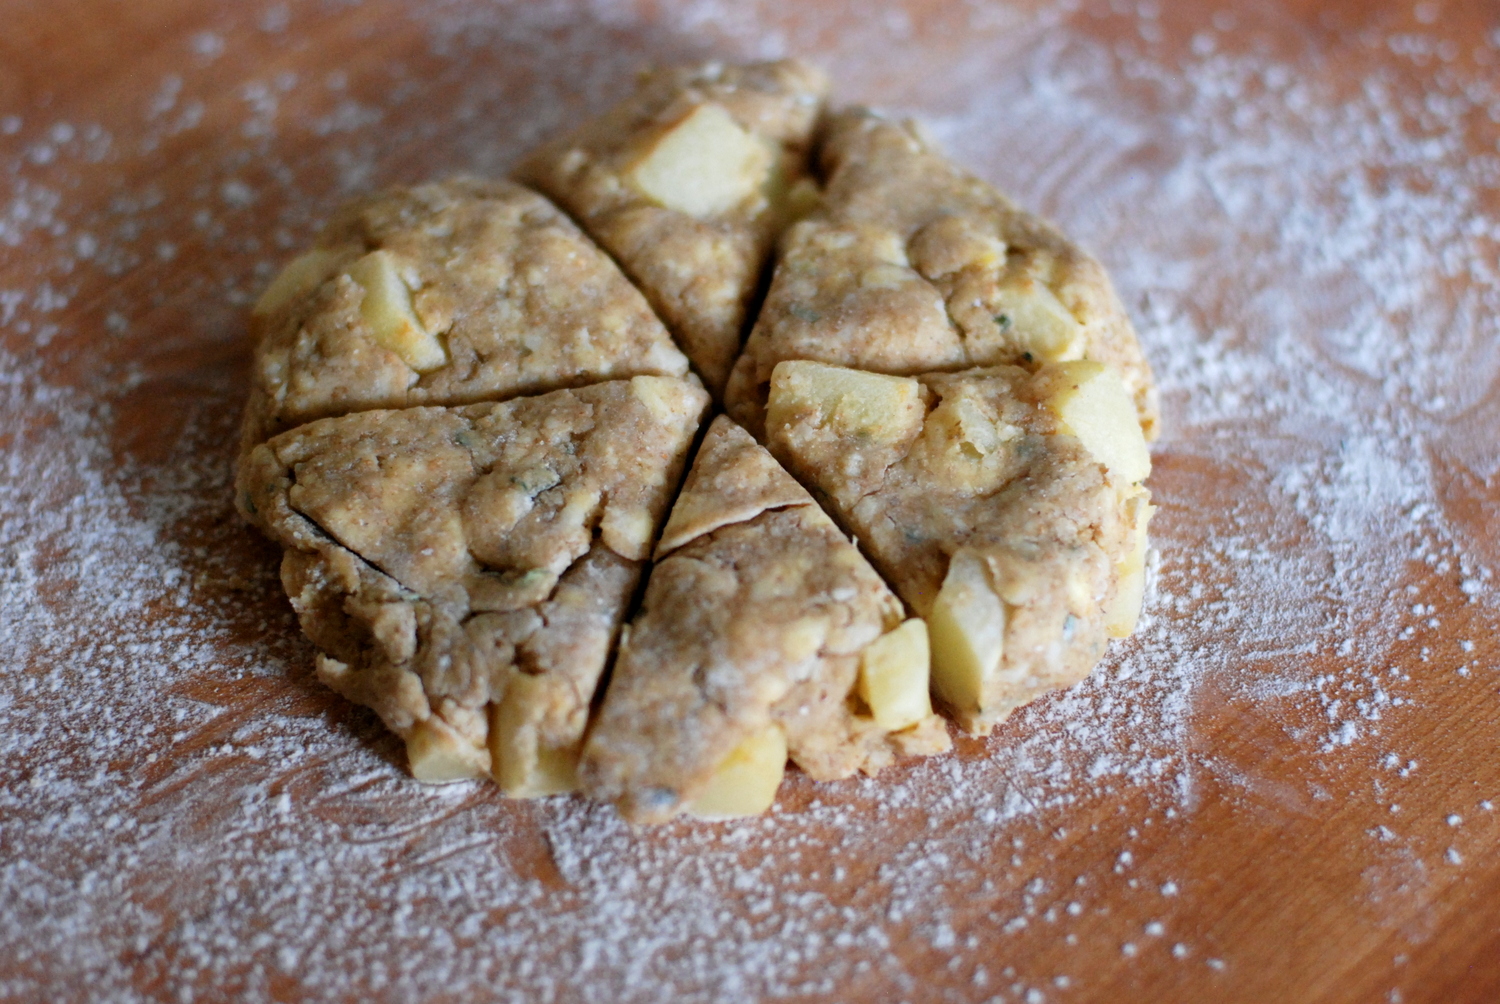
For large scones, dump dough out onto a floured surface, and gently collect dough into a large ball. Use your palms to pat dough into a disk one inch high, then slice into 6-8 wedges. Set scones on the parchment paper-lined sheet, leaving about one inch between scones.

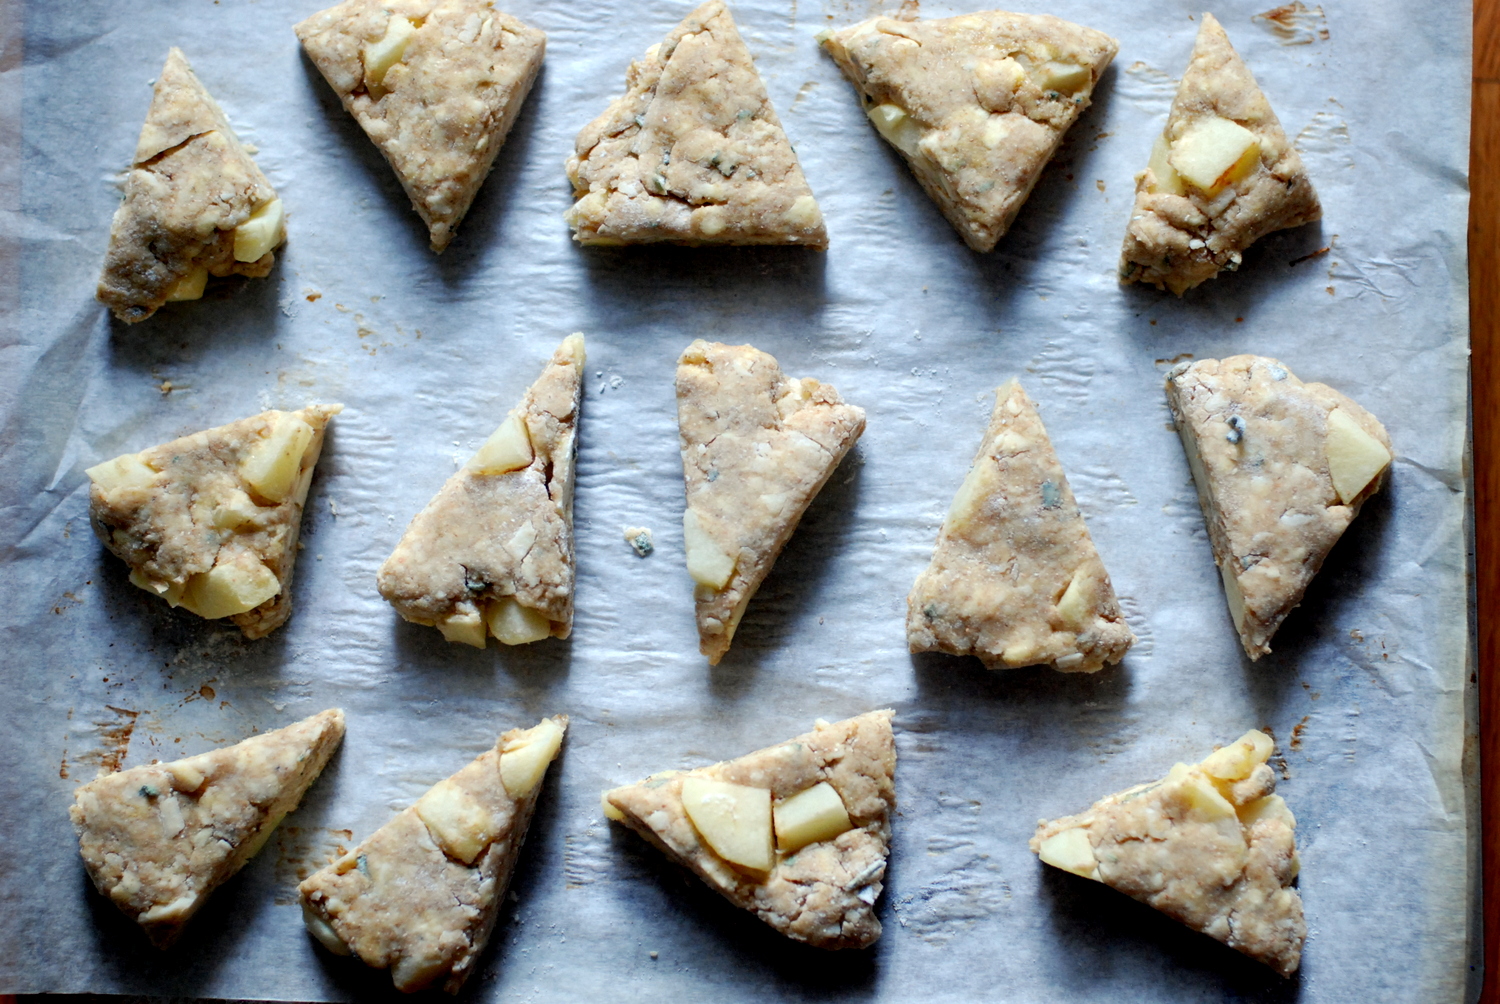
For smaller scones, halve dough, and assemble and cut each half as described above. You should end up with 12-16 smaller wedges. Set scones onto the baking sheet.

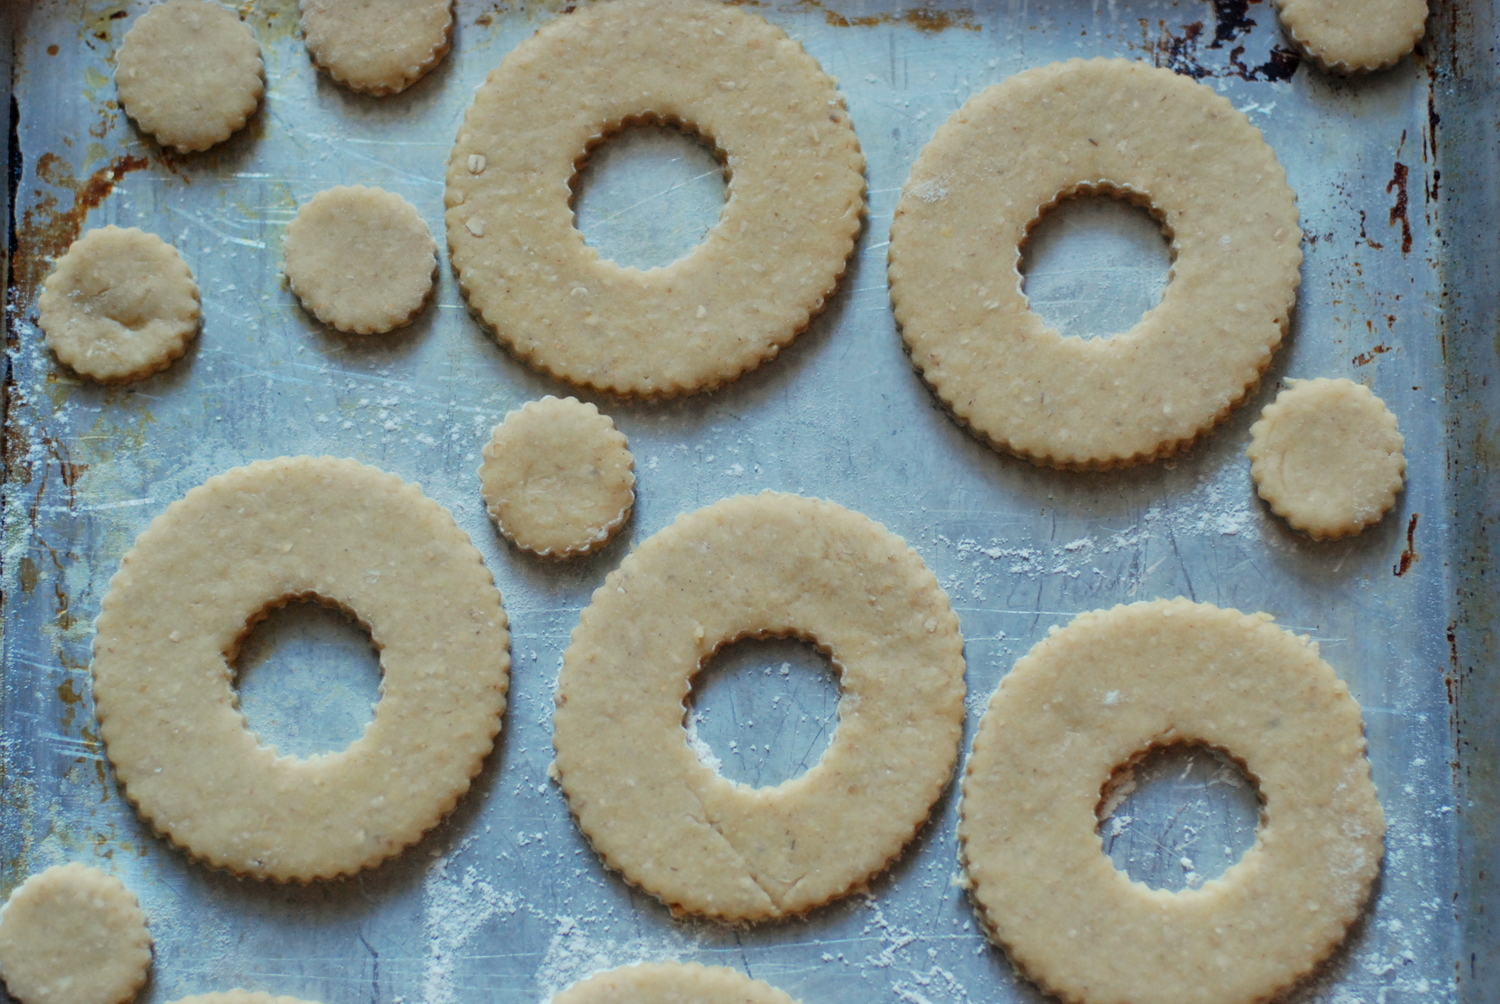
Stick a small sage leaf face-up on the top of each scone. Brush tops with milk/cream. Bake 30 minutes for larger scones, 20-25 minutes for smaller scones, until cooked through and golden brown at the edges. Set on a rack to cool for at least 5 minutes; serve warm or at room temperature.

These scones are best right out of the oven, and ideally eaten the day they're made. That said, they can be frozen unbrushed/unbaked on a lined cookie sheet; once fully frozen, transfer them to a freezer bag for storage. To bake, no need to thaw; just brush with milk/cream, and add 2 minutes or so to the baking time.

In breakfast and brunch
1 Comment

Easier Rugelach

October 29, 2014 Rivka
1-DSC_0738.jpg

Growing up, toward the end of Saturday morning services, we kids would lurk in the social hall of the synagogue, near the refreshments. Ostensibly, we were there to help set up. In actuality, about 5% of our effort went to helping out, while a round 95% we spent angling to be near our favorite snacks.

1-DSC_0727.jpg

Among the universal favorites were rugelach, the flaky, jam-filled pastries that are now near-ubiquitous. (Last week, I even stumbled on savory rugelach. Sort of genius.) But at the time, they seemed special. Mostly, they seemed difficult. The first time I made them, I understood that while they aren't hard, per se, they are quite fussy. While the dough comes together quickly,it's the bit where you roll the dough into disks and cut it into pie slices. I end up fretting and fussing pretty hard to make sure that each skinny little pie slice you roll up doesn't lose its fillings in the process. Also, most recipes call for apricot jam - why must it always be apricot, which is just about the least likely jam to be in my fridge? The last time I made these, I decided the recipe was overdue for some hacking.

So what makes these easier? Two things. First, you can use whatever jam and whatever nuts you have. This is sort of “rugelach without a recipe.” Second, unlike my old favorites, these are rolled and cut much more easily and less fussily. One long strip of dough, filled and rolled into one long log, then cut into pieces on the bias. They're plenty pretty, and more importantly, they're easy.

1-DSC_0721.jpg

Did I mention they freeze like champs? Might just need to make a double.

Easier RugelachAdapted this old Gourmet recipe and a bit of trial and error

For the dough:
1/2 cup (1 stick, 4 oz.) unsalted butter, softened
4 oz. cream cheese, softened
1 cup all-purpose flour
1/4 teaspoon salt
2 tablespoons sugar

For the filling:
1/4 cup plus 1 tablespoon sugar
1 teaspoon cinnamon
1/2 cup of any jam (for my most recent batch, I used a mixture of raspberry jam and orange marmalade - get creative!)
1/2 cup golden raisins or currants, chopped
heaping 1/2 cup (4 oz.) walnuts or pecans, finely chopped
Cream or milk for brushing cookies

Make the dough: In the bowl of a food processor or mixer, combine butter and cream cheese and pulse several times, until combined. Add flour and sprinkle salt and sugar over flour; pulse several times, until a soft dough forms. Transfer dough to a piece of plastic wrap, collect into a cohesive mass, and flatten inside the wrap into a rough rectangle shape. Refrigerate at least 1 hour, preferably 2, and up to a few days. Alternatively, freeze dough for later use.

Set a rack in the middle rung of the oven and preheat to 350°F. Line a 13x18 (half-sheet) rimmed baking pan with parchment paper. Whisk together sugar and cinnamon in a small bowl.

Assemble the rugelach: Cut dough in half; refrigerate one half while you work with the other. On a floured work surface, roll half the dough into a 12x8-inch rectangle, with a long edge facing you. Spread 1/4 cup jam evenly over dough, leaving a 1-inch border around the perimeter. Sprinkle half the raisins/currants and half the nuts over the jam. Dust with 2 tablespoons cinnamon sugar.

Using a bench scraper or sharp knife to assist, lift the long edge of the dough nearest you, and roll dough into a long log. Place seam-side down onto one side of the baking pan. Repeat with remaining half of the dough and filling ingredients.

Brush logs with cream/milk and dust with the little bit of cinnamon sugar that remains. Then use a long, sharp knife to make biased cuts most of the way through the dough, at 1-inch intervals. If dough seems too soft to cut cleanly, refrigerate 20-30 minutes before slicing.

Bake until golden, 45 to 50 minutes. Set pan on rack to cool for about 30 minutes, then transfer logs to a cutting board to slice the rest of the way through.

Rugelach will keep in a tight container for up to one week.

In cookies and bars, snacks
-2 Comments

Nutmeg Apple Cider Doughnuts

October 24, 2014 Rivka
1-DSC_0996.jpg

It's Friday, which means it's almost the weekend -- which, in my strange wonderland, means it's time to choose weekend cooking projects. I've got my eye on this lovely, meringue-topped walnut cake from Food52, and possibly homemade bagels. I'm also contemplating steeping bourbon with some apple peels, a cinnamon stick, and some star anise, for when I'm allowed to drink the stuff again.

But I've got a different weekend cooking project in mind for you, if you're still shopping. In fact, it'd go very, very well alongside that bourbon I'm going to make. Or just some apple cider. Or some cold milk.  'Tis the season for apple cider doughnuts: They were my project last weekend and this weekend, they're all yours.

When I got a hankering for these guys last week, I went searching around for a yeast doughnut recipe, because everyone knows yeast-risen doughnuts are superior to their cake counterparts. Turns out - and here's proof of my goldfish cracker-sized memory - I made yeasted nutmeg doughnuts last year. They were delicious. (Make them!) But they take much more time to make, and I was nervous that between reducing the cider (key to getting a concentrated flavor) and all the rising, the doughnuts wouldn't be ready to bring to my friends Sunday afternoon, and that's what good friends do.

1-DSC_0928.jpg
1-DSC_0941.jpg
1-DSC_0961.jpg

Instead, I opted for a basic cake doughnut recipe, with a shockingly short preparation process and -- given all the frying involved -- not much stress, either. The recipe comes from Deb; she loved it, and generally, the recipes she loves are keepers. You reduce a bunch of cider, make what amounts to a cross between cookie dough and pancake batter, refrigerate or freeze it until firm, then roll it out and fry it: Presto.

1-DSC_0966.jpg
1-DSC_0977.jpg

My one meaningful contribution to the recipe was swapping out the usual cinnamon for gobs and gobs of freshly ground nutmeg. Inspired by Marion Cunningham's Nutmeg Muffins and these doughnut beauties from Saveur, I figured I was on terra firma. If anything can elevate a hunk of deep-fried dough, it's fresh nutmeg. I'd tell you to just use cinnamon (and less of it) if you don't grind your own, but Ina Garten recently told Amateur Gourmet Adam Roberts that this is not essential. As much as I disagree, who am I to contradict Ina? I'll leave the choice to you.

1-DSC_0987.jpg

Enjoy these doughnuts with a side of scarf weather, which it seems is headed our way. Happy weekend, and happy weekend cooking.

1-DSC_0993.jpg
1-DSC_1001.jpg

Other weekend cooking projects:

  • this beautiful apple danish braid
  • saltie's amazing focaccia
  • you can never go wrong with Tartine's salted chocolate rye cookies
  • salted caramel rice crispie treats from Cara, because duh
  • is it too early for Monkey Gingerbread?
  • or go all-out with these outrageous cranberry curd-stuffed nutmeg doughnuts from last year's Thanksgivukkah feast

One year ago: Grape-Cornmeal Snacking CakeTwo years ago: Vietnamese Leek and Eggplant Salad (which I'm making today!) and Perfect Chana DalThree years ago: Beef Stew with VadouvanFour years ago: Oven-Dried TomatoesFive years ago: Zuni's Roast Chicken with Bread Salad Six years ago: Steelcut Oatmeal with Peach CompoteSeven (!) years ago: Challah French Toast

Nutmeg Apple Cider DoughnutsAdapted from Hearth, via Smitten Kitchen

This recipe is pretty straightforward, so not a ton of notes here, but still: can't resist a few. I swapped out most of the cinnamon for lots of fresh nutmeg, and I highly recommend trying them that way. I also traded in some of the white flour for oat flour, which worked really well with the warm flavor of these doughnuts. If using all white flour, you need 3 1/2 cups, plus some for the work surface. Lastly, Deb took the plunge and fried in, eek, Crisco. She said the doughnuts were super-crispy, but I couldn't bear it; I just used vegetable oil. Again, choice is yours.

1 1/2 cups apple cider
1/2 cup oat flour
3 cups plus 2 tablespoons flour, plus additional for the work surface
2 teaspoons baking powder
1 teaspoon baking soda
1/8 teaspoon ground cinnamon
1/2 teaspoon salt
1 1/2 teaspoons freshly ground nutmeg
4 tablespoons (1/2 stick or 2 ounces) butter, at room temperature
1 cup granulated sugar
2 large eggs
1/2 cup buttermilk
Vegetable oil, canola oil, or shortening, for frying

Topping: 1 cup sugar + 1/8 teaspoon cinnamon + 1 1/2 teaspoons freshly ground nutmeg

Mix dough: In a medium bowl, combine flours, baking powder, baking soda, cinnamon, salt, and nutmeg. Set aside.

In a saucepan over medium heat, reduce cider to about 1/4 cup, about 30 minutes. Remove from heat and let cool.

Using a stand or electric mixer, beat butter and sugar on medium speed until smooth and light. Add eggs one at a time, mixing well after each addition. Reduce speed to low and add buttermilk and reduced cider; mix to combine. Scrape down the sides of the bowl as needed. Add flour mixture gradually, mixing just until combined.

Line a baking sheet with parchment or wax paper and sprinkle generously with flour. Put the dough onto the sheet, and sprinkle the top with more flour. Use your palms to flatten the dough until it is about 1/2 inch thick. Use more flour if the dough is still wet. Transfer the dough to the freezer until it is slightly hardened, about 20 minutes, or to the fridge for at least 2 hours.

Roll out doughnuts: Remove the dough from the freezer/fridge and transfer to a work surface sprinkled with flour. Using a 3 1/2-inch cutter for the outer shape and a 1-inch cutter for the hole, cut doughnuts. Transfer doughnuts and holes back to the lined baking sheet. Gently reroll scraps to cut the rest of the doughnuts.

Add enough oil or shortening to a deep-sided pan (I used cast iron) to measure a depth of between 2 1/2 and 3 inches. Attach a candy thermometer to the side of the pan and set over medium heat until the oil reaches 350°F. Have ready another rimmed baking sheet lined with paper towels and topped with a cooling rack.

Make the topping: Combine sugar, cinnamon, and nutmeg in a wide, shallow bowl. Set aside.

Fry the doughnuts: Slowly lower doughnuts into the oil, taking care to avoid splattering. Don't overcrowd the pan; my 10-inch pan comfortably held 2-3 doughnuts at a time. Fry each doughnut for 60 seconds on the first side, then slowly turn and fry 30-60 seconds on the other side. Transfer doughnuts to the cooling rack for 60 seconds, then dip into the spiced sugar and swirl around to coat about half the height of the doughnut. Set on the rack to cool completely; repeat with remaining doughnuts.

Serve warm, with cider or cold milk.

In uncategorized
Comment

Tuscan Kale and Chickpea Soup

October 20, 2014 Rivka
1-DSC_0694.jpg

I have a (very cynical) theory that for every 10 vegetarian soup recipes out there, 9 of them had authors who sneaked in some chicken stock when no one was looking. I often read these recipes incredulously: you're telling me your meatless soup is deep and complex, and yet it contains no miso, no tomato paste, no porcini mushrooms, no smoked anchovies - no umami whatsoever. Heck, it doesn't even have much in the way of spices. This all seems mostly impossible.

But as I'm not coming to find, there are magical exceptions to this rule. There are owners of a certain restaurant in Brooklyn by the name of Franny's, which I have love-love-loved for a very long time, who make pretty much everything turn to gold. They are experts at pasta and pizza; masters of crostini and of fritti, those fried bites that start a meal. Well, no surprise: it turns out, they're pros at soup, too.

Making a vegetarian soup taste complex and flavorful absolutely requires attention to detail and process; this soup has steps. But, as usual, I did find a couple of shortcuts that'll make this soup use fewer pots and take less time. That said, as written, this probably isn't an ideal choice for a make-and-eat weeknight supper situation. I made a double recipe last weekend, and it lasted us much of the week. Fortunately, this is a soup that improves over time. I also suspect that it'd freeze beautifully, and I'm making a third batch this, the whole of which I'll be freezing for some very theoretical time down the road when time is more of the essence.

1-DSC_0703.jpg

Speaking of said time: lots of you have emailed and commented to check in on preggo and bebe. Thank you so, so much. It's the home stretch around here. The babe is in position and ready to go. We've managed to not find out the sex (though this morning's appointment nearly spoiled that - be careful!), and I'm really glad we kept it under wraps; I think it's changed the nature of our anticipation. I thought this stage would be full of wondering and theorizing about what the kid will be like; instead, since that's a total mystery, I've been thinking a lot more about how we'll be as parents. I'm happy not to know more yet; I'm happy to be patient. (I'm also happy to be enjoying a not-at-all small number of peaceful restaurant meals with the lady and with friends; if only I could log them for later.)

The other good news about this phase, at least for my meat-loving wife, is that I've been clearing out the freezer of space-hoggers like spare ribs. In honor of our anniversary, I stovetop-smoked them for about an hour, then let them melt away in a low oven . The whole process was way easier than it sounds. Tutorials here and here, recipe inspiration here, if you're interested. We served them with some very good BBQ baked beans, which I'll tell you about one of these days.

Thinking more about those ribs, I'm happy to have the dregs of my last batch of this soup in the fridge. It'll make a healthy, filling supper.

Good to counteract those apple cider doughnuts I made this weekend, which I'll tell you about later this week. Till then -

Franny's Kale Chickpea SoupAdapted from Franny's: Simple Seasonal Italian Serves 8

On my shortcuts: I skipped the cheesecloth sachet, of course. Instead, I diced the onion small enough that it disintegrated into the soup; I cut the carrot and celery just in half, for easy removal; and the rosemary sprig was easy enough to find and remove. You're also supposed to put 3 garlic cloves in the sachet, but since garlic is such a prominent flavor in the soup anyway, I didn't see the harm in leaving them in there. I'm pretty sure 2 of the 3 found their way into the blender with the portion that got pureed, and I ended up with one of them in my bowl, all smooth and melty, which was delightful. I also sauteed the rest of the garlic in a pan big enough to accommodate the kale, saving one pan in the process. I'm sure you're wondering whether you can make this with canned chickpeas, and while I'm sure you can, I'm also sure the cooking time helps marry the flavors and textures of this soup. Still, I know time is of the essence. If you try it with canned chickpeas, will you report back?

One more note: this soup is pretty perfect as is, but I did just want to note that it works well with greens other than kale. I haven't tried it with collards and probably wouldn't start there, since they can taste a bit chalky after a long liquidy cook. That said, beet greens, in particular, are fantastic in this soup. So if you have a small bunch of kale and a big pile of greens from those beets, don't hesitate to make this.

And one tiny other thing: 1 cup of olive oil. A lot, yes, but not the 1 1/2 cups originally called for, and also not really that much, at 2 tablespoons per serving. Disagree? Think about the fact that most cookie recipes call for 2 sticks butter. That's a cup right there. I've already cut the amount of olive oil by 1/3 - don't skimp further. If anything, be more generous if you feel so inclined.

2 cups dried chickpeas
1 carrot, peeled and cut in half
1 celery stalk, cleaned and cut in half
1 onion, halved (or diced, if you don't want to fish it out with the carrot and celery; see note above)
11 garlic cloves, peeled
5 strips lemon peel
1 sprig rosemary
1 tablespoon kosher salt, more to taste
3 1/2 quarts water
1 cup extra-virgin olive oil, divided; more for drizzling
1/4 teaspoon chili flakes
2 big bunches Tuscan kale or beet greens Freshly cracked black pepper Lemon wedges, for serving
Grated Parmigiano-Reggiano cheese, for serving

Put the chickpeas in a medium bowl, cover with at least an inch of water, and let soak overnight.

In a large pot, combine carrot, celery, onion, 3 garlic cloves, lemon peel, rosemary, 1/2 cup olive oil, 1 tablespoon salt, and the 3 quarts water. Bring to a boil over high heat,  then reduce the heat to medium-low and simmer until the chickpeas are tender, about 1 hour (more if chickpeas are old). Taste at the end of cooking, and add more salt as needed.

Meanwhile, finely chop or (faster!) crush the remaining 8 garlic cloves. Remove the center ribs from the kale and coarsely chop the leaves (you should have about 16 cups, but if not, no stress). Set up your blender and have the blender canister at the ready.

In a large skillet, heat 1/4 cup olive oil over medium heat. Add the garlic and chili flakes and cook until the garlic is fragrant but not golden, about 1 minute. Transfer to the blender canister (it's okay if some is left in the pan). Immediately add 1/3 of the kale, toss to combine, and cook, tossing occasionally, until tender, about 3 minutes. Transfer cooked kale straight into the blender. Add 2 tablespoons of olive oil and another 1/3 of the kale, and cook in a similar manner, transferring to the blender when cooked. Repeat with the last 2 tablespoons olive oil and the last batch of kale.

When the chickpeas are cooked, fish out the carrot, celery, rosemary, and onion if not diced. Then scoop 2 cups of them and their liquid into the blender with the kale, and puree until smooth. Add this puree back to the pot with the rest of the chickpeas, and cook over medium-high heat until hot.

Serve with grated Parmigiano-Reggiano, a drizzle of olive oil, and lemon wedges on the side.

In appetizers, comfort food, gluten-free, soup, vegan, vegetarian, healthy
Comment
← Newer Posts Older Posts →

Subscribe by email:

  • books (1)
  • crisps and crumbles (1)
  • frozen (1)
  • toys (2)
  • gifts (3)
  • egg whites (5)
  • fried (5)
  • how to use--- (6)
  • drinks (10)
  • menus (11)
  • travel (11)
  • fish (12)
  • kosher for passover (14)
  • thanksgiving (14)
  • vegan (20)
  • snacks (21)
  • techniques (21)
  • soup (26)
  • bread (28)
  • pies and tarts (28)
  • cake (33)
  • events (34)
  • condiments (36)
  • various and sundry (39)
  • uncategorized (42)
  • cookies and bars (46)
  • weekday lunch (47)
  • appetizers (48)
  • salad (51)
  • gluten-free (56)
  • comfort food (61)
  • breakfast and brunch (77)
  • sides (81)
  • dessert (90)
  • main dishes (100)
  • healthy (139)
  • easy (155)
  • vegetarian (180)

| LATEST |

Featured
Blue Chair Fruit's Black Raspberry Jam
Thai Grapefruit Salad
Mango Sticky Rice
Winter 2016: Odds and Ends
Povitica: The Best Babka Ever
Persimmon Walnut Bread
Sprout Chaat Salad + New Site!
Maple Walnut Squares
How to Give Thanks
Croissants (really, I made croissants) + other croissant-ish things

| hEALTHY |

Featured
Sprout Chaat Salad + New Site!
Fennel frond pesto + what to do with those pesky stalks
Asparagus Toasts with Pistachios and Mint
Eggplant-Walnut Pâté + Passover Ideas
1-DSC_0861-600x401.jpg
Lentils and Rice with Tamarind Sauce and Dukkah
Big Kale Salad with Pomegranate and Feta
Punchy Crunchy Ginger Salad

| BreakfAST |

Featured
Povitica: The Best Babka Ever
Croissants (really, I made croissants) + other croissant-ish things
Mushroom and Kale Breakfast Strata
Barley Porridge with Orange and Black Sesame
Ramps 'n' Eggs Biscuit Sandwiches
Asparagus Toasts with Pistachios and Mint
Apple-Cheddar Scones with Sage
Menemen - Turkish Eggs with Tomatoes and Peppers
You must select a collection to display.

© 2016 Rivka Friedman. All Rights Reserved.