Sour Cherry Liqueur

cherryliqueur1 It's officially sour cherry season! I got my first quart at the market today, and I simply can't wait to turn them into this lovely aperitif. Originally posted last July, sour cherry liqueur is back!

Want to do something awesomely cool and really flippin' easy along with me? Make sour cherry liqueur. It's the height of sour cherry season, and markets are bursting with those tart little bubbles of juice. The season's pretty short: I was thinking of hitting up a u-pick next week to get some sour cherries out in the countryside for cheap, but they said they'll be gone by Sunday. So grab some now, like, now now, and put them to use in a way that'll keep well into the fall.
cherryliqueur2

My dear friend Dellie had D and me over for an early Thanksgiving dinner last November, and her mother served this liqueur as an aperitif. I was totally blown away: it was sweet, very sweet, but also tart and zingy. It tasted strongly and distinctly of sour cherries, and sipping it sent waves of summer nostalgia down my spine. I sauntered into the kitchen where I found the always-graceful Mrs. S pulling a whole turkey out of the oven to rest. What better time to bother someone for a recipe? She said to come knocking again when it was sour cherry season, and she'd give me the rundown. Unlike most other things, I didn't forget this promise, and last week, I emailed Mrs. S begging her recipe. She graciously obliged, and her instructions were so thorough that I can easily share them with you. Granted, you won't be tasting the fruits of your labor until the fall -- but if you feel like preserving some of summer's bounty in this unusual way, I can promise that your patience will be well-rewarded.
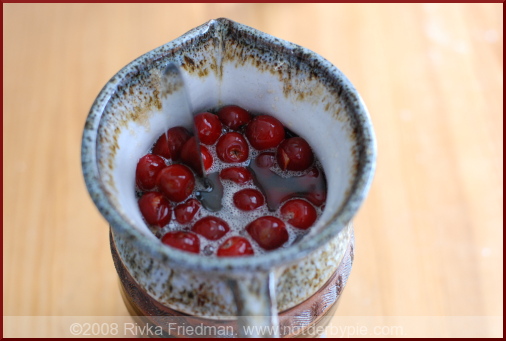
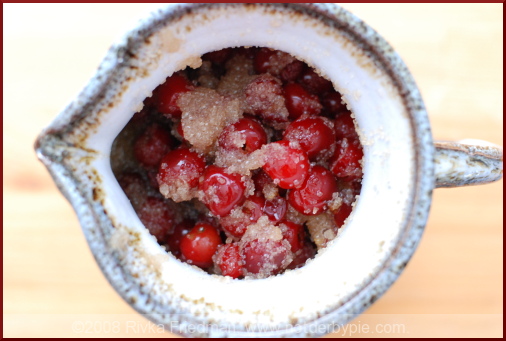
That's a knife jutting out of the pitcher -- I used it to stir the stuff, and I did fill it to the top after taking the pic.

Update! I've stirred (and tasted) the sour cherry liqueur twice now, and it is freakin' amazing!

Sour Cherry Liqueur adapted from Mrs. S's recipe

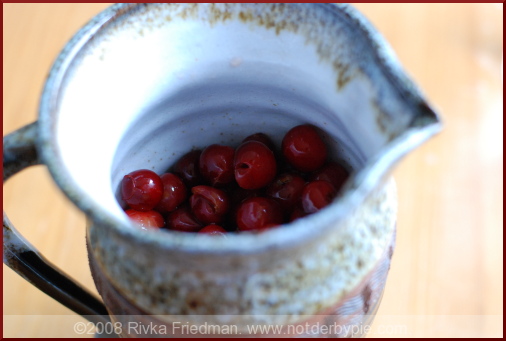
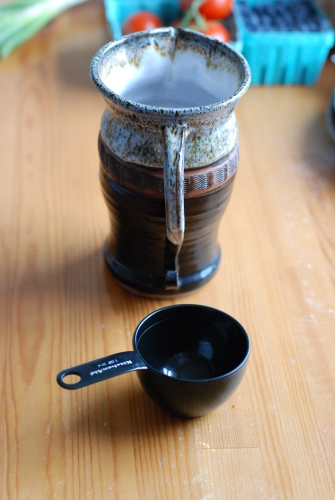
For this recipe, you will need a crock of some sort: Mrs. S's crocks are salt-glazed antique crocks made in central Va. over 100 years ago, for preserving & storing foods. I'm not that fancy; I just used a relatively large ceramic pitcher. You can use anything that is dark glass or ceramic of some similar sort.
cherryliqueur7

The quantities used really depend on the size of your crock, so the instructions below are in proportions instead of absolute amounts.
cherryliqueur3

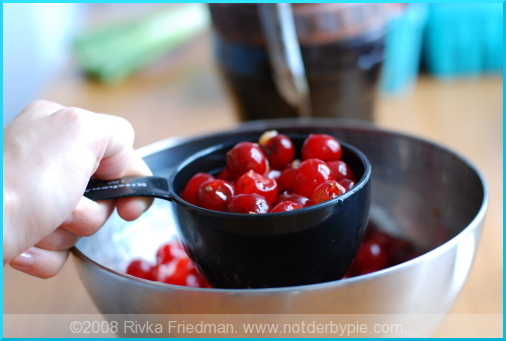
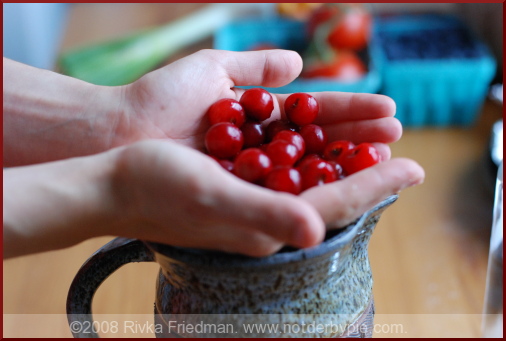
Cherries: clean & pit the cherries, except that for every cup of cherries, leave about 1/8 of the cup unpitted (adds character & depth to the liqueur) Sugar: use about 3/4 cup sugar for every cup of cherries (cherries should be tightly packed). I used organic cane sugar, but white sugar is just fine. In fact, I can't promise that my cane sugar will work -- I just assumed. Here's hoping!
cherryliqueur4

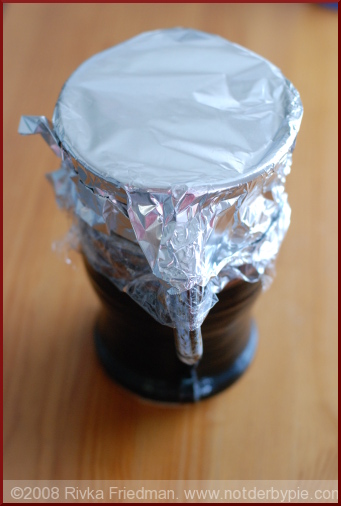
Fill the crock 1/2 - 2/3 full of cherries & sugar (in proportions above), and stir. Then fill to the brim with white rum, and stir. Cover tightly with plastic wrap (using a rubber band to secure it) and foil (to shut out light), and store in a dark, cool place. Stir with a wooden or plastic non-reactive spoon about once a week. The sugar may take about a month or so to fully dissolve. Taste from time to time: cherries that are very sour may require additional sugar once the first batch has dissolved completely.
cherryliqueur6

It should be ready mid-September. The cherries will have lost much of their color, and the sugar will have all dissolved. The flavor should be pretty rich. You can pour into decorative (dark glass) bottles and cork, but leave a few pitted cherries in each bottle. The "extra" cherries are great on pound cake, over ice cream, or however you would use canned cherries.

You could add cinnamon sticks, if you like, but Mrs. S likes the purity and simplicity of cherries.

So pack your crocks and get ready to wait -- let's do this thing!
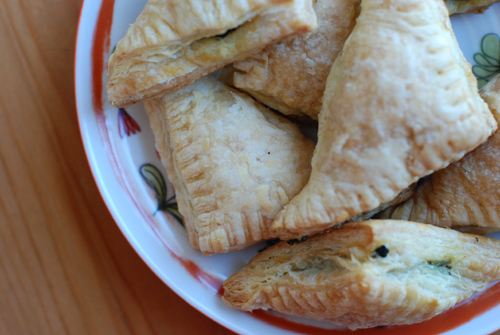
Spinach Bourekas

At some point last year, I fell off the puff pastry cliff. It all started with this onion-date tart, one of the best and easiest recipes I've ever written. I made it once, twice, three times, and more; I couldn't stop. I'd tweak a thing or two every time: I'd add mushrooms, swap the goat cheese for feta, add some roasted red peppers, etc. The tart never failed to please, so I just didn't stop making it.

From there, I branched out to other similar tarts, like this one with zucchini and olives. Why hadn't I thought of this sooner? Why had it taken so long to realize that when you pile delicious stuff on a buttery piece of dough and bake it off, the results are...delicious?

Just when I thought I'd had my revelation, D had had just about enough. She finally confessed that she hated all these tarts -- these big pieces of flaky dough meant to pose as entrees -- and that if I could stop making them, forever, that'dbegreatthanks. I was bummed: had I reached the end of puff pastry heaven so quickly? Without it, what else would I make? There was NOTHING else to make! Nothing but puff pastry! AACK!

Needless to say, I moved on. I made other delicious things like baked pastas and quiches and even the occasional (gasp!) meat dish. I moved on so well, in fact, that I actually forgot about puff pastry entirely. That is, until my friend Jeremy asked me to make some bourekas for a potluck he and his wife Beth hosted this weekend.

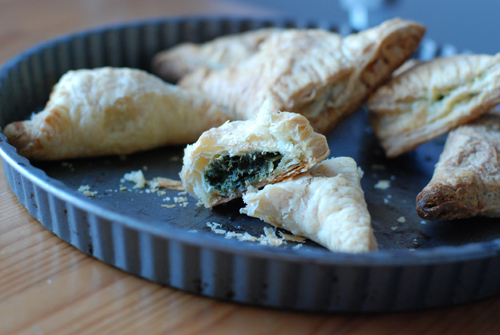
Given that I lived in Israel for two years, where bourekas could easily make a run against falafel, hummus, and schnitzel for the country's national dish, it's hard to believe that they haven't come up on NDP before today. I guess I don't make them as often as I'd have thought. But they're really very easy to make, they keep well and reheat like a charm, and they're as appropriate for a fancy meal as they are in a ziplock baggie.

Using the recipe below, I made about 50 bourekas before running out of puff pastry. I sandwiched the leftover filling between layers of filo dough for an easy mid-week pie that was a close relative of spanikopita.

Spinach Bourekas adapted from Ina Garten's spanikopita recipe makes about 50, plus extra filling

1/4 cup good olive oil 1 cup chopped yellow onion 3 scallions, white and green parts, chopped 2 (10-oz) packages frozen chopped spinach, defrosted 4 eggs, lightly beaten 3 tablespoons parmesan cheese 3 tablespoons plain dry bread crumbs 1 teaspoon freshly-grated nutmeg 2 teaspoons salt 1 teaspoon black pepper 2 cups diced feta cheese 3 tablespoons toasted pine nuts 3 tablespoons golden raisins 1 small wedge lemon 3 packages (6 sheets) puff pastry, defrosted

Preheat the oven to 375 degrees

Heat olive oil over medium heat in a large saute pan. Add onion and cook for 5 minutes, until soft but not browned. Add scallions and cook two more minutes, until wilted. Meanwhile, squeeze the water out of the chopped spinach and transfer to a large bowl.

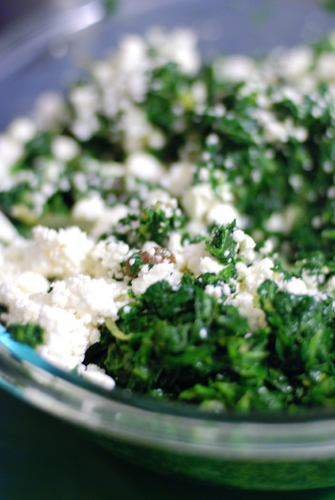
Add cooked onions and scallions to spinach and stir to combine. Mix in eggs, parmesan, bread crumbs, nutmeg, salt, pepper, and raisins. Squeeze in lemon juice; gently fold in feta and pine nuts.

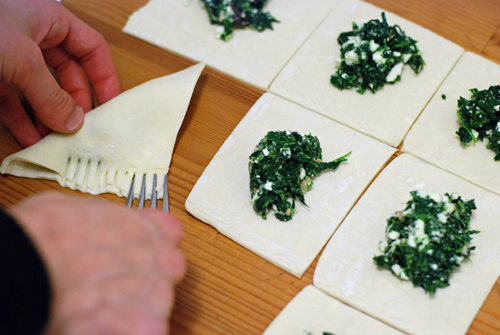
Sprinkle working surface with flour. Place one sheet of puff pastry on suface and roll it out to about 1/8-inch thick, rotating it 90 degrees after each roll to ensure that dough grows evenly and doesn't stick. Use more flour as necessary. Once dough is proper size, cut the dough into three lengthwise and three horizontally, dividing the dough into nine equally-sized squares.

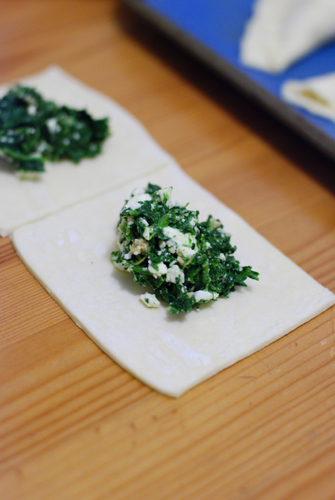
Place two tablespoons filling into the middle of each square. Dip your finger in a bit of water and run it along the edges of the square, then bring one corner its opposite corner and seal to make a triangle. Use the tines of a fork to make a decorative edge and ensure that bourekas stay shut.

Place bourekas on parchment or silpat-lined baking sheet and bake about 25 minutes, until golden on top. Serve warm or at room temperature.

Crostini of All Sorts

crostini4 During a recent stop at the bookstore on my street, Idle Time Books (which, btw, had a cameo in A Few Good Men), I was thumbing through cookbook author Deborah Madison's latest book, What We Eat When We Eat Alone, which she co-wrote with her artist-partner Patrick McFarlin. WWEWWEA (liberally abbreviating the long title here...) is a funny and shockingly intimate account of the ways in which, in the absence of others, food becomes our animated companion. It's a book that draws you in, and before I knew it, I had plopped down on the floor to dig in, and was reading about pouring sardine juice onto cottage cheese and eating it on one foot at the open refrigerator. I laughed out loud as I thought about similar moments I've had, grabbing a bite standing up while I peer into the fridge for my next little nibble.

crostini2

In the spirit of celebrating this wonderful little book, I'll tell you about one thing I invariably eat lots of when it's just me in the house: crostini.

Here's how I do it: I buy a baguette about once a week. I always rip off a piece on the way home, while it's still super-fresh, but when I get home, I cut the baguette on a sharp bias into 1 or 1.5-inch slices. I put the slices into a ziplock bag. That way, they stay soft and don't get stale immediately. Granted, they're no good this way unless toasted, but I always toast the slices for crostini, so no matter.

crostini3

Here's just a selection of the crostini I've had over the past month:

  • Fresh ricotta, thinly-sliced radish, fleur de sel
  • Fresh ricotta, late-summer fava beans, fleur de sel, a couple drops of fresh lemon juice
  • Same ingredients, but favas mashed into ricotta for smoother texture
  • Goat cheese, tomato confit (cherry tomatoes slow-roasted with olive oil and salt for 4 hours
  • Tomme de Raclette (an earthy cheese wrapped in herbs and lots of paprika) and homemade apricot jam
  • Herbed quark (tangy, reminiscent of goat cheese), smoked salmon, capers, red onion
  • Warmed goat cheese-stuffed figs with rosemary, a hint of fleur de sel

crostini1

Here's another little confession: sometimes, when I'm alone in the house, I get really particular about the look of the crostini, arranging my radishes just so or ensuring the favas cover every inch of ricotta. There's something so pleasurable about eating beautiful food. Then again, sometimes I hold a fava in one hand and a half-slice of baguette shmeared with as much ricotta as the knife could grab, then pop both in to my mouth at once. That's a whole different kind of beautiful, an equally tasty one.

Pickles!

pickles1 Folks, I'm finding it hard to contain my excitement about NDP's second-ever guest post. Guess who wrote it? MY MOM!
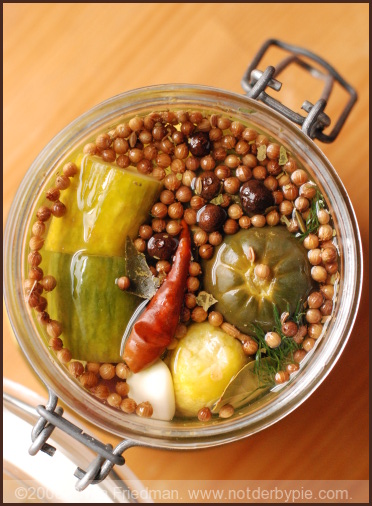
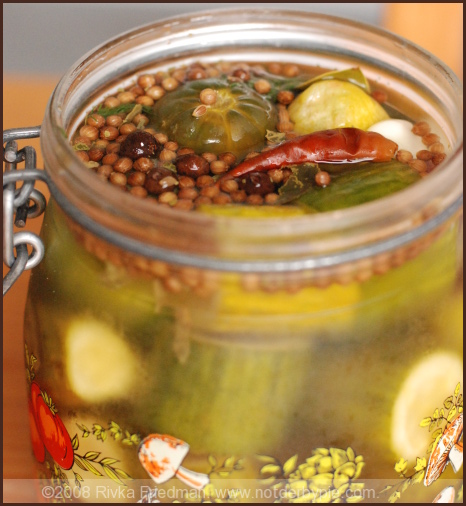
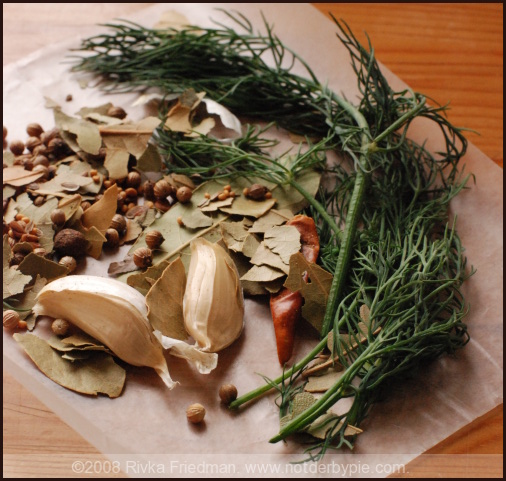
That's right: in the post below, NDP Ima tells you all about easy-to-make, hard-to-stop-eating pickles. You'll see from her intro paragraph where I got my taste buds. These pickles are salty, tangy, and really bright from the addition of fresh dill. So read up -- then go make some pickles!

pickles2

I am really not a salt lover. I don’t use much when I cook, and in restaurants great food that’s well-seasoned is often too salty for my taste. I don’t care for chips or french fries, and I prefer nuts spicy or au naturel. Nonetheless, I do love briny salty things – olives, capers, and sour pickles. So when I was leaving town for a long weekend and had a lot of small cucumbers that wouldn’t last until my return, I decided to try my hand at some pickles. I wanted spicy, garlicky, dill pickles that would make themselves in the refrigerator while I was gone. I remembered the ones a family friend used to make with cucumbers from his garden and my dad’s. He didn’t use shortcuts, though – he put his pickles in huge crocks of brine and alum in the basement for weeks.

I cut the cukes into thick, chunky slices and placed them in a quart jar with pickling spices and garlic. I didn’t have any fresh dill, so my first batch just had dill seed from the pickling spice, but it still tasted authentic. I prepared the vinegar brine and filled the jar, leaving it upside down on the counter overnight. The next morning, before rushing to the airport, I put the jar in the frig. When I returned four nights later, the pickles were done to perfection! pickles3

The recipe below is really more of a method – you can vary the ingredients, and the size of your jars and your cucumbers will determine your quantities. As long as you maintain the proportions of ¾ cup of vinegar and ¼ cup of kosher salt per quart of boiled and cooled water, your brine will work and you’ll have great pickles in a matter of days. Try this with green tomatoes if you have them in your garden, with blanched cauliflower, small sweet peppers, or blanched pearl onions. Add onions or hot peppers for extra kick. I used just one hot pepper to enhance the spicy flavor. I made a second batch with fresh dill sprigs, blanched carrots, and a few kalamata olives in addition to the cukes. They’re not quite finished as a I write this, but they look so good I can’t wait to sample them!

If you like sweet pickles instead of sour, substitute sweet pickling spices, cloves, and allspice, use cider vinegar instead of white vinegar, and add sugar (1/2 cup to ¾ cup) to your brine.

Your pickles will keep about four months in the refrigerator. If you seal your finished pickle jars with a canning process, they will keep on the shelf indefinitely. Open jars should be refrigerated.

pickles4

Refrigerator Dill Pickles

1 dozen or more pickling cucumbers or small English cucumbers

4-8 cloves garlic, peeled and cut in half

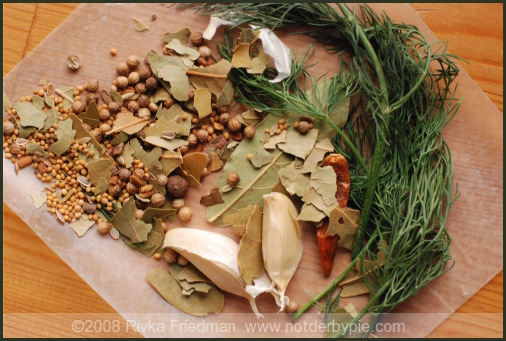
2-3 tablespoons pickling spice (the brand I used had dill seed, mustard seed, celery seed, coriander, ginger, black peppercorns, bay leaves, and red pepper)

A few sprigs of fresh dill

1 small dried hot pepper, or a fresh hot pepper cut in half and seeds removed (optional)

1 quart water boiled and cooled

¾ cup white vinegar

¼ cup salt (kosher salt works well, but sea salt or table salt are also fine)

A pinch of sugar (if desired – I omitted)

Use one or two quart jars or a gallon jar, depending on how your cucumbers fit into the jar. The amounts of spices are for one gallon jar or two quart jars, but you can modify this according to taste and the quantity of pickles you want to make. Place one tablespoon of pickling spice, half the dill and half the garlic in the bottom of the jar. If using slender or English cucumbers, you can cut them into thick chunks/slices and they will be ready in less time. If you use larger cucumbers, you can pickle them whole and cut them into lengthwise quarters when you serve them. Pack the cucumbers tightly into the jar(s). When you have added most of the cucumbers, add half of the remaining spices and garlic. When all the pickles are in the jar, add the last of the spices. If using the pepper, place it in the middle layer.

When the jar is full of cucumbers and spices, stir the salt into the vinegar. Pour the mixture into the boiled water and stir to finish dissolving the salt. The water does not have to reach room temperature, since it will continue to cool as you make the brine. Fill the jar to the brim with brine. Close the jar tightly with its lid. Invert the jar into a bowl and leave it outside the refrigerator. After one day, turn the jar upright. Check to see how pickled the cucumbers are. If you used the smaller, slender cukes, it is probably time to refrigerate the pickles. They will be completely done in another three or four days. If you used larger cucumbers, leave them out for another day or two. Check for doneness according to your preferences – if you prefer half-sour, they should be edible after just one-two days.

When the pickles are as done as you like them, you can pour out half the brine, leaving as many spices in the jar as possible. Replace the removed liquid with a mixture of plain boiled water and vinegar. For each cup of boiled, cooled water, add two tablespoons of white vinegar. Fill the jar to the top again and refrigerate. You can also remove the hot pepper if you don’t want the pickles to get spicier over time.