Simple Sauteed Snow Peas

Readers, meet my new favorite side dish.

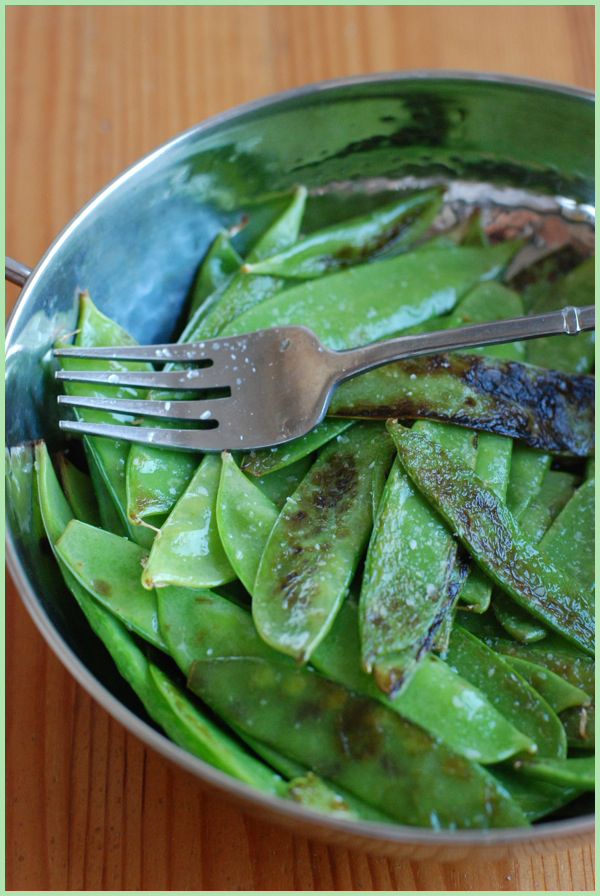
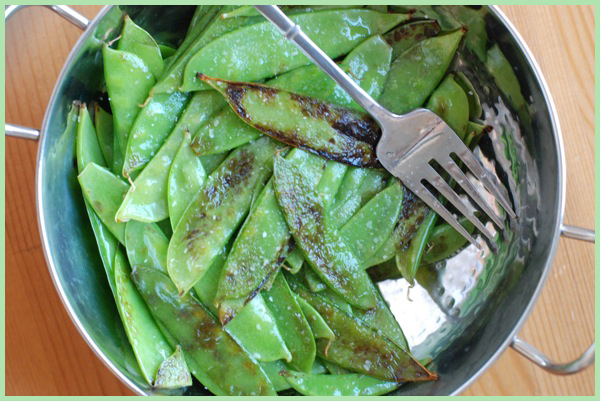
We spent the morning of our first full day in Santa Fe downtown, at a farmers' market adjacent to an artists' market (a lethal concoction as far as my wallet was concerned). At the tail end of our stroll through the farm stands, I caught a glimpse of an overall-clad gentelman manning a fry pan set over a camping stove. I headed over to see what he was cooking, and before I could see any of the wiry, bright green snowpeas bouncing around the frying pan, I hear the crackle-snap of their dip in the hot oil and knew the end result would be mighty tasty. I stuck around. Sure enough, after a few flips of the pan, the blistered snowpeas landed on top, giving their still-green comrades a turn over the heat. Once all the peas were glistening with oil and many were blackened in spots, the gentleman tossed a generous pinch of flaky salt over the vegetables, poured them onto a plate, and shouted for customers and neighboring farmers to get one while they're hot. I wasted no time popping one of the smoking-hot snowpeas into my mouth.

Their crunch was what caught me first: blackened where their bumpy surfaces had touched the scalding pan, much of the flesh managed to remain crisp, striking just the right balance of doneness. The snowpeas were vivid green, their juices gathering at the bottom of the plate and mixing with that lovely salt. I could've eaten the whole lot myself. Naturally, I bought a couple pounds of his bounty, determined to wow D's family with this surprising treat.

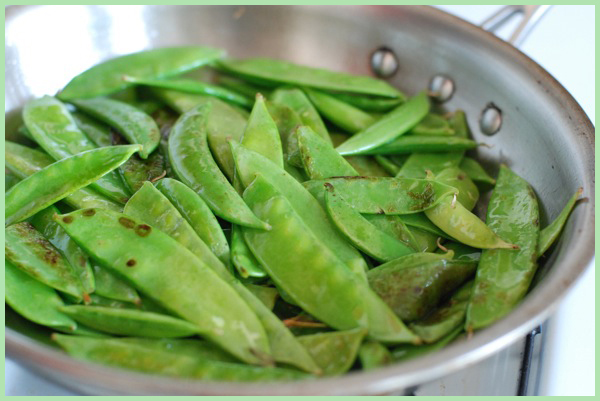
This isn't one of those stories that ends in failure. I'll spoil the punch-line right now: for an addictive appetizer or side, it just doesn't get more foolproof than this. You need only the most modest mis en place: a hot pan, a glug of oil, a couple pinches of salt, and the freshest, crispest snowpeas you can find. The dish practically makes itself. If you want to put them over the edge, squeeze some lemon over the peas just before serving.

If you're making these for a crowd and don't have a very large (15-inch) pan, make them in batches. You want these guys to really blister, and they won't if the pan is crowded. Let the snap-crackle of the peas be your guide: when the vegetables first hit the pan, they'll really sizzle (watch those forearms -- the oil will spatter). After a while, the sound will let up. If the next time you flip the peas, none have browned on the bottom, add a splash more oil: let the sizzling resume. I've made these twice, and each time, the peas have needed about four pan-flips, maybe a total of 7-8 minutes in the pan. Don't stress if yours seem done after 5 minutes or need a bit extra time -- they'll be done when they're done.

Last night, I served a dish of these snow peas as a side dish to complement seared tuna. But the first time I made them, I served them up right out of the frying pan, smoking hot, to a crowd of hungry bellies waiting on barbequed chicken. These were the perfect low-key appetizer, just the sort of thing you want to absentmindedly munch on while waiting for dinner to hit the table.

Simple Sauteed Snow Peas serves 6

2 lbs. snow peas, as fresh and crunchy as you can find 'em, rinsed and thoroughly dried olive oil 2 pinches salt wedge of lemon

Heat 2-3 tablespoons olive oil on medium-high in a large stainless steel pan, not a nonstick one. When the oil shimmers on the surface, add 1/3 of the snow peas (careful! oil will splatter). Leave the pan alone for a minute or two, and the peas on the bottom will begin to blister. After about 2 minutes, give the pan a big toss. Blistered peas should rise to the top, and less cooked ones should descend to the bottom of the pan, close to the heat. Again, let the pan be for about 2 minutes. Toss again, to redistribute peas. If peas haven't blistered, add a tablespoon more olive oil to the pan.

After about 7-8 minutes, peas should be cooked through but still crispy, and some should have darkened or blistered spots. At this point, sprinkle a pinch of salt over the peas, and transfer to a serving bowl or platter. Repeat this process twice more, cooking 1/3 of total peas each time. After all peas have been cooked and transfered to serving dish, squeeze wedge of lemon over peas, use large wide spoon to distribute lemon juice, and serve immediately. (Peas will also be delicious at room temperature, so if you're not serving as an appetizer to some hungry folks, don't sweat it; set them aside, and serve when everything else is ready.)
Fried Squash Blossoms

Please welcome my good friend Jeremy, who's going at 'em again with his second guest post on NDP. I'm off to Santa Fe, NM for the long weekend, and Jeremy's babysitting the blog (because 4 kids isn't enough!) while I'm gone. Behave now...and get thee some squash blossoms!

I'm not one for begging, but I'm begging you, dear reader, not to miss out on the squash blossom.

For some reason, this extraordinary harbinger of summer seems to scare the bejeezus out of people. For the past month or so of Sundays, I've found myself lingering at a table covered with little wooden baskets filled with these delicate, delicious flowers. And without fail, I've overheard conversations like this one, between two veteran denizens of DC's biggest farmers' market:

"What would I do with them?" -"I don't know." "I mean, I love squash, but the blossom... whatever." -"I know. There must be a reason you never see them on a menu anywhere." "Exactly."

Verbatim? No. But you get the idea. So let's set the record straight, shall we?

First of all, a bit of demystification: they may look exotic, but we're just talking about the flower of the squash or zucchini here. On the farm or in the garden, they're ubiquitous this time of year. Squash are monoecious, you see, which means both male and female blossoms appear on the same plant. Only the female flowers will produce fruit (sometimes you'll see them still attached to smaller zucchini, courtesy of particularly gentle growers). However, early in the season, male flowers tend to dominate the plant, and when they realize there aren't many females around to pollinate, the male blossoms just give up, and drop right off the vine. Lucky us. Later in the season, we get a mix of male and female flowers to gather and enjoy; they all taste awesome.

Secondly, what you do with squash blossoms is fry them. It's so easy a child can do it, which, in fact, my six year-old daughter does (with some supervision around the hot oil, of course).

Finally, the reason you almost never see squash blossoms on a restaurant menu is that by the time they reached your table, they would be past their prime: these little lovelies are at their best straight out of the pan, not after sitting on the slide waiting for your server to make sure your companions' apps are ready to go, too. Chefs get this, which is why you don't see these treats often, even when they're in season, as they are right now. But you can bet that when the pros are at home whipping up a meal for friends, they've got squash blossoms sizzling away to snack on while they cook. And so should you.

The immediacy of this delicacy, the drop-dead simplicity of their preparation, and the uniqueness of their flavor, are what make squash blossoms so special. Harvest. Cook. Serve. Eat. It's what summer food is all about.

Now, you can jazz up squash blossoms if you insist. You can stuff them with a soft cheese -- some swear by ricotta. You can batter them in beer, or sprinkle them with cayenne. But we stick to basics. Olive oil. Flour. Milk. Salt. Squash blossoms. That's it.

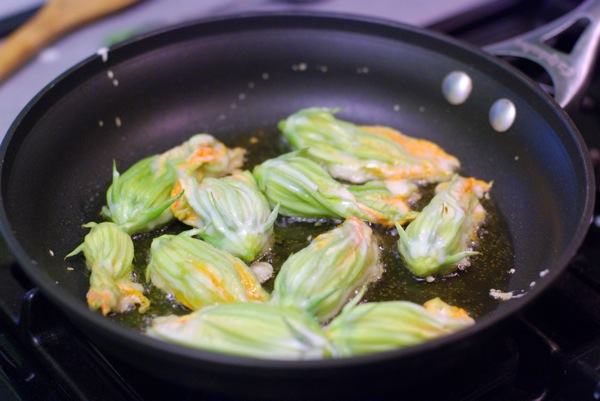
So here's what you're going to do. Grab you're favorite skillet -- non-stick works great here, if that's how you roll. Take some good olive oil and cover the bottom of the pan, just a couple of millimeters or so. Then turn the heat to medium-high and let the oil get nice and hot.

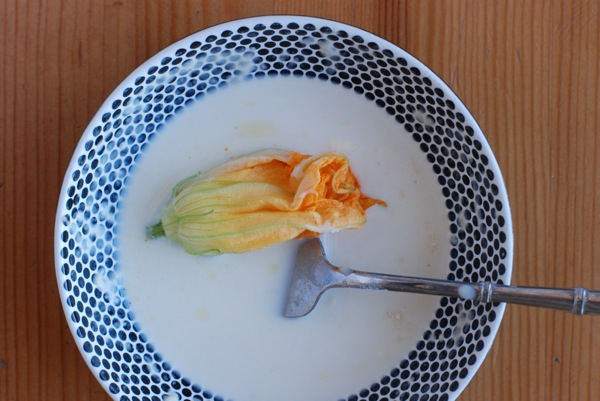
While that's happening, put a couple of spoonfuls of flour into a shallow bowl, add a splash of milk, and whisk them together with a fork (or a whisk, if you happen to have one handy) until you have a thin batter. This isn't tempura, folks -- go too thick and you'll overwhelm the blossoms. Sprinkle in some kosher salt, whisk a little more, and you're good to go.

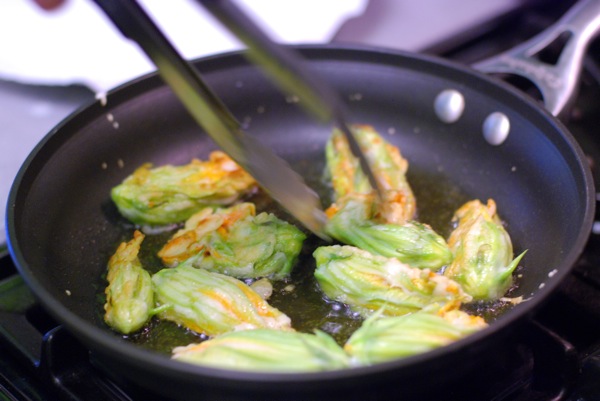
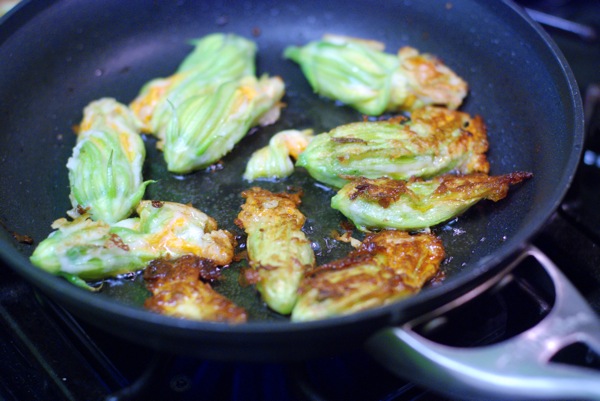
Dip your finger in the batter and flick it in the oil. If the oil sizzles, then you're ready to make the magic happen. Take a blossom between your fingers and dredge it in the batter -- I find a twirling motion to be particularly effective. Slide the flower carefully into the oil, turning it in a couple of minutes or so, when the pan-facing side is golden and crisp. You're done when the blossom is uniformly gorgeous in all its summer splendor.

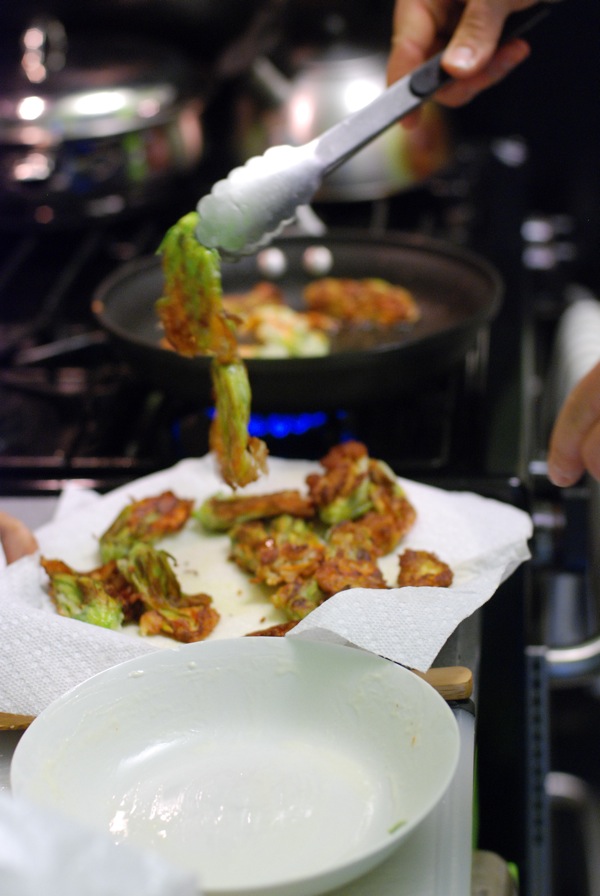
Set it on a paper towel, give it another dash of salt, and pop it in your mouth as soon as you're sure you won't burn your tongue. Then invite your friends to hang around the kitchen. You'll feel satisfaction akin to sharing a really great secret. And they'll be eternally grateful.

See? There's nothing to be scared of... except missing out.

Cheese Puffs

One of the first cookbooks I owned was Nigella Lawson's Nigella Bites. I bought it at Anthropologie, back when Nigella was a Travel Channel sensation. The Food Network had already gone the way of the dodo, its cleavage-showing hostesses flashing smiles as they tasted "delicious" homemade tarts filled with the scooped-out innards of a store-bought pumpkin pie. No thanks. Nigella's show was where the fun was at. You could catch the gorgeous broad sneaking downstairs at 1 am in adorable pink PJs, in search of a late-night snack. The camera would zoom really close as she opened the fridge, stuck a finger into a big bowl of chocolate mousse, and licked her finger clean. A dip into the chocolate mousse, pudding, anything, at 1 am is a classic Friedman move. When I saw Nigella do it, I was hooked. She seemed real.

Her cookbook conveyed that same honesty. There were pictures of her with curlers in, wearing a bathrobe. There were sweet ramblings about her favorite suppers, and a mouthwatering picture of homemade pasta and meatballs. And it didn't stop there. Nigella devoted a chapter of the book to what she called “Legacy.” The section contained humble recipes that were the hallmark of her childhood, things like “Granny Lawson’s Lunch Dish” (a slab-pie of sorts, filled with hard boiled eggs, ground beef, and olives) and “Soft Boiled Eggs with Asparagus Soldiers.” I loved this section because even though I’m pretty sure I never made any of the recipes contained within, it provided the most sincere picture of where Nigella came from.

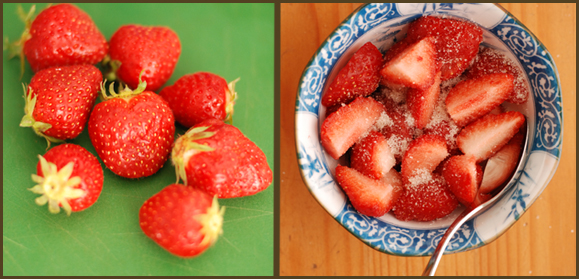
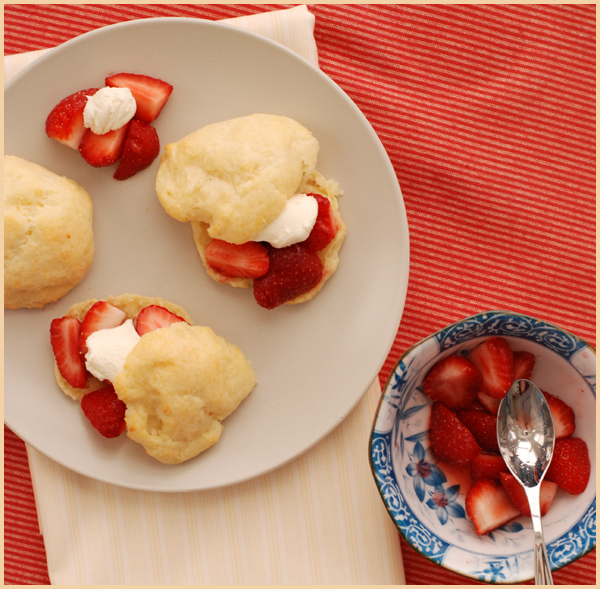
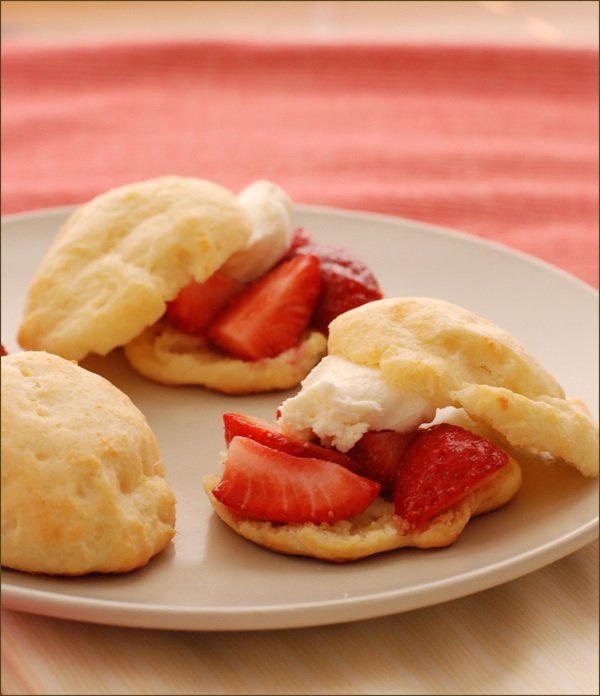
If I had a cookbook (to dream!), and it had a legacy section, this recipe for cheese puffs would certainly make the cut. It's a humble recipe; if you saw cheese puffs at a party, you'd probably pass over them in favor of the the rhubarb curd. But to do so would be quite a mistake. A cross between pancakes and biscuits, cheese puffs are crispy and golden around the edges, soft and chewy within. They're a bit sweet, but unexpectedly, refreshingly, tangy. My father likes them with just sour cream, but I prefer a bit of mascarpone cheese or greek yogurt, and fresh strawberries. But however you eat them -- with sour cream, with greek yogurt, with berries, with nothing at all -- once you start, you kinda can't stop.

Lately, I've been thinking a lot about the recipes of my childhood and how they've shaped the kind of food I like to cook, the kind of food I love to eat. Cheese puffs epitomize the legacy of my family's cooking and eating style because they're easy enough to make on a deadline, but intriguing enough to be addictive.

That's legacy.

I'd love to hear about the recipes of your childhood, the legacies of the kitchen where you grew up. Let's get this conversation started. And if y'all are interested, I'd like to share more of the recipes from my mom's kitchen.

Cheese Puffs

Cheese Puffs Adapted from Norene Gilletz's The Pleasures of Your Processor, via my mother

Note: I use Friendship brand farmer cheese, which is the only one I've seen recently. If you can't find farmer cheese, you can strain some ricotta for a couple hours until some of the whey drains. You can also use cream cheese, in a pinch.

1 lb farmer cheese (2 6 oz. packages will work just fine if that's what your store carries) 3 eggs 1 stick (8 tablespoons) butter, melted 1/2 teaspoons salt 1/4 cup sugar 1 1/2 cups unbleached all-purpose flour 2 teaspoons baking powder

Preheat the oven to 350.

Place all ingredients in bowl of food processor and process until combined, about 30 seconds. Don't over process; the batter should be mixed completely but still somewhat chunky or lumpy. It should be moist but not runny.

Drop by heaping spoonfuls onto cookie sheets lined with parchment, or lined with foil and greased well. I prefer the parchment because the puffs brown more evenly on the bottom that way.

Bake for 25-28 minutes. The puffs should be just lightly golden and still very soft. Serve warm with sour cream, creme fraiche or Greek yogurt and fresh berries. I sometimes slice them open and put the mascarpone or yogurt and berries inside, but usually just eat the fix-ins alongside.

Cheese puffs freeze and reheat very well. Freeze them on lined cookie sheets in a single layer; once frozen, transfer to air-tight plastic bags. They'll keep for a couple months, if you don't eat them before then.

The recipe makes 18-20. If you have an extra large processor you can double and make 3 dozen puffs. Otherwise make two batches.

Two Bruschette for Spring

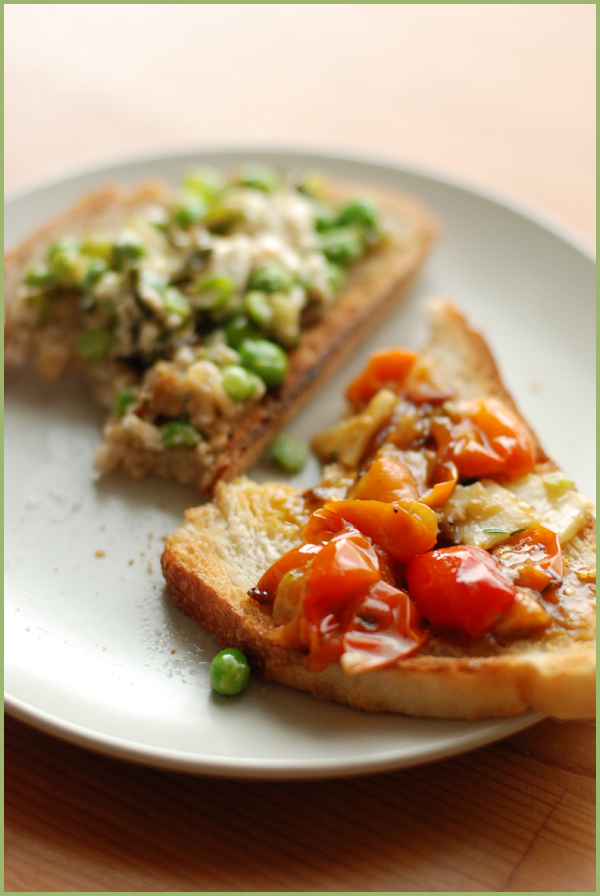
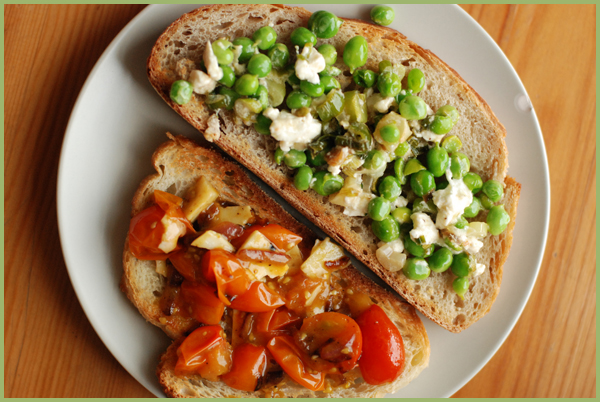
While I've usually thought of May as the true spring-to-summer transition month, these days, June seems to be taking on that role. One day the weather's as hot and sticky as boiling caramel, the next it's as cold and damp as the dish towel. But the erratic weather carries with it the promise of vegetable bounty. I may be mourning the end of asparagus season (how did I not realize until now that asparagus are the best vegetable on earth?) but I'm ramping up for my full-blown annual tomato courtship. And it's just tomatoes that roll around in June -- peas, snap and shelling varieties, have finally made their debut. Few things make me happier than bright green peas and tender, juicy tomatoes: there, I've exposed myself in all my nerdiness.

Over the past few years, I've settled into something of a routine when it comes to tomatoes and peas. I love tomatoes raw in salad, or simply sliced with a little flaky salt and olive oil. I get thrills from popping peas out of their pods and into blanching water, or tossing them with asparagus into pasta primavera. These bruschette are every bit a part of that routine. The tomato bruschetta occupies that middle ground between unadulterated raw tomato slices and a good, rich, labored tomato sauce, concentrating the flavor of the tomato without sacrificing its essential texture. Ditto the pea bruschetta, which celebrates the freshness of the peas' by adding complementary flavors, but retaining their plump firmness. I suppose by now it's pretty clear: I'm totally hooked on pea and tomato bruschette.

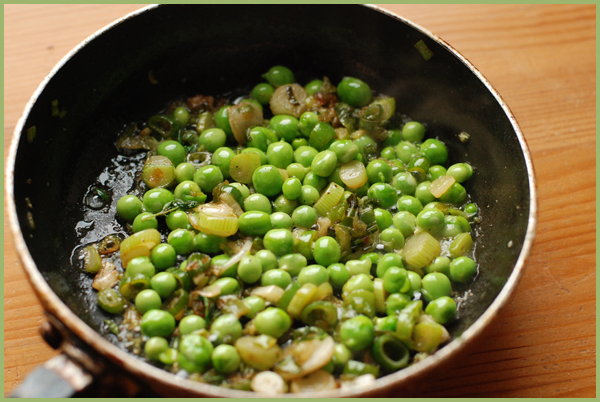
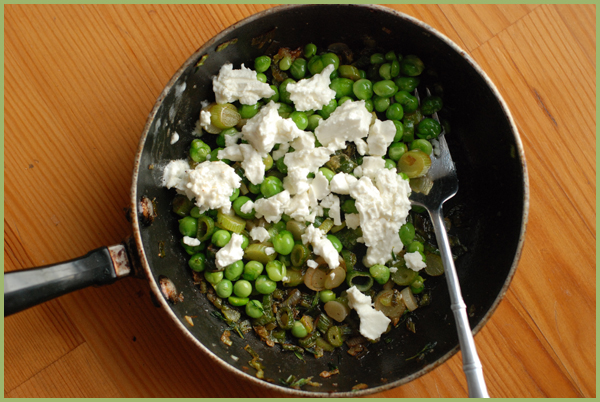
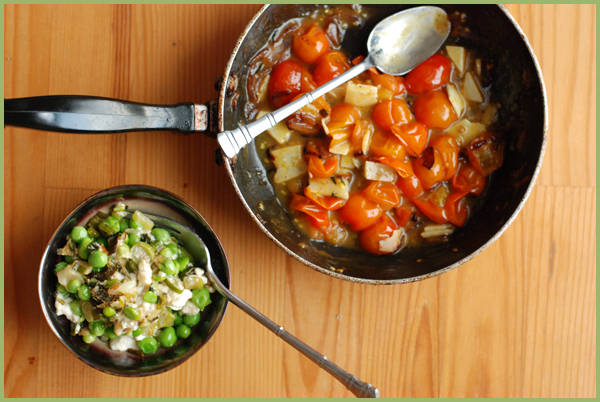
I've used a pretty simple method to make these bruschette. First, I saute some aromatics in butter (scallions with the peas, red onions with the tomato). I deglaze the pan a couple times with a bit of water, which reduces with the butter and onion to form a base for the vegetable. In goes either a handful of cherry tomatoes or a cup of peas, a bit of thyme, plus a pinch of salt and a grind of pepper. Five minutes of tossing and stirring later, I add just a bit of cheese (feta with the peas, sliced Pecorino Romano with the tomatoes) to tie it all together, and dump the whole panful on a piece of toasted sourdough (peas) or Italian (tomatoes) bread. Fin.

Naturally, you shouldn't feel tied to my specifications. Prefer a different bread? Happen to have yellow onions instead of green or red? Whatever. It'll still be delicious. And if you don't have pecorino on hand, which I usually don't, a thick grating of parmigiano reggiano would be great with the tomatoes.

If you're the type who likes a proper dinner -- one that requires a knife and fork and, oh, a table -- then, maybe, file this under "snack." But it makes a pretty darned good supper for the rest of us, and I've been known to whip these up for breakfast in the morning before heading off to work. Can you blame me?

Pea or Tomato Bruschette makes enough for 2 slices of bread; as you can see, I made 1 portion with peas and 1 with tomatoes, and the total was enough for dinner for 2.

2 tablespoons butter 2 scallions or half a red onion, chopped 1 cup of freshly-shelled peas, or 1/2 pint cherry tomatoes, halved 2 small sprigs thyme salt and pepper 1/3 cup feta or Pecorino Romano cheese a lemon wedge, for pea bruschette 2 slices bread olive oil for finishing, if you're feeling luxurious

Set a saute pan over medium heat, and add butter. when butter begins to bubble, add onion. Shake pan to distribute, and give a stir if you need to. When onion begins to turn golden at the edges, sprinkle a couple tablespoons water into the pan; it should pop and sizzle. Stir or shake pan to distribute water evenly, and continue cooking. As water evaporates, onions will begin to color some more. When that happens, add a couple more spoonfuls of water and stir. Repeat this step once more the next time onions color; by then, you should have a brownish onion mixture in the pan, that's more flavorful than you can imagine.

Add tomatoes or peas, leaves from the thyme sprigs, a pinch of salt, and a grind of the pepper mill. Shake the pan or give contents a stir to distribute tomatoes or peas among the onions. Leaving the heat at medium, cook for about 5 minutes, stirring regularly, to allow vegetables to soften.

When tomatoes are soft and juicy, or peas are bright green and perfectly bursting, turn off the heat and add the cheese. Stir the cheese into the vegetables. Meanwhile, pop the bread into the toaster. When bread is golden brown, set on a plate, top with bruschette, and finish with a swirl of olive oil. Eat. Now.