Cherry Sour Cream Coffee Cake

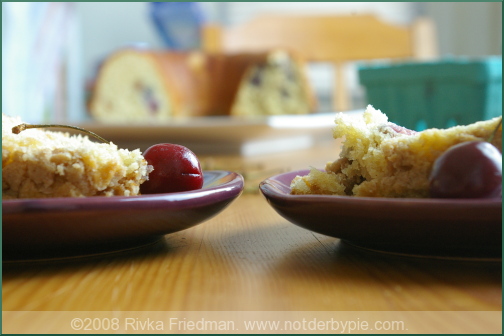
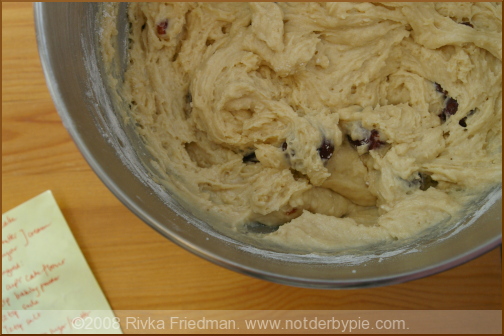
cherrycake1.jpg I don't know if trashy is your cup of tea, but when I was a kid I absolutely loved Entenmann's ultimate crumb cake. The ratio of crumbs to cake on that thing was approximately 8:1, the little bit of cake base wholly overwhelmed by a thick coat of streusel. Still, I hardly ate the cake. Frankly, I just liked those crumbs.

cherrycake3.jpg

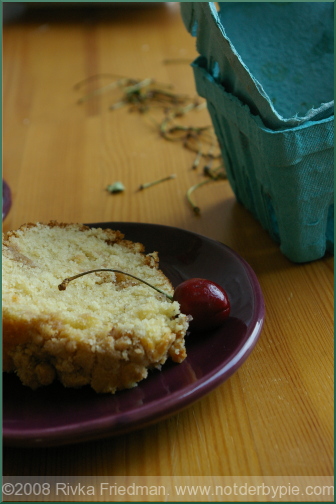
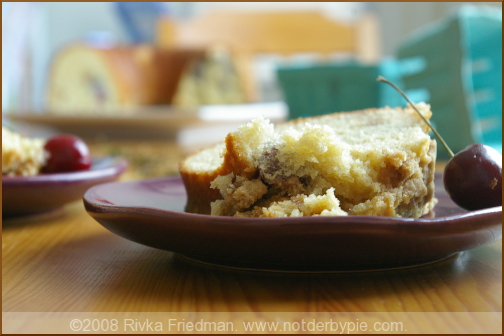
While Entenmann's isn't exactly my thing anymore, I still have an uber-softspot for crumb cake. Something about that combination of brown sugar, nuts, cinnamon, and (of course) butter makes almost any cake better. I've outgrown my habit of picking crumbs off the cake (ahem, almost), but to compensate, I've taken to putting in twice the amount of streusel called for in the recipe. In case you're not so inclined, I've recorded the original recipe here.

cherrycake2.jpg

Well, almost the original recipe; I happened to have some of the last of summer's sweet cherries, which I pitted for this cake. If you have sour cherries lying around, they'd be even better.

cherrycake4.jpg

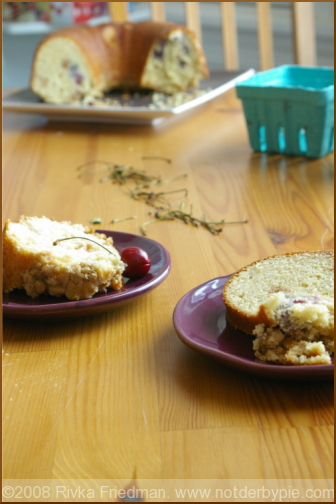
The cake turned out splendidly, indeed: sour cream makes it incredibly moist, the copious amounts of butter give it a fine and delicate crumb, and the cherries add some zing and moistness as well. All in all, quite a success. When a close friend came to town, I served it as a lazy and indulgent breakfast; lemme tell you, there's nothing quite as wonderful as piping hot crumb cake. Call my bluff -- give it a try.

cherrycake5.jpg

Cherry Sour Cream Coffee Cake

12 tablespoons (1 1/2 sticks) unsalted butter at room temperature 1 1/2 cups granulated sugar 3 extra-large eggs at room temperature 1 1/2 teaspoons pure vanilla extract 1 1/4 cups sour cream 2 1/2 cups cake flour (not self-rising) 2 teaspoons baking powder 1/2 teaspoon baking soda 1/2 teaspoon kosher salt 2 cups cherries, pitted

For the streusel: 1/4 cup light brown sugar, packed 1/2 cup all-purpose flour 1 1/2 teaspoons ground cinnamon 1/4 teaspoon kosher salt 3 tablespoons cold unsalted butter, cut into pieces 3/4 cup chopped walnuts, optional

Preheat the oven to 350 degrees F. Grease and flour a 10-inch tube pan.

Cream the butter and sugar in the bowl of an electric mixer fitted with the paddle attachment for 4 to 5 minutes, until light. Add the eggs 1 at a time, then add the vanilla and sour cream. In a separate bowl, sift together the flour, baking powder, baking soda, and salt. With the mixer on low, add the flour mixture to the batter until just combined. Finish stirring with a spatula to be sure the batter is completely mixed.

For the streusel, place the brown sugar, flour, cinnamon, salt, and butter in a bowl and pinch together with your fingers until it forms a crumble. Mix in the walnuts, if desired.

Spoon half the batter into the pan and spread it out with a knife. Sprinkle with 3/4 cup streusel. Spoon the rest of the batter in the pan, spread it out, and scatter the remaining streusel on top. Bake for 50 to 60 minutes, until a cake tester comes out clean.

Let cool on a wire rack for at least 30 minutes. Carefully transfer the cake, streusel side up, onto a serving plate.
Endive, Orange, and Avocado Salad

endive1.jpg Now that farmers' markets are fully stocked and hot weather is creeping up on us, I'll be kissing my oven goodbye and putting it to sleep for a few months. I don't know about you, but it costs us an arm and a leg to pump the A/C into our apartment enough that I don't faint from oversweating; the last thing I want to do is make it harder for our little cooling engine that couldn't. So long as I can hack it, I'll be making salads regularly. Summer's produce is fresh, juicy, flavorful, and tasty without any heat applied. Why make stew when tomatoes are perfect, yes perfect, with just some olive oil and salt? And when I'm making salads, I'm using avocados in almost every one of them.

endive2.jpg

endive3.jpg

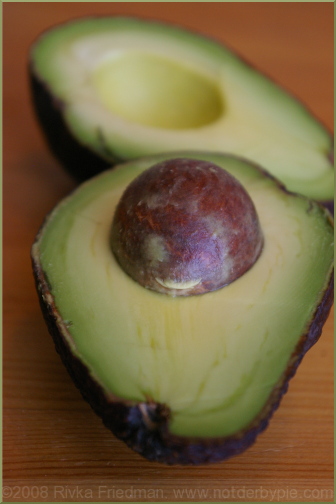
A friend of mine calls avocados "god's butter." They're smooth and creamy without being overly rich, and I could eat a whole one for breakfast lunch a snack. Just sprinkle a little fleur de sel on top and they're good to go.

endive4.jpg

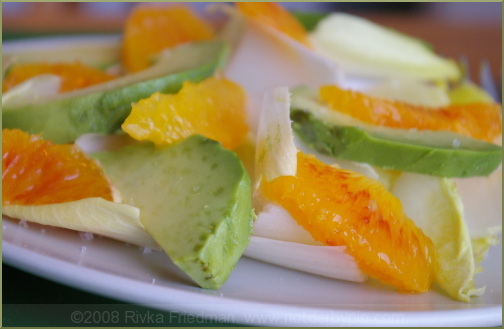
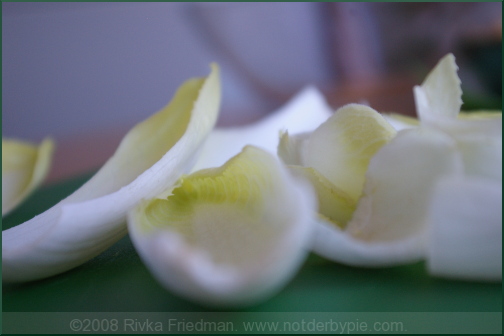
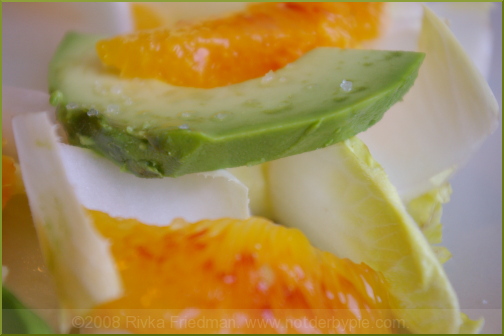
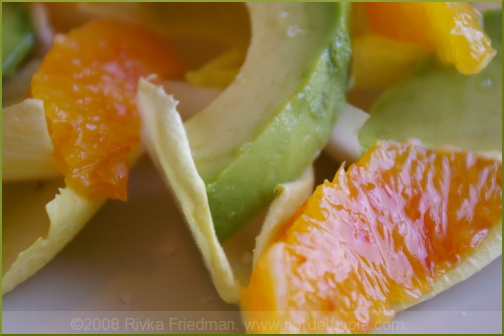
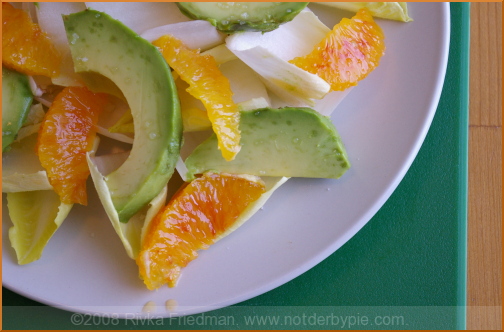
In this here salad, avocados really shine. Bitter, crunchy endive and sweet, tart, juicy oranges contrast the mellow richness of the avocado perfectly. You can take its dressing in all sorts of crazy directions, but the one I made was dead simple: orange muscat vinegar (a new pantry addition -- absolutely fantastic!) and a couple drops of good quality olive oil. And of course, a bit of fleur de sel for those avocados. Feel free to use flaky salt if you don't have fleur de sel.

endive5.jpg

Estimate 1/2 and avocado, 1 orange, and 1 endive per person; Separate the endive leaves from their base, halve them, stick them in a bowl with separated sections of orange (I used valencia seedless) and thick slices of avocado, and drizzle the dressing overtop. Finish with salt, and do enjoy these coming summer months.

endive6.jpg

Vintage Breakfast Biscuits

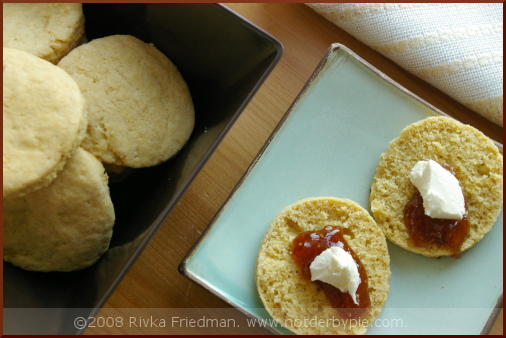
vintage1.jpg I'm gonna go out on a limb here and say that everyone loves a good buttermilk biscuit. What's not to love? buttery rich flavor and mouthfeel, flaky texture, piping hot innards, and now I have to stop because I'm salivating. Back in Israel, D used to get super excited at the prospect of biscuits for breakfast. Now that I've discovered my absolute favorite buttermilk pancake recipe, biscuits get less airtime in our house, but I haven't totally forgotten about them.

vintage2.jpg

This weekend, I decided rather impulsively to throw a batch together. Mind you, this wasn't an 8am inspiration I had -- it was the middle of the afternoon. We don't do biscuits for dinner in my house, and likely wouldn't be eating the bulk of them until the next day (or even -- eek! -- the day after.) But I still couldn't resist. I decided to compromise by making a more durable biscuit, one that could serve as a crumpet or scone equivalent for an afternoon snack with tea.

vintage3.jpg

Buried deep in my never-stack of must try recipes, many of which I print out four to a page and stack above my cookbooks (yep, D loves that little stack of papers that never disappears), was a lovely recipe for Vintage Jam Tarts from Heidi at 101 cookbooks. Heidi's recipe was from her grandma -- hence the "vintage" in the title -- and her tarts looked appetizing and unfussy. The method behind vintage jam tarts was to make a simple biscuit dough, cut circles out of the dough, and remove a smaller circle from half of the biscuits. Heidi stuck some jam in between, baked them off, and voila! -- easy tarts.

vintage5.jpg

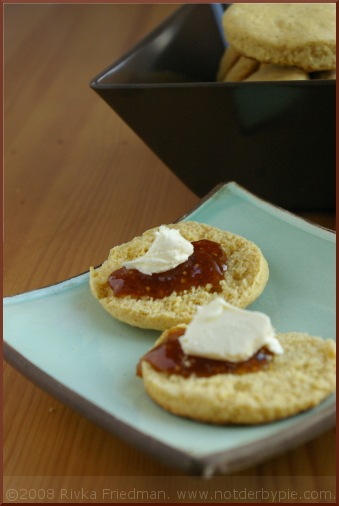
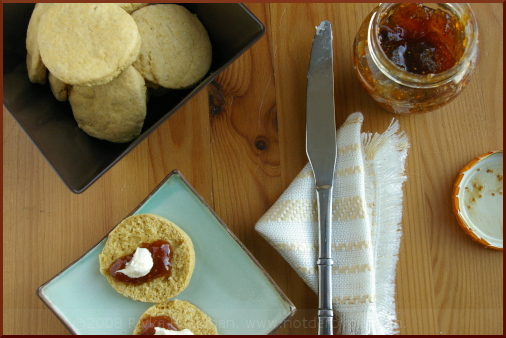
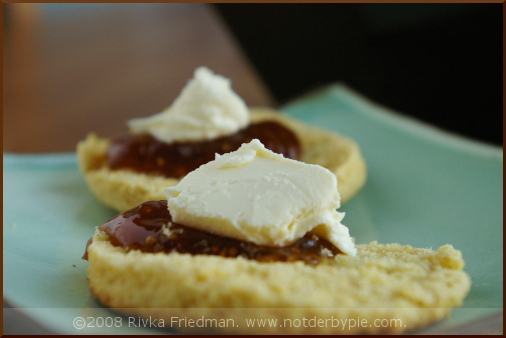
As I wanted biscuits, I halved the recipe and skipped the sandwiching step, leaving me a rather generous batch of thin, flaky biscuits. As the taste and texture of these biscuits were more subtle and delicate than usual, I skipped my old standby of raspberry jam and opted instead for some fig spread and clotted cream. (Note: clotted cream is a delightfully thick cream, so dense it's spreadable as butter. It's available at Whole Foods and other specialty markets, or here, at Amazon. I should probably call them crumpets at this point, sounding as British as I do.

vintage4.jpg

Vintage Breakfast Biscuits

  • 1 cup finely-ground cornmeal
  • 1 cup whole wheat pastry flour
  • 2 cups all-purpose flour
  • 1 1/2 teaspoons finely ground sea salt
  • 2 tablespoons baking powder
  • 3 tablespoons sugar
  • 1 cup unsalted butter, chilled, and cut into 1/4-inch chunks
  • 1 1/2+ cups milk
  • 1 egg, just the egg white
  • 1/3 cup jam (any flavor(s) you like)

Preheat your oven to 425 degrees.

Into a large bowl, or preferably, a food processor add the cornmeal, flours, salt, baking powder, sugar. To the dry ingredients add the butter. Using a pastry cutter or 30-35 quick pulses of the food processor, blend the mixture until it resembles tiny, sandy pebbles.

Dump the mixture into a medium bowl, add 1 1/2 cups of milk and with a fork stir just until everything is combined. You are going to roll out the dough, so if it is too wet, stir in a couple extra tablespoons of flour, if it is too dry stir in an extra tablespoon or two of milk. You don't want to overwork the dough, or your tarts will be tough, so stir only as much as you have to.

Dump the dough out onto a well-floured surface, pull it together into one large mound, and roll out until it is about 1/3-inch thick. Pat with more flour if things get sticky - sticky dough is your enemy in this recipe. Cut the biscuit dough with a medium cutter (the one I used was about 2-inches across), then cut into half the rounds with a slightly smaller cutter if you're making tarts.

Brush the large rounds with a bit of egg white - this will give the tarts that nice golden color. Place the outer rings on top, brush those with the egg white, and fill with a bit of jam.

Place the tarts on a rimmed baking sheet and bake for 10-13 minutes - I found that 10 minutes was enough for the biscuits. The rimmed baking sheet is important to use if you're making tarts because they tend to have a bit of runoff, and you want to prevent a mess in your oven.

Makes about 1 - 2 dozen tarts, depending on the size of your cutters.

Shakshuka

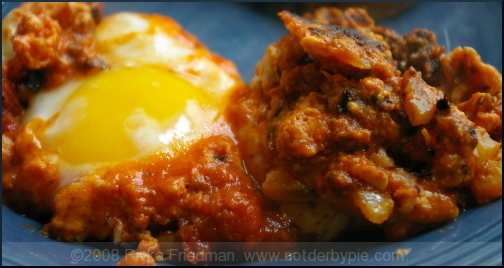
shakshuka4.jpg To say I love shakshuka is both a huge understatement and slightly misleading. How's that? Well, I more than love shakshuka; it's one of my absolute favorite breakfasts, lunches, and dinners, and hell, snacks. When D and I can't agree on what to put in the omelet or pancakes, I just say "shakshuka?" and everyone shuts up. (Usually.)

However, I like shakshuka my way. And my way is... well, my way is delicious, but it's not really shakshuka. Traditional shakshuka is an Israeli dish comprising sunny-side-up eggs in a spicy, onion-y tomato sauce. That's how I make it for D, but not for me. Please don't yell or scream or call me a fake foodie, but I don't like runny eggs. I know they're delicious and wonderful and life-changing for many-a-gourmet, but I'll have my eggs rubbery as leather and burnt on the outside, thank you very much. Scoff if you must.

shakshuka1.jpg

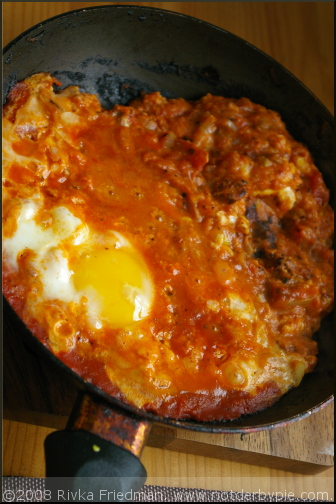
Shakshuka is easily fixed to my liking: about 2/3 of the way through the cooking process, after the egg has developed what know-it-alls call a skin, I go at it with a fork and break up the scary bits of ooziness into the sauce. Some of it mixes in with the sauce, and some stays separate; the end result is a bit of scrambled egg in a fantastically thick tomato sauce. And a happy Rivka.

Until yesterday, I'd been making shakshuka with whatever tomato sauce I had lying around and few, if any, additions. However, recently I took a field trip during my lunch break to Penzey's Spices (only the best freakin' spice shop ever ever ever, in my humble opinion. But don't trust me -- just ask the experts.) Among my treasures was a bottle of aleppo pepper, which has got a nice bite, lovely fruity and floral aromas, and an addictive flavor. I added some to my shakshuka this morning and will be doing so from now on -- it was a wonderful addition to an already great dish! If you don't have aleppo pepper just lying around your house, tsk tsk. Kidding. Just use some other chili flakes or powder, or skip it entirely; it's hard to make shakshuka taste bad.

shakshuka2.jpg

Shakshuka

  • 2 eggs
  • 2 cups tomato sauce
  • 2 Tbsp. chopped onion or shallot
  • 1/4 tsp. aleppo pepper
  • 1 Tbsp. olive oil
  • salt

In an omelet pan, sweat the onion in the olive oil over medium heat until translucent, stirring constantly, about 1 minute. Try not to let the onions burn -- though if they brown a bit it's no biggie.

Add the pepper and toss to coat; add the tomato sauce all at once, have an apron on so that it doesn't pop all over you, and stir to incorporate the onions.

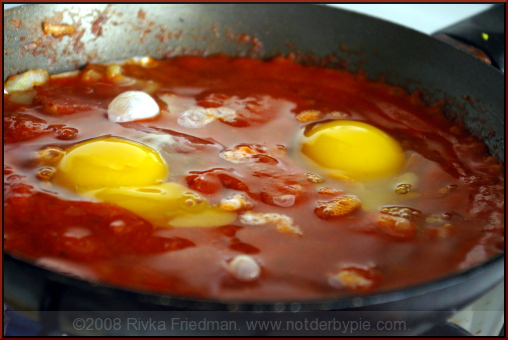
Crack the eggs, one by one and side by side, into the tomato sauce. Turn up the heat to medium high. Cover the pan with a piece of tin foil or a larger pan. Leave be for a minute.

When you uncover the pan after a minute or so, you'll notice that the eggs have started to develop a skin; if you prefer your shakshuka cooked incorrectly, as I do, start to break up the yolks with a fork and stir into the sauce. Otherwise, just leave them as they are. Use a spatula or fork to scrape the burnt bits of sauce from the bottom of the pan.

After about 4 minutes, your eggs should be fully cooked and salmonella free. Traditionally, the shakshuka would be brought to the table in the pan, and people would scoop portions onto their plates there. Alternatively, scoop one egg and a fair amount of sauce onto each person's plate, and serve good, crusty bread alongside.

shakshuka5.jpg