 Have I told you about Rancho Gordo? Having read too many articles about the joys of dried beans, I teamed up with my officemate and we ordered a shipment. Now, under my counter, I've got a healthy supply of them, including rio zape, tepari, mayocoba, garbanzo, and borlotti.
I've always loved beans. (It's tough not to when you grow up in a vegetarian house.) And I won't lie: nothing beats the convenience of canned beans. If you won't take it from me, take it from Adam: I couldn't agree more that in a pinch, canned kidney bean chili or canned garbanzo bean hummus tastes just great. But canned beans are on the mushy side, and they taste like salt. If I can spare the time and manage the advance prep, it's wonderful to bite into toothsome beans for dinner -- and nothing beats controlling your own seasoning.
Like I said, dried beans can't be made in a flash. They need to be soaked overnight, rinsed, and then simmered for at least a couple hours to achieve optimum texture. If you can manage the time, though, you'll see that dried beans have better texture and distinctive flavor, even when prepared uber-simply. Last night's dinner is a case in point.
Yesterday was a super cold day; I knew I'd want something warm and comforting for dinner, but I didn't want to use any meat products, so my frozen beef-broth cubes were out of the question. I'd put some beans in soaking water that morning, so that was a start. My normal inclination would be to dump the kitchen sink in a pot and hope it turned out well, but I've been thinking a lot about the value of restraint when seasoning food. Sometimes, the simplest dishes are the tastiest. How would my beans taste if instead of seasoning them with beef broth and 20 spices, I used water and 5? I decided that now was the time to try a minimalist bean dish.
On my way home, I did a quick mental-survey of my kitchen and remembered a lonely sweet potato in the bowl on the dining room table. As soon as I got home, I turned the oven to 350, wrapped the sweet potato (skin on) in old foil and tossed it in. I'd leave it there until the beans were done; by then, it'd be nice and caramelized, with a custard-like texture.
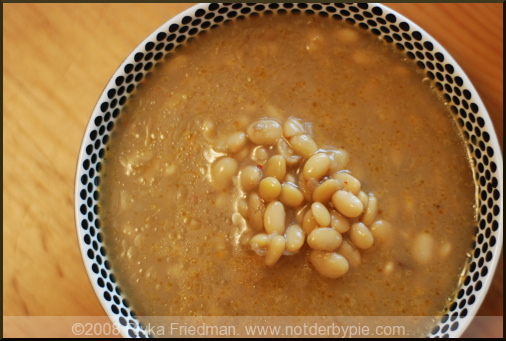
Meanwhile, I took 1 cup of soaked tepari beans (small, like cannellini) out of the fridge, drained them, and rinsed them a couple times. In a medium pot, I sauteed 2 chopped shallots in 2 Tbsp. of olive oil. To that, I added 1/2 tsp. coriander seeds, 1/2 tsp. smoked paprika, 1/2 tsp. aleppo pepper (chili flakes would work), a pinch of saffron, and 1 bay leaf. I stirred all this around for a couple minutes, then added the beans, stirred to coat with the seasoning, and added 3 cups of water. I turned the heat down to medium-low, and left the beans to simmer, covered, for about 2 hours, adding more water as necessary. In two hours' time, the spices mingled, and the beans released some of their own flavor as well. There was plenty of extra liquid, which formed a lovely pot liquor scented with coriander, smoked paprika, and, well...beans. I poured some into a bowl, added half of the sweet potato with its wonderful caramel-brown skin, got myself a spoon, curled up on the couch, and went to heaven. Amazing.
Beans in Broth with Caramelized Sweet Potato
(As I said, this recipe is simple, but truly amazing. So amazing, in fact, that I failed to take a picture of the finished dish. You'll have to let your imagination kick in here.)
1 sweet potato
1 cup tepari or other small white beans
2 shallots, chopped
1/2 tsp. aleppo pepper
1/2 tsp. smoked paprika
1/2 tsp. coriander seeds
pinch saffron threads
1 bay leaf
3 cups water
Wrap sweet potato, skin-on, in foil and toss in the oven. Turn on to 350 or 400 degrees (we're flexible), and just let it rip. Give it at least an hour; the longer, the better. I left mine in for about 2 hours and 15 minutes, and it was as soft as custard.
Pre-soak beans overnight or for at least 3 hours in water that covers them by at least an inch.
Drain and rinse; set aside.
In medium pot, saute 2 chopped shallots in 2 Tbsp. of olive oil. Add 1/2 tsp. coriander seeds, 1/2 tsp. smoked paprika, 1/2 tsp. aleppo pepper (chili flakes would work), and 1 bay leaf. Stir to incorporate, then add the beans, stirred to coat with the seasoning, and add 3 cups of water. Turn the heat down to medium-low, and leave the beans to simmer, covered, for about 2 hours, adding more water as necessary.
When beans are fork-tender but not mushy, pour a serving into a bowl with some of the bean broth, and add half the cooked sweet potato. If desired, top with grated parmesan cheese (though I didn't).
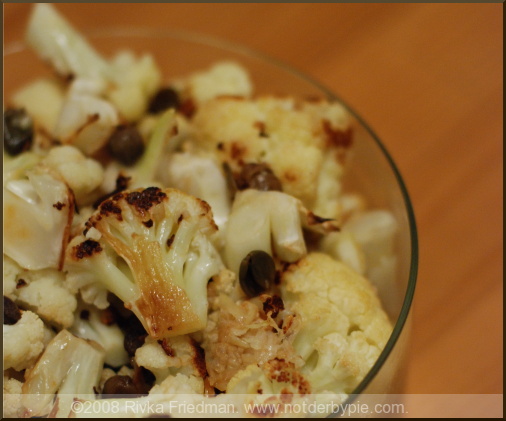
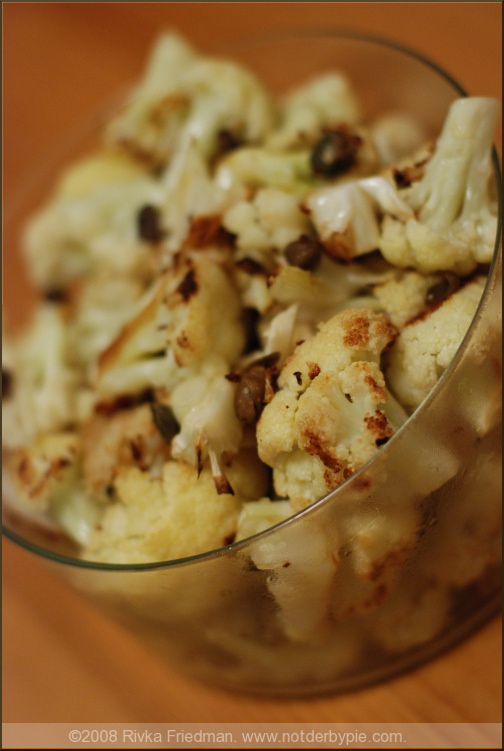
 Before you get annoyed that the title of this post is dramatic without being descriptive, consider the following: this recipe has 6 ingredients, including salt. It takes 25 minutes start to finish and is easily the most delicious cauliflower dish I I've ever had ever ever. Ever. Better to tell the world how wonderful it is than to try to name what can only be described as good, yes?
 Well, Menu for Hope was quite a success! Over $60,000 raised for the UN World Food Program in Lesotho...very impressive, especially considering the rough times.
  Have I told you about
  The third installment of "what's for [catered] brunch?" begins with a tip on cooking for a crowd. When cooking for a crowd -- especially if it's folks you don't know personally -- I always try to size up the guests during the menu-planning stage, so that I can be sure I'm cooking dishes that'll go over well, even if I don't care much for them. When Rocco DiSpirito was on Top Chef a couple weeks back, he announced (inappropriately, if you ask me) that he loves bacon; every chef but one presented a bacon dish. The chef that didn't actually made something that sounded pretty tasty, but he lost because Rocco likes bacon. Also: my friend Julia regularly cooks chicken when she hosts lunch, even though she's veg, because her guests like chicken and she aims to please. It makes sense: cook for the crowd, not necessarily for yourself.


