 Folks, I'm finding it hard to contain my excitement about NDP's second-ever guest post. Guess who wrote it? MY MOM!
That's right: in the post below, NDP Ima tells you all about easy-to-make, hard-to-stop-eating pickles. You'll see from her intro paragraph where I got my taste buds. These pickles are salty, tangy, and really bright from the addition of fresh dill. So read up -- then go make some pickles!
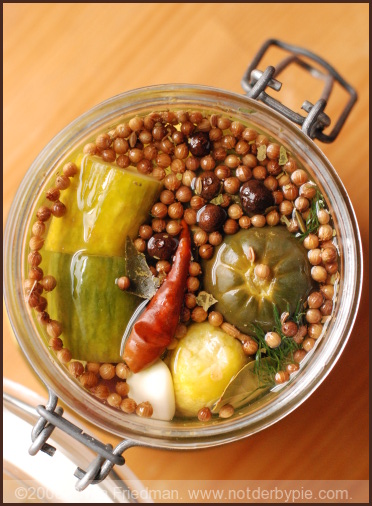
I am really not a salt lover. I don’t use much when I cook, and in restaurants great food that’s well-seasoned is often too salty for my taste. I don’t care for chips or french fries, and I prefer nuts spicy or au naturel. Nonetheless, I do love briny salty things – olives, capers, and sour pickles. So when I was leaving town for a long weekend and had a lot of small cucumbers that wouldn’t last until my return, I decided to try my hand at some pickles. I wanted spicy, garlicky, dill pickles that would make themselves in the refrigerator while I was gone. I remembered the ones a family friend used to make with cucumbers from his garden and my dad’s. He didn’t use shortcuts, though – he put his pickles in huge crocks of brine and alum in the basement for weeks.
I cut the cukes into thick, chunky slices and placed them in a quart jar with pickling spices and garlic. I didn’t have any fresh dill, so my first batch just had dill seed from the pickling spice, but it still tasted authentic. I prepared the vinegar brine and filled the jar, leaving it upside down on the counter overnight. The next morning, before rushing to the airport, I put the jar in the frig. When I returned four nights later, the pickles were done to perfection!
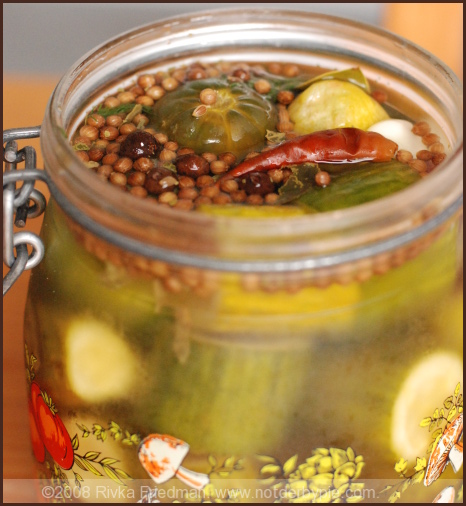
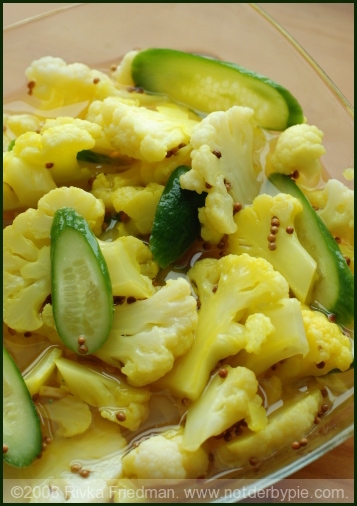
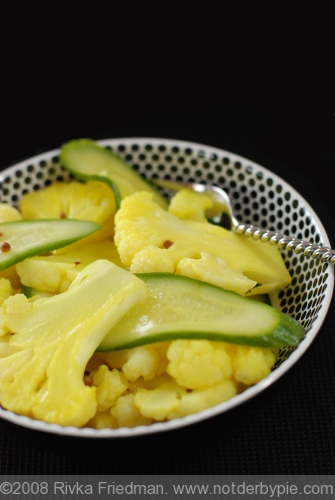
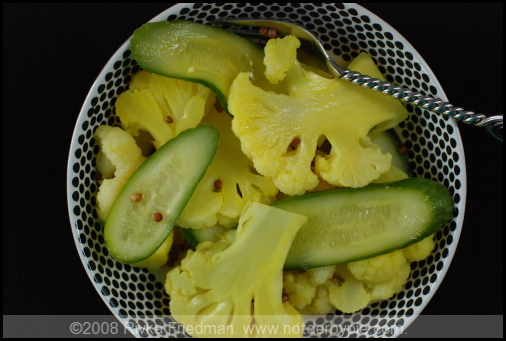
The recipe below is really more of a method – you can vary the ingredients, and the size of your jars and your cucumbers will determine your quantities. As long as you maintain the proportions of ¾ cup of vinegar and ¼ cup of kosher salt per quart of boiled and cooled water, your brine will work and you’ll have great pickles in a matter of days. Try this with green tomatoes if you have them in your garden, with blanched cauliflower, small sweet peppers, or blanched pearl onions. Add onions or hot peppers for extra kick. I used just one hot pepper to enhance the spicy flavor. I made a second batch with fresh dill sprigs, blanched carrots, and a few kalamata olives in addition to the cukes. They’re not quite finished as a I write this, but they look so good I can’t wait to sample them!
If you like sweet pickles instead of sour, substitute sweet pickling spices, cloves, and allspice, use cider vinegar instead of white vinegar, and add sugar (1/2 cup to ¾ cup) to your brine.
Your pickles will keep about four months in the refrigerator. If you seal your finished pickle jars with a canning process, they will keep on the shelf indefinitely. Open jars should be refrigerated.
Refrigerator Dill Pickles
1 dozen or more pickling cucumbers or small English cucumbers
4-8 cloves garlic, peeled and cut in half
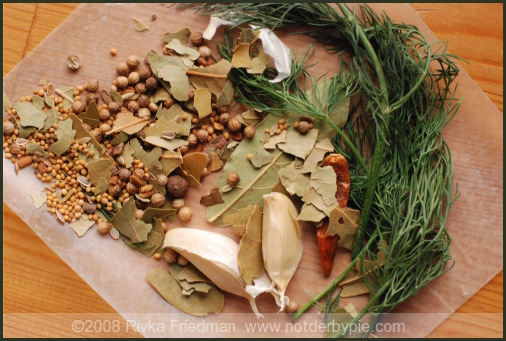
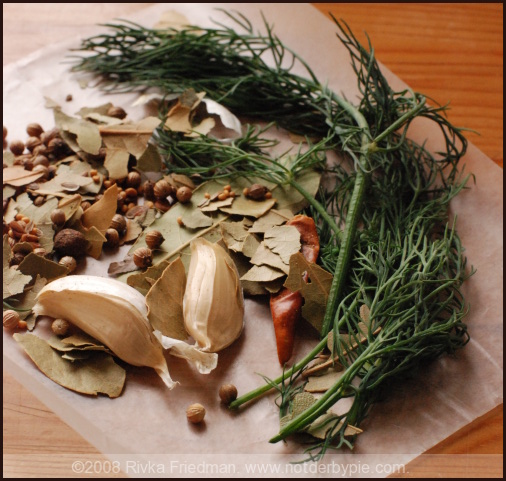
2-3 tablespoons pickling spice (the brand I used had dill seed, mustard seed, celery seed, coriander, ginger, black peppercorns, bay leaves, and red pepper)
A few sprigs of fresh dill
1 small dried hot pepper, or a fresh hot pepper cut in half and seeds removed (optional)
1 quart water boiled and cooled
¾ cup white vinegar
¼ cup salt (kosher salt works well, but sea salt or table salt are also fine)
A pinch of sugar (if desired – I omitted)
Use one or two quart jars or a gallon jar, depending on how your cucumbers fit into the jar. The amounts of spices are for one gallon jar or two quart jars, but you can modify this according to taste and the quantity of pickles you want to make. Place one tablespoon of pickling spice, half the dill and half the garlic in the bottom of the jar. If using slender or English cucumbers, you can cut them into thick chunks/slices and they will be ready in less time. If you use larger cucumbers, you can pickle them whole and cut them into lengthwise quarters when you serve them. Pack the cucumbers tightly into the jar(s). When you have added most of the cucumbers, add half of the remaining spices and garlic. When all the pickles are in the jar, add the last of the spices. If using the pepper, place it in the middle layer.
When the jar is full of cucumbers and spices, stir the salt into the vinegar. Pour the mixture into the boiled water and stir to finish dissolving the salt. The water does not have to reach room temperature, since it will continue to cool as you make the brine. Fill the jar to the brim with brine. Close the jar tightly with its lid. Invert the jar into a bowl and leave it outside the refrigerator. After one day, turn the jar upright. Check to see how pickled the cucumbers are. If you used the smaller, slender cukes, it is probably time to refrigerate the pickles. They will be completely done in another three or four days. If you used larger cucumbers, leave them out for another day or two. Check for doneness according to your preferences – if you prefer half-sour, they should be edible after just one-two days.
When the pickles are as done as you like them, you can pour out half the brine, leaving as many spices in the jar as possible. Replace the removed liquid with a mixture of plain boiled water and vinegar. For each cup of boiled, cooled water, add two tablespoons of white vinegar. Fill the jar to the top again and refrigerate. You can also remove the hot pepper if you don’t want the pickles to get spicier over time.
 Basil is aplenty at DC's farmers' markets. This week, my favorite farmer was selling massive bags of the stuff for just $3.99. I probably came home with a good 2 pounds of basil -- hard to imagine considering how light it is. There was only one thing to do: make pesto.
 The single best thing (the single good thing, actually) about pulling late nights at work is ordering Indian on the firm's tab. The office coordinates with one of those online delivery systems where you can order dinner and have the bill automatically charged to the company, but frankly, the pickins are slim and they charge you a delivery fee which really cuts into your allotted budget. I almost never order off the site, opting instead to be my own middle man. A bunch of us go in on a big order from Heritage India up the street, and I usually volunteer to take care of ordering and submitting receipts for reimbursement. My colleagues seem to think it's because I embody the spirit of generosity; the truth? I like to ask for lots of extra tamarind chutney.
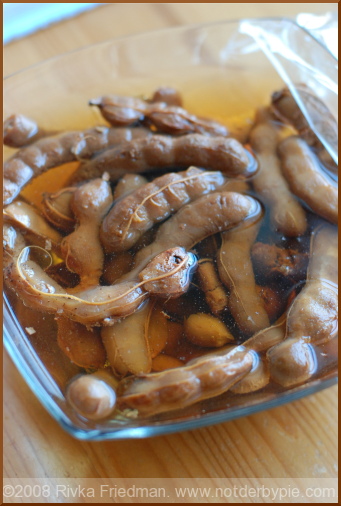
 I absolutely love sour things. I've been known to suck on a lemon slice once in a while, just for kicks (though my dentist scolded me for doing it, so I reluctantly put the habit to rest). When it comes to pickles, I'm a full-sour kinda gal. None of that dill or bread-n-butter stuff; I like'em super super sour. I'm into cucumber pickles, but I can't say that they're my favorite -- not by a long shot. No, my absolute favorite pickle is a pickled green tomato, especially if it's from Guss' Pickles on the Lower East Side. My first time at Guss' was on an 8th grade class trip, when we stopped there very briefly on our way back from grabbing knishes, bialys, deli, and other LES specialties. I remember watching friends get themselves just one pickle, or two. When I looked deep into the plastic tub in front of me and saw green tomato quarters, bobbing up and down in the brine, I knew that's what I had to have. Sadly, Guss didn't sell the tomatoes by the single back then -- only by the pound. Obviously, I bought myself a pound of pickled green tomatoes. Reluctant to waste, I ate them all. Boy were they good.