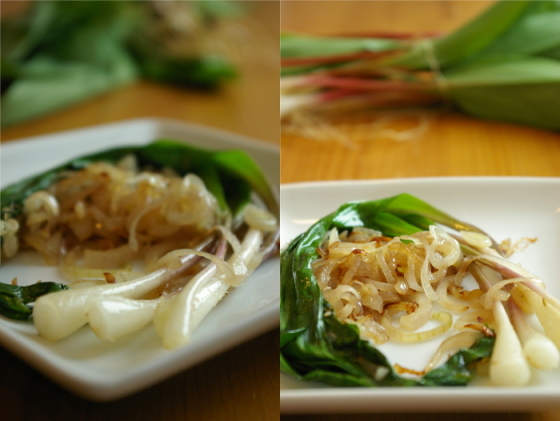
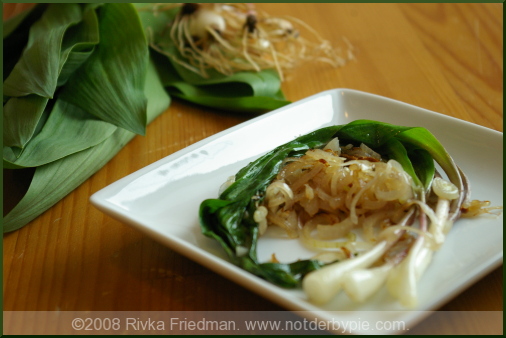
Ramps in shallot butter

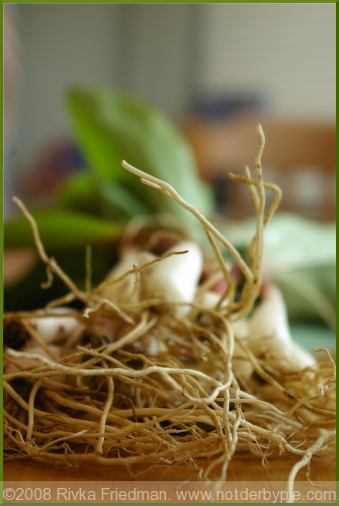
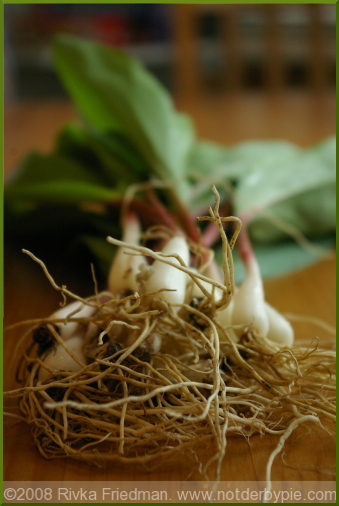
ramps11.jpg Nothing announces the end of gloomy winter and the coming of bright, bloomy Spring like ramps. Ramps resemble baby leeks, and taste like a cross between garlic and onion, only less pungent, more delicate green. Unlike leeks, ramps' green stalks are soft and can should be eaten. They're certainly Spring's hot item among chefs and gourmandes, and the most ramp-obsessed folks have been known to shell out as much as 20 bucks a pound for 'em. Now, you won't find me telling you they're worth that much -- after all, they were once mistaken as weeds and people spent time trying to rid their gardens of them -- but they are mighty tasty, and quite versatile. However, as they're expensive, I'd use them wisely.

ramps2.jpg

This May weekend was sadly wet, and we spent quite a bit of time indoors hoping for sun. Every so often the yellow showed its face for a fleeting moment, only to hide again behind the clouds. When taking an afternoon walk was pretty much out of the question, I decided to play with my ramps instead. I've been told they're great with asparagus in olive oil, or by themselves, but I don't have enough restraint to cook them plain. I knew I wanted to use butter, because let's face it -- nothing is worse for some butta in the pan. I did notice a pile of shallots in our potato/onion basket, and there's no combo like shallots and butter -- so I figured, as some ramps to the mix, and you might have some serious yum at your fingertips.

ramps3.jpg

Next time I'd serve the whole thing atop a slice of toasted baguette. While the dish was incredibly tasty, it may have been heavy on the onion/garlic flavor without something else to balance it out. It'd also be delicious over fish or chicken, or in roasted potatoes. As with sauteed onions, there are endless possibilities for how to use the ramp-shallot mixture. Just don't drown its flavor in a tomato sauce or anything, ok?

Ramps in Shallot Butter

1 shallot, 1 bunch of ramps, 2 Tbsp. butter, fleur de sel or sea salt

Slice off the roots from the ramps. Slice shallot thinly; saute in 1 Tbsp butter. Add second Tbsp butter and ramps, unsliced. Toss in pan so that butter coats vegetables. Saute about 1-2 minutes, until stalks are soft. Add fleur de sel or salt to taste.

ramps41.jpg

Endive, Orange, and Avocado Salad

endive1.jpg Now that farmers' markets are fully stocked and hot weather is creeping up on us, I'll be kissing my oven goodbye and putting it to sleep for a few months. I don't know about you, but it costs us an arm and a leg to pump the A/C into our apartment enough that I don't faint from oversweating; the last thing I want to do is make it harder for our little cooling engine that couldn't. So long as I can hack it, I'll be making salads regularly. Summer's produce is fresh, juicy, flavorful, and tasty without any heat applied. Why make stew when tomatoes are perfect, yes perfect, with just some olive oil and salt? And when I'm making salads, I'm using avocados in almost every one of them.

endive2.jpg

endive3.jpg

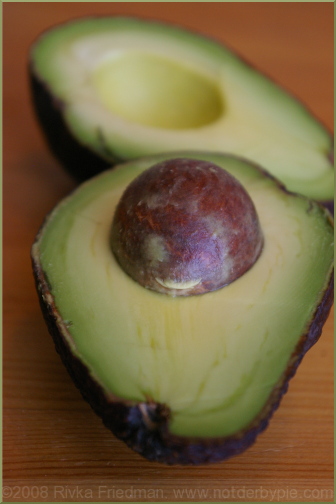
A friend of mine calls avocados "god's butter." They're smooth and creamy without being overly rich, and I could eat a whole one for breakfast lunch a snack. Just sprinkle a little fleur de sel on top and they're good to go.

endive4.jpg

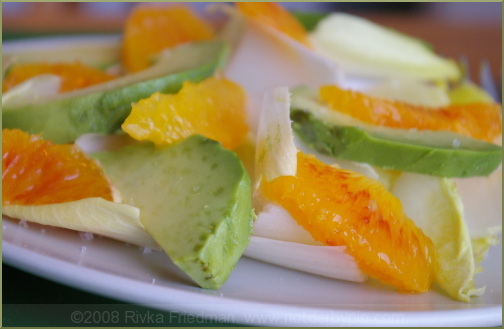
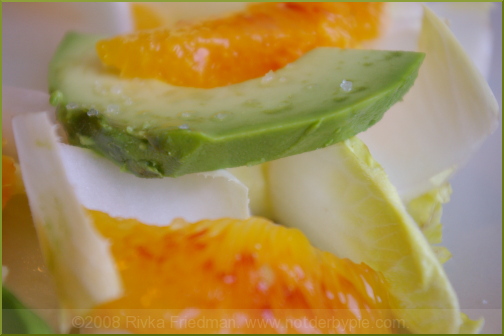
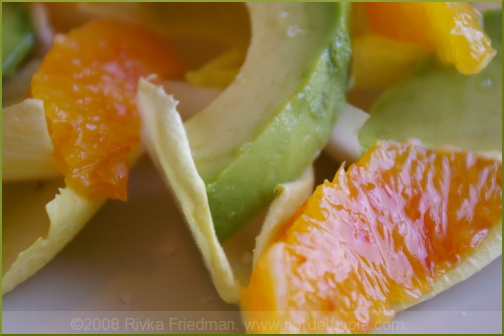
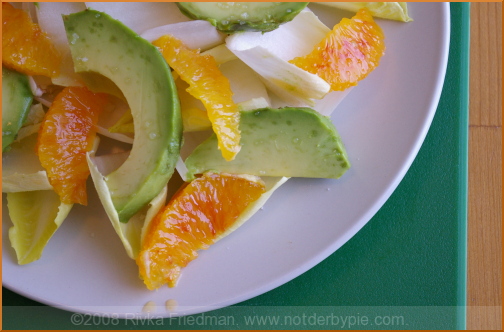
In this here salad, avocados really shine. Bitter, crunchy endive and sweet, tart, juicy oranges contrast the mellow richness of the avocado perfectly. You can take its dressing in all sorts of crazy directions, but the one I made was dead simple: orange muscat vinegar (a new pantry addition -- absolutely fantastic!) and a couple drops of good quality olive oil. And of course, a bit of fleur de sel for those avocados. Feel free to use flaky salt if you don't have fleur de sel.

endive5.jpg

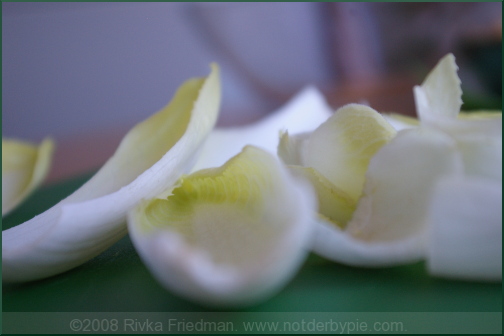
Estimate 1/2 and avocado, 1 orange, and 1 endive per person; Separate the endive leaves from their base, halve them, stick them in a bowl with separated sections of orange (I used valencia seedless) and thick slices of avocado, and drizzle the dressing overtop. Finish with salt, and do enjoy these coming summer months.

endive6.jpg

Broccoli with Pine Nuts and Raisins

broccoli1.jpg Ever have a total jonesin' to make something that you had not intention of eating for a couple days? No, of course not. You're not crazy. Maybe it was the urge to blog that got me cooking this weekend, backwards as that sounds...but for whatever reason, I found myself chopping garlic, toasting pine nuts, and steaming broccoli and raisins, knowing full well that I was going out to dinner last night, out to a brunch baby-naming this morning, and ... well, out to dinner again tonight. The broccoli is still sitting in my fridge, save for the little bits I've been sneaking here and there. And now you all know what I'll be taking for lunch tomorrow. broccoli2.jpg

This broccoli couldn't be easier to make; its flavors are clean and pronounced, its colors fresh, and it can be eaten cold or warmed. Word on the street is that pine nuts and raisins are two of those "finicky foods" that picky eaters often don't like. Lucky for me, D dislikes both. You can be sure we won't be fighting over the last floret, 'cause it's all for me, every last bit.

broccoli3.jpg

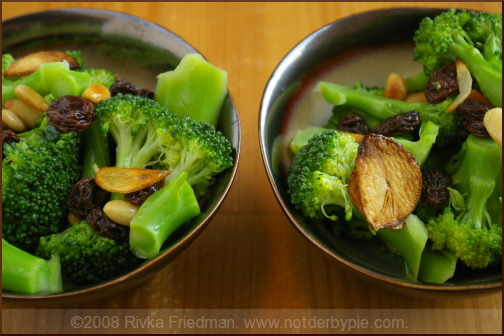
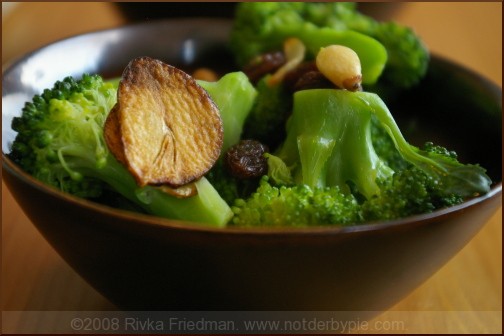
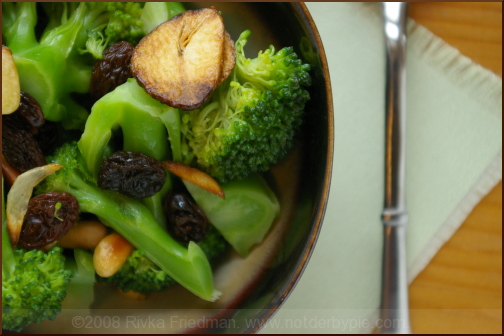
I dreamt up this recipe after quick-sauteing some collard greens with similar ingredients. The greens, which retain a fair amount of bitterness even after cooking, balance the butteriness of the pine nuts and the sweet tartness of the raisins. I wanted to make more, but I only had broccoli in my fridge. Determined to make it work, I added some thinly sliced garlic "chips," which I browned in a couple tablespoons of oil. The chips imparted a bitter spiciness that helped round out the dish, and those 2 Tbsp. of garlic-infused oil were a perfect dressing for the broccoli.

broccoli4.jpg

The one other thing I did differently than in traditional recipes was to steam the raisins along with the broccoli, so that they plumped up. I'd definitely do this again.

I imagine this broccoli recipe would be delightful alongside some steamed cod, flounder, or other white fish, and of course some crusty bread to round out the plate. Alternatively, toss it with some pasta (cooked in salted boiling water) and sprinkle some romano cheese overtop for an easy, one-pot meal. I'll be eating it right out of the tupperware, which I imagine will be just fine.

broccoli5.jpg

Broccoli with Pine nuts and Raisins serves 2 as a side dish

  • 2 crowns of broccoli, florets separated and stems chopped into 3/4-inch slices
  • 1/2 cup raisins, preferably brown
  • 1/2 cup pine nuts
  • 1 clove garlic, sliced very thinly
  • 2 Tbsp. olive oil
  • salt and pepper to taste
  1. Preheat the oven to 350, and toast pine nuts in a single layer until they've turned golden, about 7 minutes.
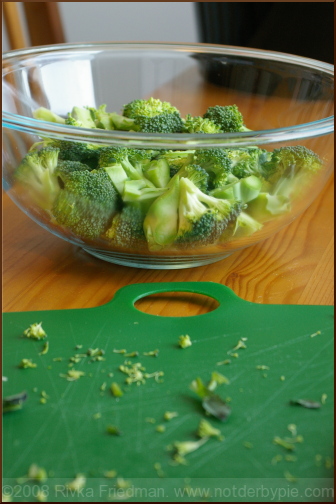
  2. Place a steamer in the bottom of a big pot, and add water so that the water level comes just below the steamer. When water is boiling, add broccoli and raisins, cover, and cook until broccoli is softened but still firm and green, about 10 minutes (maybe less).
  3. If you're concerned about the vegetable turning brown, immediately transfer broccoli to an ice bath to stop the cooking. Mine was fine without the ice bath, and is still green after quite some time in the fridge.
  4. Meanwhile, slice the garlic, heat the oil on medium, and fry the garlic until it has turned golden. Try not to let it burn.
  5. Mix all the ingredients together in a large bowl, and drizzle oil and garlic chips overtop. Season with s and p as necessary. Serve warm or cold.

No-knead Raisin Pecan Bread

*correction appendedraisinbread1.jpg

When it comes to bread, I'm a firm believer in the homemade variety. There's something so therapeutic about the process: in making bread, you create a dough from the humblest of ingredients. Using nothing more than your hands, you establish a complex web of gluten that gives the dough structure and texture; and with some patience, perhaps also a book to pass the hours, you give that dough the time it needs to grow in size and flavor. I'm no stranger to intense kneading and endless rises -- I think I've proven my willingness to hold out for a good loaf.

Good bread has always required a good knead and a good rise; not anymore. Jim Lahey, the genius baker behind Sullivan Street Bakery, developed a recipe for a crusty, flavorful loaf that requires no kneading whatsoever. The secret? Time, and lots of it. Oh yea, and almost no yeast. raisinbread2.jpg
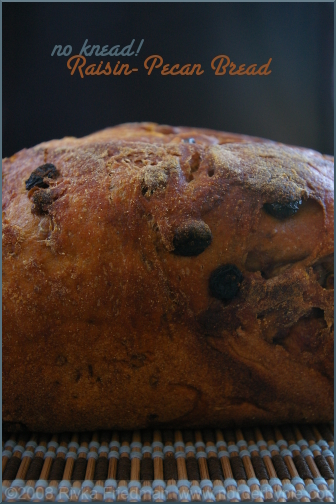
Ever since Mark Bittman, aka the Minimalist, brought No-knead bread into the national spotlight last year, it has been blogged and baked many, many times over. Mix flour, water, the smallest little bit of yeast. Mix. Wait. Bake. Eat. Hard? I didn't think so. Here's why this seemingly odd recipe works (and works so well):

Typical bread recipes have at least a tsp, usually more, of yeast for the same amount of flour as this recipe lists. Their rising times, however, are far shorter; in other words, a lot of yeast has a couple hours to grow a dough. In Lahey's recipe, the dough has just a 1/4 tsp of yeast, but that yeast has a full 18 hours to work. In that time, not only does the yeast prime the dough for a doubling in size, it also ferments the dough, giving it a complex flavor not usually found in breads with shorter rising times. In those first 18 hours, the dough develops flavor; after that rise, you shape the dough (in just a few seconds) and allow it to sit again for a couple hours, during which it will double in size. The instructions are specific, but not at all complicated.

The last wonderful thing I'll mention is that you can add to the dough anything you'd like. Raisins and pecans were a fine choice; the tartness of the raisins and earthy butteriness of the pecans complimented the dough's fermented flavor. Some other flavoring possibilities:

  • cheddar and jalapeno peppers
  • caraway seeds
  • herbs and goat cheese
  • honey and cinnamon
  • gosh, lots lots more!

You should add any extra ingredients when you're first mixing the dough, as they're easier to incorporate that way. I added 2/3 cup of each, but any amount will do, depending on how loaded you like your loaf.
raisinbread3.jpg

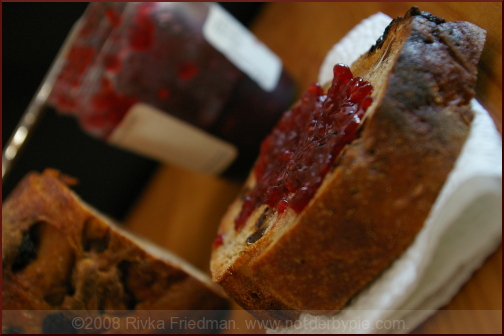
Clearly, I need not plug this bread. Its publicity in the blogosphere and in kitchens everywhere speaks for itself. But in case you've managed to avoid hearing about it until now (which is almost impossible as I doubt my blog would be the first you'd find), do make it. The resulting loaf is truly unparalleled.

No-Knead Bread Adapted from Jim Lahey Time: About 1 1/2 hours plus 14 to 20 hours' rising

3 cups all-purpose or bread flour, more for dusting 1/4 teaspoon instant yeast 1 1/4 teaspoons salt Cornmeal or wheat bran as needed.

1. In a large bowl combine flour, yeast and salt. Add 1 5/8 cups water, and stir until blended; dough will be shaggy and sticky. Cover bowl with plastic wrap. Let dough rest at least 12 hours, preferably about 18, at warm room temperature, about 70 degrees. 2. Dough is ready when its surface is dotted with bubbles. Lightly flour a work surface and place dough on it; sprinkle it with a little more flour and fold it over on itself once or twice. Cover loosely with plastic wrap and let rest about 15 minutes. 3. Using just enough flour to keep dough from sticking to work surface or to your fingers, gently and quickly shape dough into a ball. Generously coat a cotton towel (not terry cloth) with flour, wheat bran or cornmeal; put dough seam side down on towel and dust with more flour, bran or cornmeal. Cover with another cotton towel and let rise for about 2 hours. When it is ready, dough will be more than double in size and will not readily spring back when poked with a finger. 4. At least a half-hour before dough is ready, heat oven to 450 degrees. Put a 6- to 8-quart heavy covered pot (cast iron, enamel, Pyrex or ceramic) in oven as it heats. When dough is ready, carefully remove pot from oven. Slide your hand under towel and turn dough over into pot, seam side up; it may look like a mess, but that is O.K. Shake pan once or twice if dough is unevenly distributed; it will straighten out as it bakes. Cover with lid and bake 30 minutes, then remove lid and bake another 15 to 30 minutes, until loaf is beautifully browned. Cool on a rack.