Plum Ice Cream

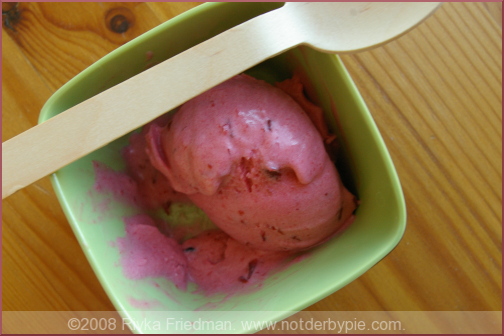
plum1.jpg This past December, D got me an ice cream maker for Hanukkah. "So that you'll have a way to make us ice cream when summer rolls around." That D's pretty smart: ice cream makers are much cheaper in the dead of winter, but summer inevitably returned, and now tubs of ice cream line our freezer. What flavors, you ask? Well, currently we have wild honey, raspberry sorbet, apricot sorbet, and this here plum that I'm getting ready to tell you about. I've had some lovely organic plums in my fridge for a couple weeks. Most of them I took for lunch, but something had to be done with the rest. I'd gone back and forth between stone fruit crisp and plum tart tatin, until I remembered that The Perfect Scoop was sitting on my bookshelf, gathering dust. Sure enough, David Lebovitz had included in it a recipe for plum ice cream; the fate of my plumlings was decided.

Here's the thing about fruit ice creams: they're not chocolate. Now don't you vanilla fans jump on me all at once -- I appreciate a good bowl of white. (Scratch that: off-white. If it's vanilla, it has to be custard-based, in my humble-o.) But people, chocolate and I are exclusive. We're in love. And that's just how it is. So you can understand why fruit ice cream has always seemed a little, well, not-quite-right to me -- that is, until I made some myself. Plum ice cream is stupendous! Wonderfully creamy, sweet and tart, with all the assets of stone fruit and of ice cream in one. I'm a little obsessed.

With plums at every farmers' market in town, now's the time to try this one out. plum2.jpg
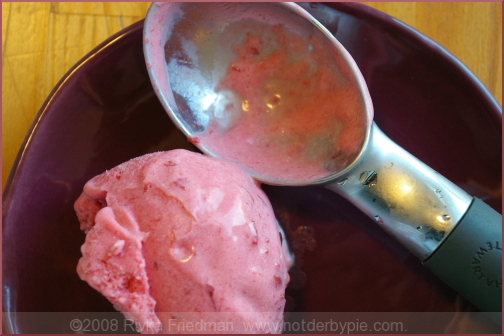
Plum Ice Cream from David Lebovitz in The Perfect Scoop

  • 1 pound plums (about 8 )
  • 1/3 cup water
  • 3/4 cup plus 2 Tbsp sugar
  • 1 cup heavy cream
  • 1/2 tsp. kirsch

Slice the plums in half and remove the pits. Cut the plums into eighths and put them in a medium, nonreactive saucepan with the water. Cover and cook over medium heat, stirring occasionally, until tender, about 8 minutes. Remove from the heat and stir in the sugar until dissolved. Let cool to room temperature.

Once cool, puree in a blender or food processor with the cream and kirsch until smooth.

Chill the mixture thoroughly, then freeze it in your ice cream maker according to manufacturer's instructions.
Portobello Burgers

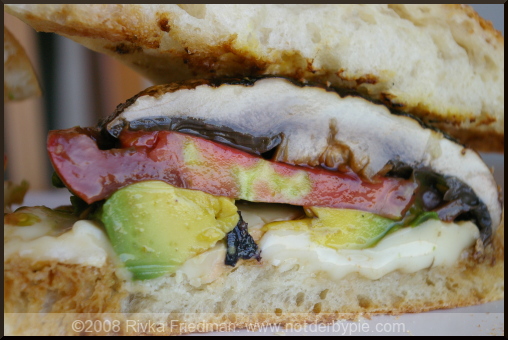
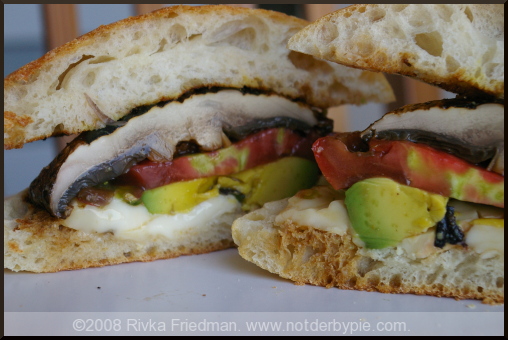
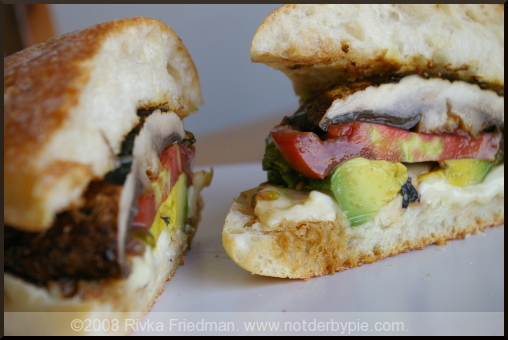
burger1.jpg Until two nights ago, I'd never made a portobello burger. Hard to believe, I know. It's, like, the simplest thing to make. Like, ever. And yet I somehow managed to make chocolate pretzels, potato foccacia, even Buche De Noel before getting around to this dead-simple dinner. Well, we've remedied that, folks, yes we have -- and it certainly won't be the last time I do it. Some facts about portobello burgers: they're freakin' easy. And tasty. Did I mention easy? Oh, and they're uber-versatile. Like last night, for example, D ate hers as she would a normal burger: pickles, honey mustard, tomato, bbq sauce. I had mine like a true snob: taleggio cheese, avocado, heirloom tomato, pesto, on ciabatta bread. Delicious either way, we'll both assure you. And really, took approximately 8 minutes to cook. I don't have a grill or grill pan, but I used a very hot castiron pan and it did the trick.

burger2.jpg

Will I be making these again? Uh, you bet. It's a non-recipe, but if you need step-by-step instructions, find them here, here, and here.

burger3.jpg

Portobello Burgers

Bun or roll (I used ciabatta) portobello mushroom, rinsed and stem removed 2 slices cheese: I used taleggio, but bleu, chedder, fontina, smoked mozzarella, or pepper jack would be lovely, among others toppings of all sorts. some suggestions: - cabbage, orange segments, teriyaki sauce - lettuce, tomato, mustard, pickles - lettuce, avocado, tomato, pesto - roasted red pepper, kalamata olives, feta, parsley - I could go on and on, you get the drift, yes?

Marinate the portobello for about 10-15 minutes in some sort of liquid (bbq sauce, teriyaki, pesto and olive oil and vinegar, etc).

Heat a heavy-bottomed stainless steel or castiron pan over medium-high heat. When the pan is hothot, drizzle a bit of olive oil in the pan, and immediately plunk down the mushroom, rounded side down. It'll sizzle away; that's a good sign. Meanwhile, toast your bread and gather your other ingredients for easy assembly.

Your burger should form a nice "crust" on the top of the cap after about 4 minutes in the pan; at that point, flip it over and cook another few minutes. Pile your burger with toppings, slice in half, and enjoy!

Price Comparison - local heirloom tomatoes: 3.99 per pound (definitely more expensive than hothouse tomatoes but soo much tastier) - portobellos, from the market, 3 bucks for 2; at the store, 6 oz (approx. 4) for 5 bucks - avocados, organic, not local (from CA): 2.39 a piece - pesto -- homemade from a gallon-size bag of basil, which cost 7 bucks

Easiest Broccoli Slaw (ever!)

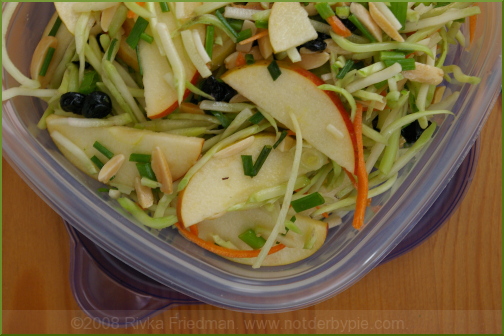
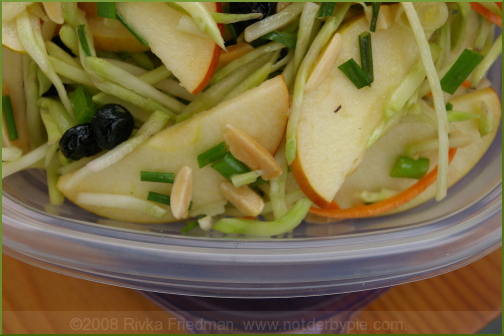
slaw1.jpg Yes, yes, summer's almost over (eek! I won't say it again, I promise) -- but there's still plenty of time for you country folk to fire up your grill while we city folk peer jealously out our windows and inhale the aromas. Meanwhile, if you're an urbanite lucky enough to get invited over to said grill-equipped home, here's a great slaw to bring along with. I guarantee it'll win you some fans -- maybe even get you invited back. (You'll notice that I actually just brought it for lunch one day. I promise it tastes good both outdoors and in A/C.)

slaw2.jpg

Easiest Broccoli Slaw

1 Package Broccoli Slaw or 2 heads broccoli, florets removed, ends discarded and stems grated 2 Apples (I like Fuji), quartered and thinly sliced 1/2 cup dried black currants or raisins 3/4 cup toasted sliced or slivered almonds 1 carrot, grated (optional) several chives, chopped

Dressing: 1/3 cup apple cider, rice, or other sweet, light vinegar dash soy sauce dash lime juice 1 Tbsp. blue agave, maple syrup, or other sweetener, or 1/2 Tbsp. brown sugar (not white sugar) salt and pepper olive oil (I like 1/4 cup, but most people prefer more)

You know the drill: mix ingredients in a bowl. Shake dressing ingredients in well-sealed container until well-emulsified. Combine and enjoy.

slaw3.jpg

Onion Tart

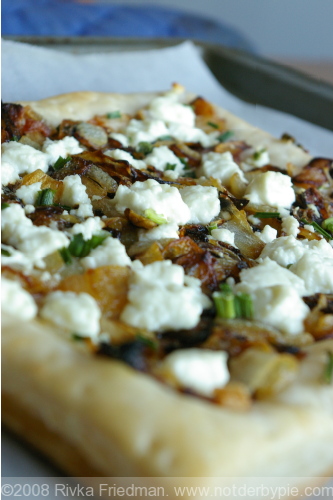
oniontartfirst.jpg I have less than no time to write this post: work is suuuper crazy right now and I've hardly had time to cook, let alone write. But how's this for a teaser: it's taking me longer to write this post than it did to make the onion tart I'm sharing with you. Really.

oniontart4.jpg

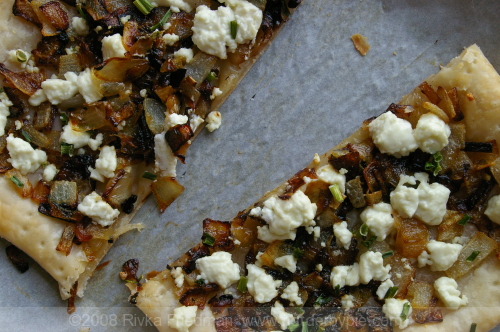
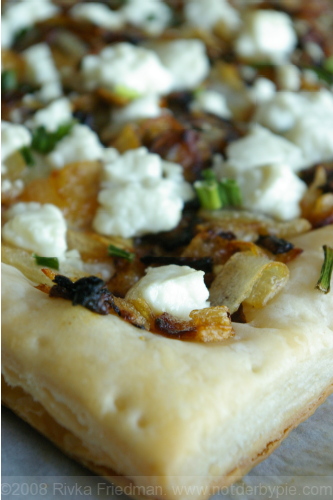
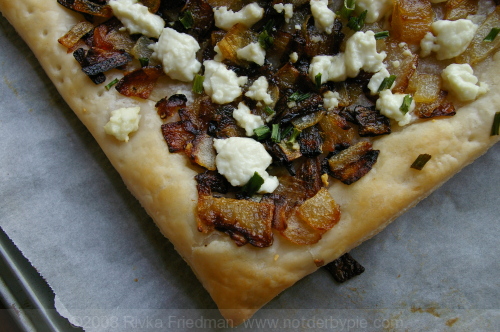
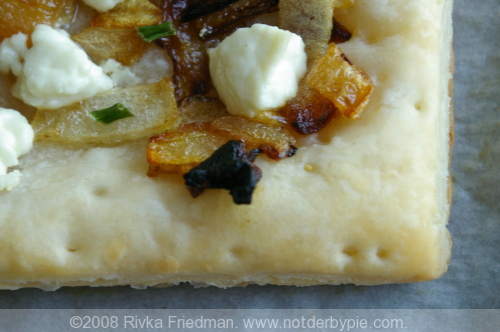
As long as you don't make your own puff pastry, this tart can be put together in no time with just a bit of advance prep work (read: caramelize onions). I had a bit of time one night last week so I caramelized down two whole white onions into a big sweet mush. They served as the main ingredient of this here tart, topped off with some goat cheese, quick-sauteed mushrooms, and a few snippings of chives. That's it. And with such little effort, the whole thing still got polished off at Friday night dinner. oniontart2.jpg

If I had more time to write I would -- but promise me you'll make this tart, in the meantime? I'll regale ya'll with more stories after work is done and I'm on vacation. Plus, if you're patient, I can promise awesome pictures from my upcoming cruise to Alaska!

oniontart1.jpg

Onion Tart Makes 2 tarts

2 sheets puff pastry, thawed on parchment paper atop baking sheets 2 whole onions, chopped and caramelized with some oil or butter over low heat for 20-ish minutes 2 cups mushrooms olive oil 3/4 small log goat cheese (enough to dot two tarts generously) a couple chives

Preheat oven to 400 degrees. Saute mushrooms over medium high heat with some olive oil and a bit of the caramelized onions (for flavor). Bake puff pastry for ten-fifteen minutes, until it begins to puff and turns ever so slightly golden. Out of the oven, pile ingredients onto tarts -- first onions, then mushrooms, then goat cheese, then chives. Bake five-ten more minutes, until golden throughout and the cheese is melted. Serve immediately.

oniontart3.jpg

oniontartlast.jpg