Taco Night Coleslaw

Taco night is a perennial favorite. It's an easy meal to prepare, most components can be prepared well in advance, and if you make it for a dinner party, you'll be feasting on leftovers for days. When I say "taco night," of course, I'm referring to that generic category of weeknight suppers, including but not limited to tacos, fajitas, burritos, and anything else involving tortillas, fillings, and toppings of your choice.

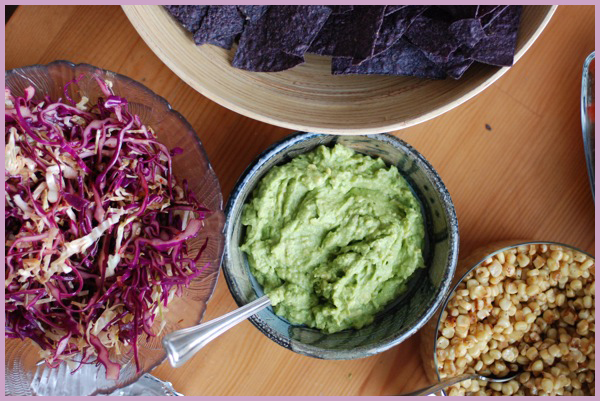
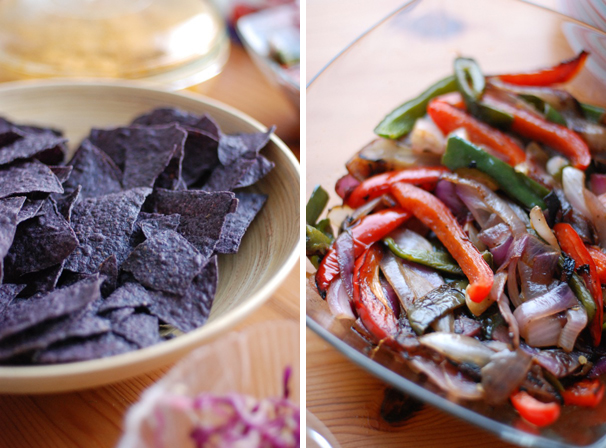
In case you're at a loss for where to start, here's my go-to iteration of Tex-Mex dinner: I serve warm flour tortillas, refried beans, sauteed peppers and onions, cabbage slaw with lime and chile, and salsa, guacamole, and queso fresco to top it all off. It's a regular feast.

And please, don't let me cramp your style: the possibilities aren't limited to beans and whatnot. If you're not a fan of the legumes, pan-fry some chicken, fish, or beef slices over high heat until charred, squeeze a lime juice and sprinkle some salt and pepper, and you've got yourself a taco or fajita filling.

The peppers and onions are dead simple. Halve a red onion, trim the ends, and slice each half into three. Take a few bell peppers (I like red) and poblano peppers (the big dark-green ones -- they're pretty mild, with just a whisper of spice) and slice them into long strips. Add pepper and onion slices to a hot pan with a bit of olive oil and some salt, much like you did with the protein. Stir at regular intervals so that lots of different pieces get charred. When you see enough brown spots, turn off heat, and transfer hot vegetables to serving bowl. They'll steam and soften while sitting there, so by the time you're ready to serve, they're ready, too.

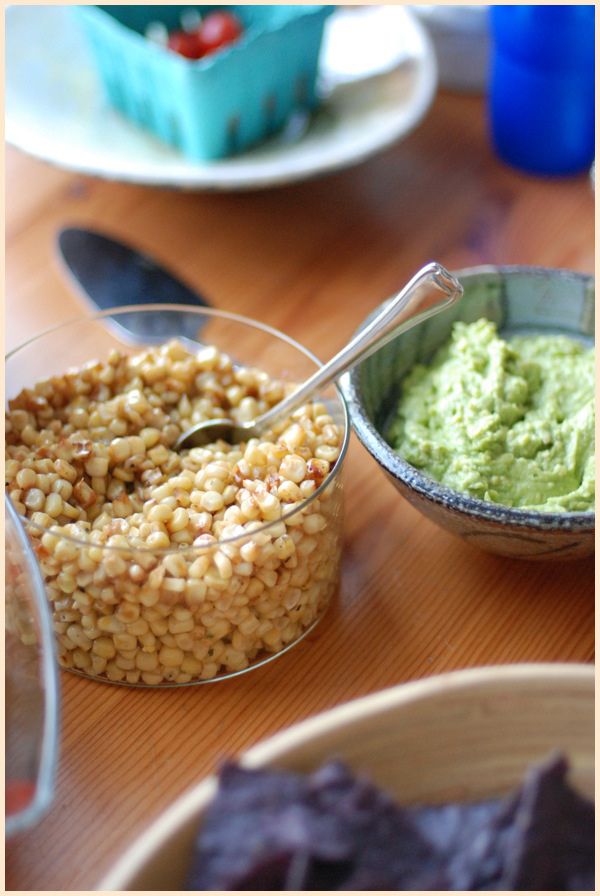
Another great dish is simple charred corn. If you have fresh ears available (and there's no time like July for fresh, sweet corn), use them. If not, frozen kernels work great here, too. Follow the rules above: into a hot pan with just a spoonful of oil, and maybe some epazote (if you have it) or cilantro (works too). Toss once in a while, let the kernels char, you get the drill. Hit with some salt and pepper, maybe a squeeze of lime, done.

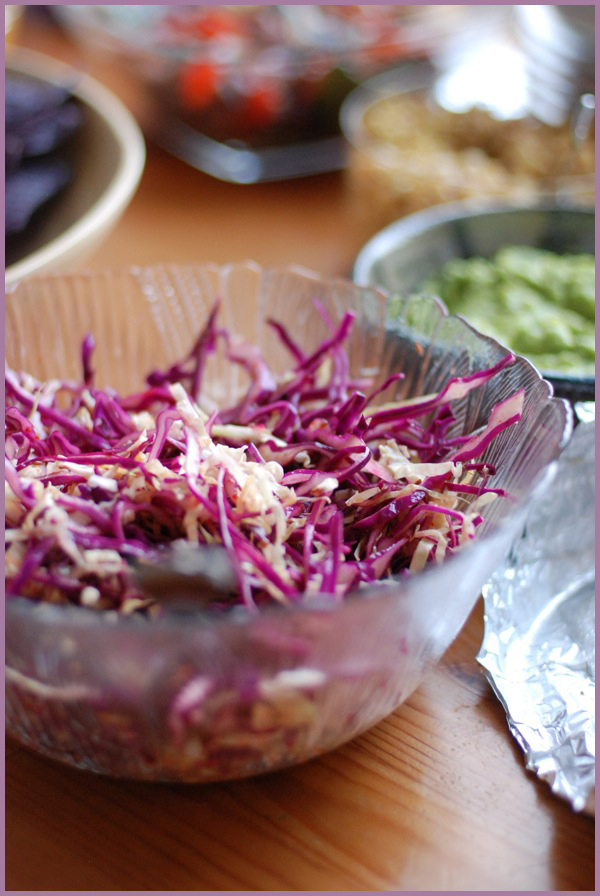
The crown jewel at dinners like these is the cabbage slaw. (When isn't it?) This one is about as basic as they come: red and green (or Napa) cabbage, lime dressing. Fin. The tangy crunch of this simple concoction, provides the perfect contrast to tacos and fajitas. It's the must-have dish in the spread, if you ask me. Then again, I'm hard-pressed to pick a favorite element. Every dish in this meal is pretty darn tasty.

Taco Night Coleslaw

1 small head red cabbage 1 small head green or Napa cabbage (I prefer Napa, as it's slightly softer but just as crunchy) juice and zest of 2 limes 1/2 teaspoon chile flakes, preferably something smoked like chipotle or ancho, but any will do 1/3 cup olive oil 1/2 teaspoon salt black pepper to taste

Shred cabbage using sharp knife or mandoline; you're going for as thin slices as possible. Combine remaining ingredients in a large bowl and stir to combine. Add cabbage, and toss to coat. Set aside to macerate for at least 15 minutes before serving. If you leave it for more than an hour or so, put it in the fridge. You'll note that as time passes, the red cabbage will turn the dressing (and with it, the rest of the slaw) a bright pink shade. All the prettier, if you ask me.
Cheese Puffs

One of the first cookbooks I owned was Nigella Lawson's Nigella Bites. I bought it at Anthropologie, back when Nigella was a Travel Channel sensation. The Food Network had already gone the way of the dodo, its cleavage-showing hostesses flashing smiles as they tasted "delicious" homemade tarts filled with the scooped-out innards of a store-bought pumpkin pie. No thanks. Nigella's show was where the fun was at. You could catch the gorgeous broad sneaking downstairs at 1 am in adorable pink PJs, in search of a late-night snack. The camera would zoom really close as she opened the fridge, stuck a finger into a big bowl of chocolate mousse, and licked her finger clean. A dip into the chocolate mousse, pudding, anything, at 1 am is a classic Friedman move. When I saw Nigella do it, I was hooked. She seemed real.

Her cookbook conveyed that same honesty. There were pictures of her with curlers in, wearing a bathrobe. There were sweet ramblings about her favorite suppers, and a mouthwatering picture of homemade pasta and meatballs. And it didn't stop there. Nigella devoted a chapter of the book to what she called “Legacy.” The section contained humble recipes that were the hallmark of her childhood, things like “Granny Lawson’s Lunch Dish” (a slab-pie of sorts, filled with hard boiled eggs, ground beef, and olives) and “Soft Boiled Eggs with Asparagus Soldiers.” I loved this section because even though I’m pretty sure I never made any of the recipes contained within, it provided the most sincere picture of where Nigella came from.

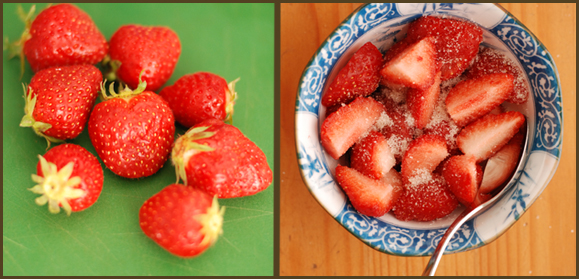
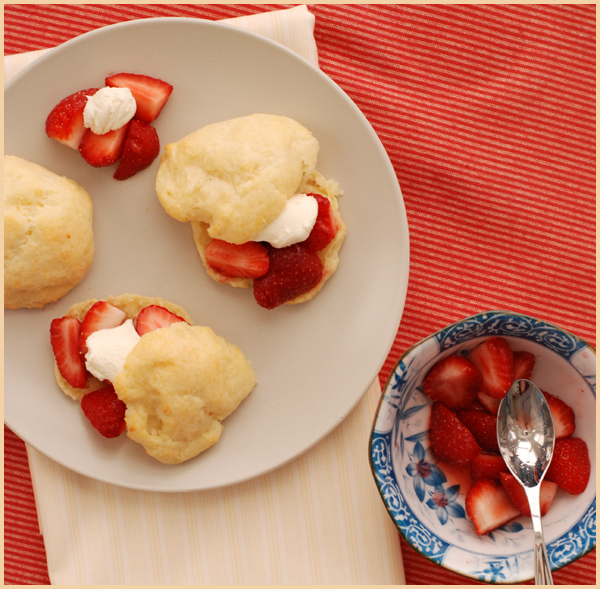
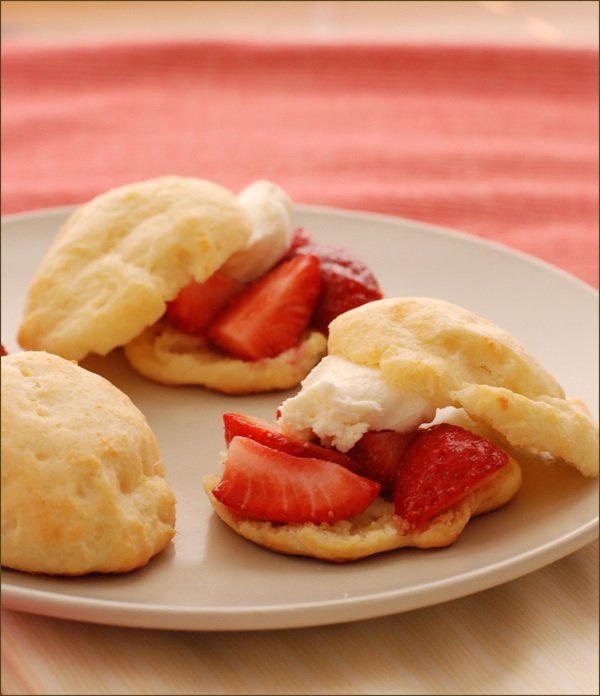
If I had a cookbook (to dream!), and it had a legacy section, this recipe for cheese puffs would certainly make the cut. It's a humble recipe; if you saw cheese puffs at a party, you'd probably pass over them in favor of the the rhubarb curd. But to do so would be quite a mistake. A cross between pancakes and biscuits, cheese puffs are crispy and golden around the edges, soft and chewy within. They're a bit sweet, but unexpectedly, refreshingly, tangy. My father likes them with just sour cream, but I prefer a bit of mascarpone cheese or greek yogurt, and fresh strawberries. But however you eat them -- with sour cream, with greek yogurt, with berries, with nothing at all -- once you start, you kinda can't stop.

Lately, I've been thinking a lot about the recipes of my childhood and how they've shaped the kind of food I like to cook, the kind of food I love to eat. Cheese puffs epitomize the legacy of my family's cooking and eating style because they're easy enough to make on a deadline, but intriguing enough to be addictive.

That's legacy.

I'd love to hear about the recipes of your childhood, the legacies of the kitchen where you grew up. Let's get this conversation started. And if y'all are interested, I'd like to share more of the recipes from my mom's kitchen.

Cheese Puffs

Cheese Puffs Adapted from Norene Gilletz's The Pleasures of Your Processor, via my mother

Note: I use Friendship brand farmer cheese, which is the only one I've seen recently. If you can't find farmer cheese, you can strain some ricotta for a couple hours until some of the whey drains. You can also use cream cheese, in a pinch.

1 lb farmer cheese (2 6 oz. packages will work just fine if that's what your store carries) 3 eggs 1 stick (8 tablespoons) butter, melted 1/2 teaspoons salt 1/4 cup sugar 1 1/2 cups unbleached all-purpose flour 2 teaspoons baking powder

Preheat the oven to 350.

Place all ingredients in bowl of food processor and process until combined, about 30 seconds. Don't over process; the batter should be mixed completely but still somewhat chunky or lumpy. It should be moist but not runny.

Drop by heaping spoonfuls onto cookie sheets lined with parchment, or lined with foil and greased well. I prefer the parchment because the puffs brown more evenly on the bottom that way.

Bake for 25-28 minutes. The puffs should be just lightly golden and still very soft. Serve warm with sour cream, creme fraiche or Greek yogurt and fresh berries. I sometimes slice them open and put the mascarpone or yogurt and berries inside, but usually just eat the fix-ins alongside.

Cheese puffs freeze and reheat very well. Freeze them on lined cookie sheets in a single layer; once frozen, transfer to air-tight plastic bags. They'll keep for a couple months, if you don't eat them before then.

The recipe makes 18-20. If you have an extra large processor you can double and make 3 dozen puffs. Otherwise make two batches.

Sour Cherry Liqueur

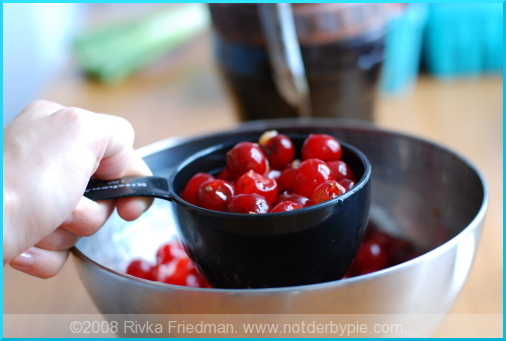
cherryliqueur1 It's officially sour cherry season! I got my first quart at the market today, and I simply can't wait to turn them into this lovely aperitif. Originally posted last July, sour cherry liqueur is back!
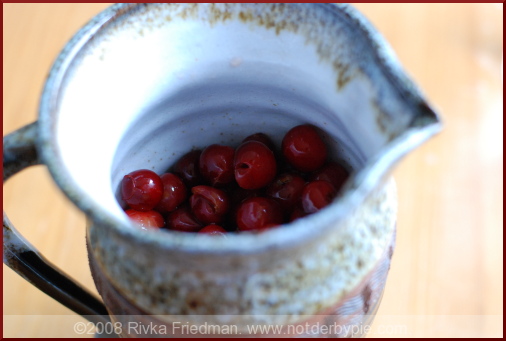
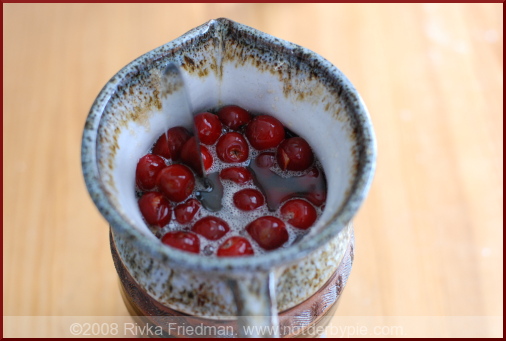
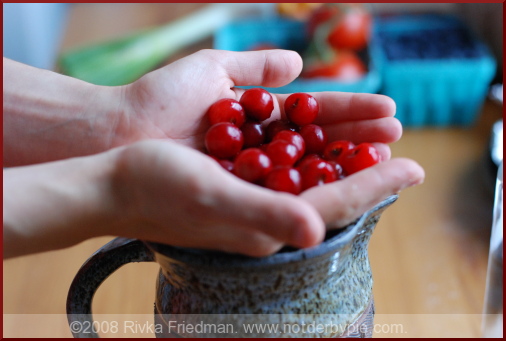
Want to do something awesomely cool and really flippin' easy along with me? Make sour cherry liqueur. It's the height of sour cherry season, and markets are bursting with those tart little bubbles of juice. The season's pretty short: I was thinking of hitting up a u-pick next week to get some sour cherries out in the countryside for cheap, but they said they'll be gone by Sunday. So grab some now, like, now now, and put them to use in a way that'll keep well into the fall.

cherryliqueur2

My dear friend Dellie had D and me over for an early Thanksgiving dinner last November, and her mother served this liqueur as an aperitif. I was totally blown away: it was sweet, very sweet, but also tart and zingy. It tasted strongly and distinctly of sour cherries, and sipping it sent waves of summer nostalgia down my spine. I sauntered into the kitchen where I found the always-graceful Mrs. S pulling a whole turkey out of the oven to rest. What better time to bother someone for a recipe? She said to come knocking again when it was sour cherry season, and she'd give me the rundown. Unlike most other things, I didn't forget this promise, and last week, I emailed Mrs. S begging her recipe. She graciously obliged, and her instructions were so thorough that I can easily share them with you. Granted, you won't be tasting the fruits of your labor until the fall -- but if you feel like preserving some of summer's bounty in this unusual way, I can promise that your patience will be well-rewarded.

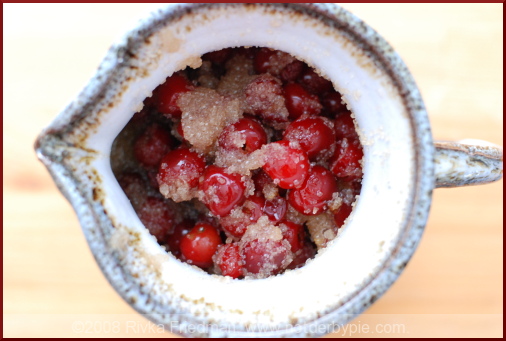
That's a knife jutting out of the pitcher -- I used it to stir the stuff, and I did fill it to the top after taking the pic.

Update! I've stirred (and tasted) the sour cherry liqueur twice now, and it is freakin' amazing!

Sour Cherry Liqueur adapted from Mrs. S's recipe

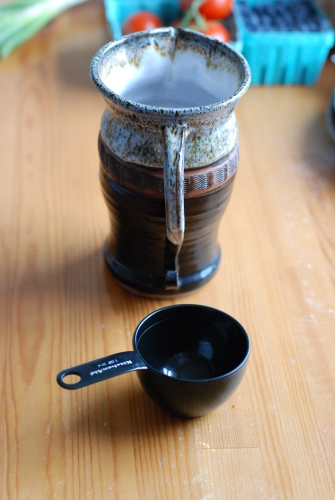
For this recipe, you will need a crock of some sort: Mrs. S's crocks are salt-glazed antique crocks made in central Va. over 100 years ago, for preserving & storing foods. I'm not that fancy; I just used a relatively large ceramic pitcher. You can use anything that is dark glass or ceramic of some similar sort.

cherryliqueur7

The quantities used really depend on the size of your crock, so the instructions below are in proportions instead of absolute amounts.

cherryliqueur3

Cherries: clean & pit the cherries, except that for every cup of cherries, leave about 1/8 of the cup unpitted (adds character & depth to the liqueur) Sugar: use about 3/4 cup sugar for every cup of cherries (cherries should be tightly packed). I used organic cane sugar, but white sugar is just fine. In fact, I can't promise that my cane sugar will work -- I just assumed. Here's hoping!

cherryliqueur4

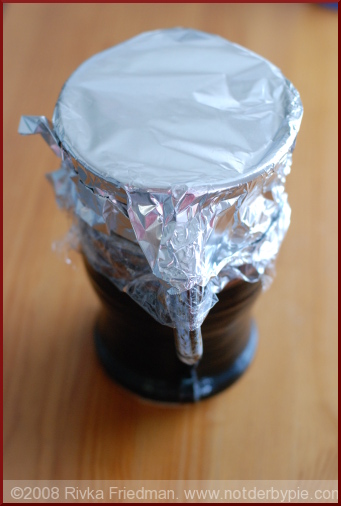
Fill the crock 1/2 - 2/3 full of cherries & sugar (in proportions above), and stir. Then fill to the brim with white rum, and stir. Cover tightly with plastic wrap (using a rubber band to secure it) and foil (to shut out light), and store in a dark, cool place. Stir with a wooden or plastic non-reactive spoon about once a week. The sugar may take about a month or so to fully dissolve. Taste from time to time: cherries that are very sour may require additional sugar once the first batch has dissolved completely.

cherryliqueur6

It should be ready mid-September. The cherries will have lost much of their color, and the sugar will have all dissolved. The flavor should be pretty rich. You can pour into decorative (dark glass) bottles and cork, but leave a few pitted cherries in each bottle. The "extra" cherries are great on pound cake, over ice cream, or however you would use canned cherries.

You could add cinnamon sticks, if you like, but Mrs. S likes the purity and simplicity of cherries.

So pack your crocks and get ready to wait -- let's do this thing!

Cucumber-Avocado Soup

No food-friendly home is without its strange culinary rituals, and mine is no exception. Just ask a recent house guest, who during her 3-day stay caught me in the kitchen before 7 am in wet hair and a bathrobe on two separate occasions, cooking not eggs and toast as the normal people do, but strawberry-chili jam and walnut chocolate chip cookies. I like making elaborate things early in the morning; I'm a total weirdo.

Take another odd ritual in chez NDP: when summer rolls around, I start awkwardly hoarding empty yogurt tubs, filling them as quickly as possible with all sorts of cold summer soups: white gazpacho and chilled corn soup and more. Why I can't use tupperware like the rest of earthlings, I don't know. All I know is that cold soup ladled from recycled yogurt tubs on a hot and humid summer day makes me grin big.

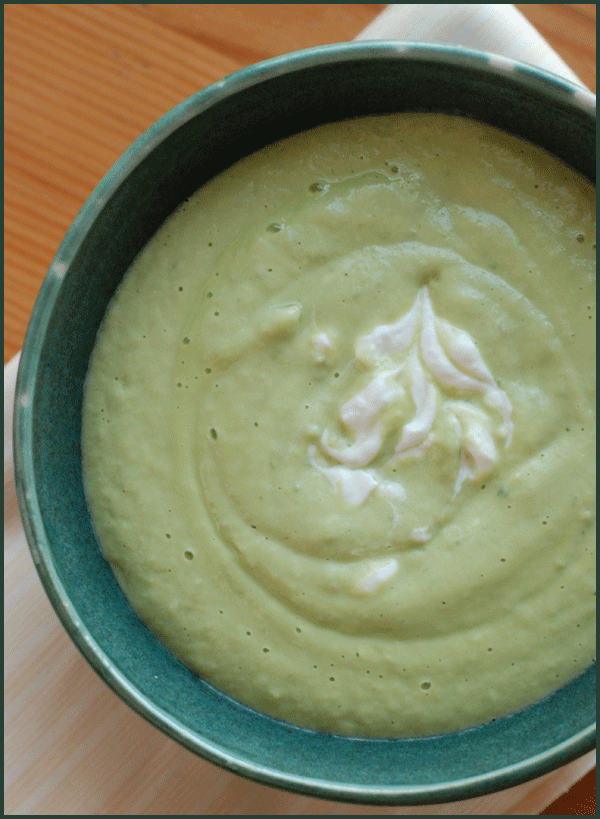
Here, then, is my first chilled soup of the summer, one that has already made its (very temporary) home in a yogurt tub. It's inspired by a soup my friend Beth made last weekend, which was creamy and smooth, yet seemed almost whipped, it was so light and airy. The key, of course, is to make it in a blender. Its ingredients are few -- cucumbers and avocado, yogurt and jalapeno, perhaps some chives -- but bowls of the stuff would be lovely garnished with any number of things. I've done yogurt and more chopped chives, and I'm particularly excited about topping my next bowl with some quartered cherry tomatoes.

Chilled soup provides such easy reprieve from the heat, I'll be making it regularly through August. Stay tuned for more recipes, and as always, feel free to share your own in the comments!

Cucumber Avocado Soup serves 4-6

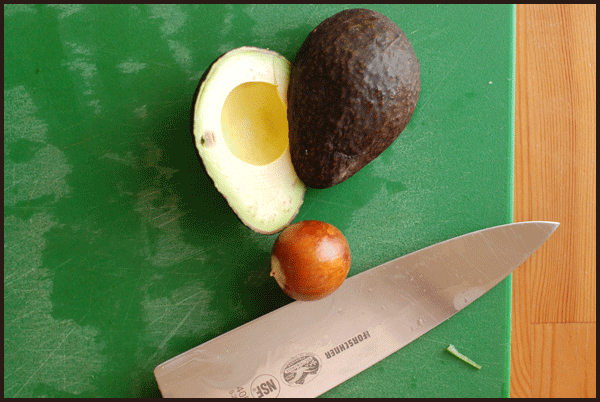
2 avocados, preferably Hass, halved and roughly chopped 1 English (seedless) long cucumber, halved lengthwise and sliced coarsely 1 jalapeno pepper, chopped (with seeds), more to taste 1 cup yogurt (I used greek, but any will do) salt and pepper to taste 5-6 fresh chives, chopped

Combine all ingredients in a blender, starting with just half of the jalapeno and reserving 2-3 sprigs chives and 1/4 cup yogurt for garnish. Add 1/8 cup water to get the blending started, then blend on medium until completely smooth. Taste, and add salt, pepper, and more jalapeno to taste.

Refrigerate at least 1 hour.

To serve, fill bowls and garnish with yogurt, chives, chopped cherry tomatoes, or anything else that suits your fancy.