Pickled [Anything!]

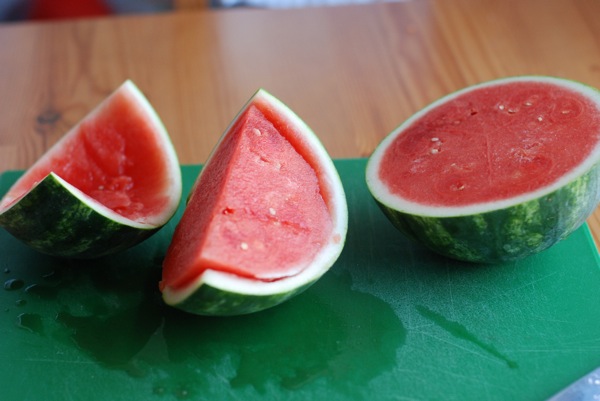
Yes, yes, yes. I love pickles. Pickle anything, and I'll eat it. Cucumbers. Tomatoes. Green beans. Grapes. Cherries. Watermelon rind. Cauliflower. Beets. Eggplant. Are you bored yet? I could keep going.
If you ask my fiancee how she feels about pickles, she'll tell you she's crazy for the sweet bread-and-butter variety, that she slaps 'em on every burger or dog she eats. She'll also tell you that I've gone mad, and that our house is turning into one big canning jar. Really. And you know what? She's kind of right. I have gone a bit nuts. We've got five quarts of pickles so far, and I'm not done yet. How could I be, when only cucs have been bottled? I've got three green tomatoes waiting to meet a similar fate, and two heads of cauliflower, some beets, and a bag of baby eggplants aren't far behind. Think this process too complicated or confusing? I'm here to set you straight.

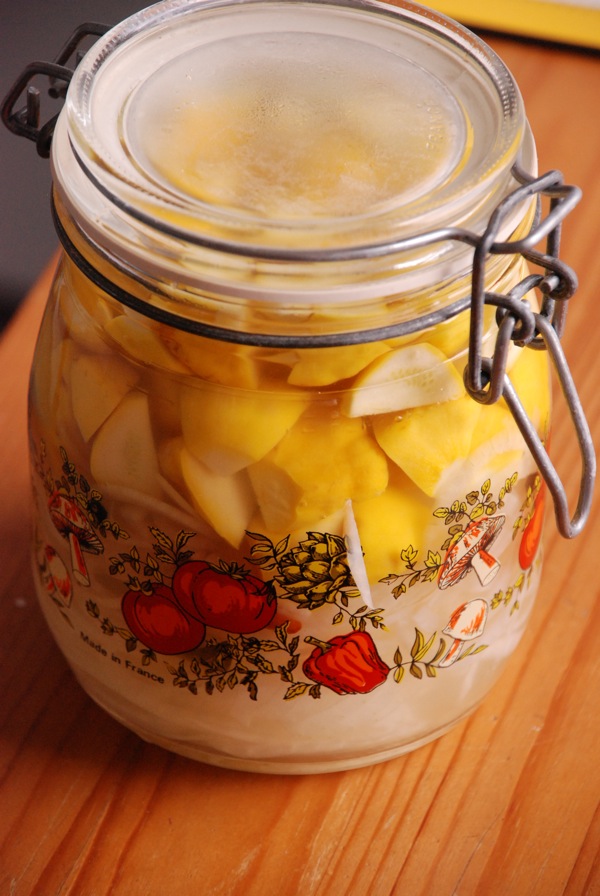
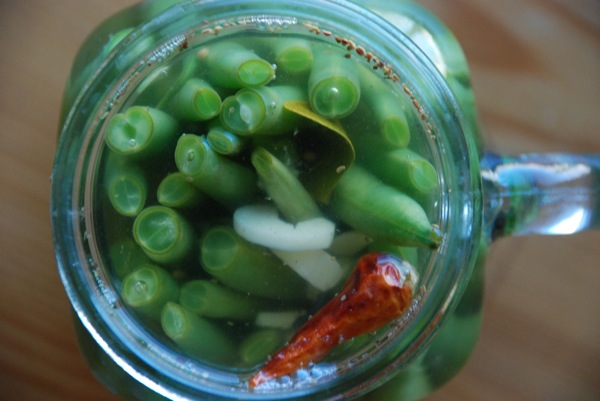
All the pickles I'm jarring this year -- all 8 (gulp!) quarts of them -- will use one of two brines. To my taste, these brines are perfect: not too vinegary, not too salty. The first is my basic brine, in which I pickle just about everything. It has plenty (but not too much) dill and a double dose of kick from raw garlic and chile. The other is a brine I've taken from the Zuni Cafe Cookbook, a favorite of mine. From a recipe called "Carol's Pickled Onions," this brine is slightly sweeter, with intriguing notes from bay leaves and black peppercorns. I use it for onions, of course, but also for zucchini -- both large zucchinis, which I slice into coins, and the smaller "pattypan" variety, which I simply quarter. The zucchini and onions together make a great addition to a first course of breads and spreads.

In each of these recipes, the ratio of vinegar to water to salt needs to stay as is, so the vegetables will pickle properly. That said, feel free to alter the spices and seasonings as you wish. If you like a sweet pickle, add a couple tablespoons of sugar to the basic brine, no problem.

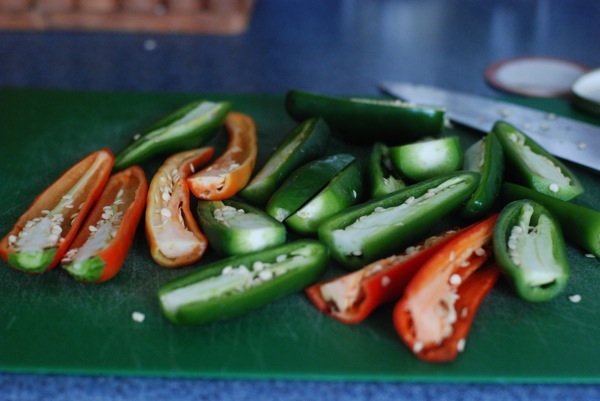
This year, I went bold -- I pickled some chilies in my basic brine. Haven't opened them yet, but they'd make a perfect accompaniment to vietnamese pho or any kind of kabob.

Basic Brine adapted from a recipe by Tara of Tea and Cookies

1 pound vegetables: green tomatoes, cucumbers, green beans, beets, and cauliflower are all great 2 quarts water 1 cup white vinegar 1/2 cup kosher salt 2 teaspoons celery seed 1 teaspoon dill weed or fresh dill 3 cloves minced garlic 2 small dried chilies 3-4 quart-size glass containers for pickling

Sterilize your jars, bands, and lids either by submerging them in water and bringing to a boil for 10 minutes, or by running through a full dishwasher cycle. Set sterilized jars, bands, and lids on clean towel while you prepare the brine and vegetables.

Combine water, vinegar, and salt in medium saucepan over medium-low heat, and allow salt to fully dissolve. Meanwhile, slice vegetables to desired size, and transfer to prepared jars. Distribute spices evenly among jars.

When brine comes to a boil and salt is no longer visible, turn off heat, and carefully and slowly pour brine over vegetables, leaving a 1/2-inch of "headspace" (space between the top of the liquid and the lip of the jar). Wipe rims of jars with damp towel or napkin, center lids on jars, and screw bands onto jars just until snug (not too tight).

If storing in the refrigerator, you're done -- just let the pickles develop flavor for a few days before eating them.

Instructions for processing jars for shelf storage:

In a large stockpot or canner, heat enough water to cover the jars by 1/2 an inch. When water is at a rolling boil, add jars and process for 10 minutes. Turn off heat, let water bath cool for about 5 minutes, and remove jars to countertop. Leave jars alone, and as they cool, their lids will pop into place. Wait 18 hours before checking to make sure the lids sealed; do this by removing the band and lifting the jar up by its lid. If the lid stays on the jar, the seal is strong. Pickles are shelf-stable and will keep for up to one year.

Carol's Onion Brine adapted from the Zuni Cafe Cookbook

headnote: This pickling recipe has not been tested for shelf stability, so I can these in small batches and store them in the refrigerator. While the jars take up valuable fridge space, they have the added benefit of not needing to be processed in a hot water bath like the pickles above.

12 ounces firm yellow onions, zucchini, or a mix 1 1/4 cups Champagne vinegar or white wine vinegar 1 1/4 cups water 2 tablespoons sugar 2 bay leaves 1-2 small dried chilies a few whole black peppercorns 2 teaspoons salt

Thoroughly clean 2 quart-sized jars or 1 larger jar.

Peel and slice onions into rings about 1/8 inch thick, discarding ends. If you have a mandoline, now's the time to use it. Discard any pieces that have discolored.

Combine vinegar, water, sugar, bay leaves, chilies, peppercorns, and salt in small saucepan. Bring to a simmer over medium-low heat, then turn heat up to medium and add onion rings and/or zucchini. Stir the crowded pan and let it return to a simmer. Simmer for just under 1 minute, then remove from heat.

Pour hot pickles and brine directly into jars (you may need a funnel for this). Cover and store in the refrigerator. Pickles will be ready in just about 24 hours, and get better as they sit. They'll keep in the brine for several months.

Peach Tomato Gazpacho

Ok y'all, I'm a bit late posting this, and you’ll have to forgive me. But then – and I mean immediately; do not pass go, do not wait for September to drift into fall – you must get off the couch and make this soup.

Just last week, the dog days of summer seemed a permanent fixture. Now, as I’m walking to the farmers’ market, I find myself rubbing my hands together, picking up that pace a bit, and reaching for….a cardigan. Fall’s crept up on me again. Every year, I bemoan the end of tomatoes and nectarines, my shortsighted lack of urgency in eating as many of those beautiful beefsteaks and heirlooms as possible. Now I’m making a mad dash for those tomatoes, eating a peach after lunch every day and one in the evening as well, trying to cram as much of the rapidly depleting summer produce down my craw as time will allow.

My fridge is only so large; not, apparently, large enough; those 5 pounds of peaches that I bought last week have softened, ripened, and softened some more. Last night, I came home to some peaches practically begging to be eaten. Ditto the beautiful red tomatoes, which, seemingly suddenly, after a short stay on my counter (never store tomatoes in the fridge; it ruins them), were near-overripe.

I didn’t have quite enough tomatoes to make a sauce-making project worthwhile. As for the peaches, in the past week, I’d made two cakes and a crostada with them and some nectarines. I needed a change of pace.

Here’s the part where we rewind a few days, and I explain the real reason I made this soup. Yes, I wanted to make something savory with peaches and tomatoes. That’s all true. But here’s the rub: my friend B brought this over one Friday night, and I ate so much of it, so quickly, I’m not sure I left any for her to try. This soup is the best thing since sliced bread, and since I first had it, I’ve made it three times. “And only now I tell you?!?” Yes. I’m sorry. (‘Tis the season of forgiveness!) Now go and make it, while peaches and tomatoes are still around. There’s plenty of time for apples and kale, squash and potatoes. We’ll talk about those next week. For now, make this soup, and drink up those last drops of summer while you can. And if you’re as bummed as I am about the end of this season, you can make a big batch of this soup to freeze or can; I’ll be doing just that.

Peach Tomato Gazpacho Adapted from Gourmet

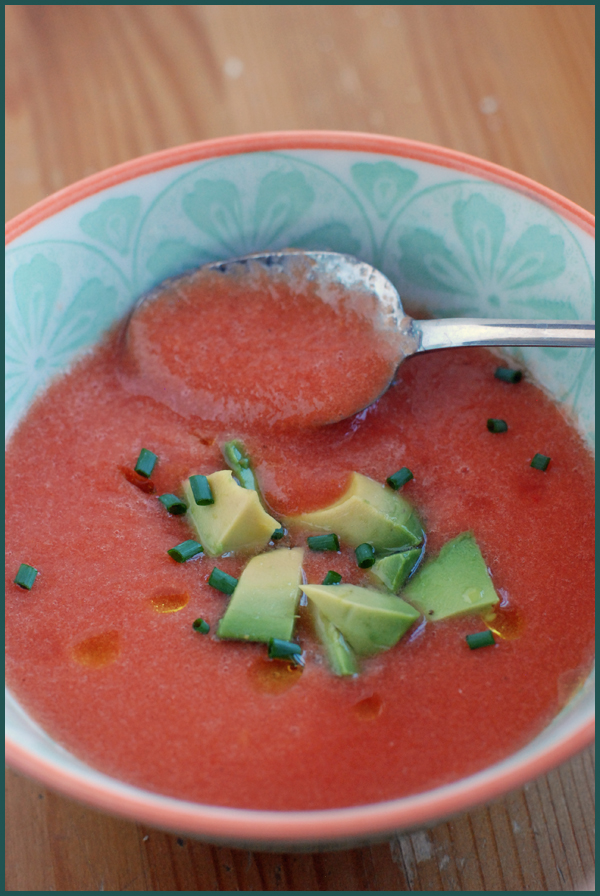
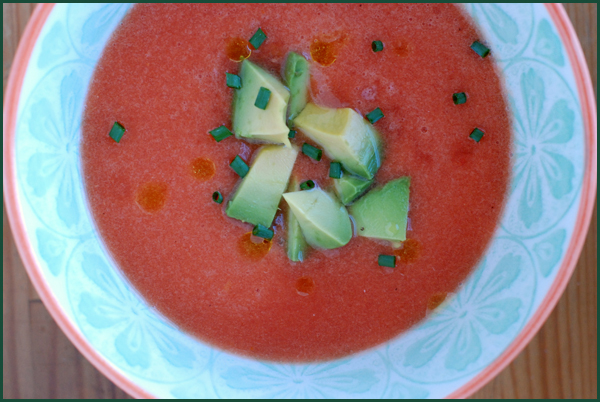
Note: this recipe has you puree part of the ingredients into soup, and combine what remains into a rustic salsa with which to serve the soup. I’ve done this once, and it’s quite delicious – but feel free to simply blend everything together and serve with the cubed avocado and a light drizzle of oil, as pictured. If doing this, don’t add all the salt immediately; taste the blended soup and only add as much as is needed.

1 1/2 lb tomatoes, chopped (4 cups) 1 lb peaches, pitted and chopped (2 cups) 2 tablespoons chopped shallot (1 medium) 2 tablespoons olive oil 1 1/2 tablespoons white-wine vinegar 1 tablespoon chopped chives 1 teaspoon salt 1/2 teaspoon black pepper 1/4 to 1/2 cup water 1/2 avocado, chopped

Purée two thirds of tomatoes and half of peaches with shallot, 1 tablespoon oil, 1 tablespoon vinegar, 2 teaspoons chives, 3/4 teaspoon salt, and 1/4 teaspoon pepper in a blender until very smooth, about 1 minute. Force through a medium-mesh sieve, discarding solids. Stir in water to desired consistency.

Toss together remaining tomatoes and peaches with remaining tablespoon oil, remaining 1/2 tablespoon vinegar, remaining teaspoon chives, and remaining 1/4 teaspoon each of salt and pepper in a bowl. Serve soup in bowls topped with tomato peach salsa.

Kimchi

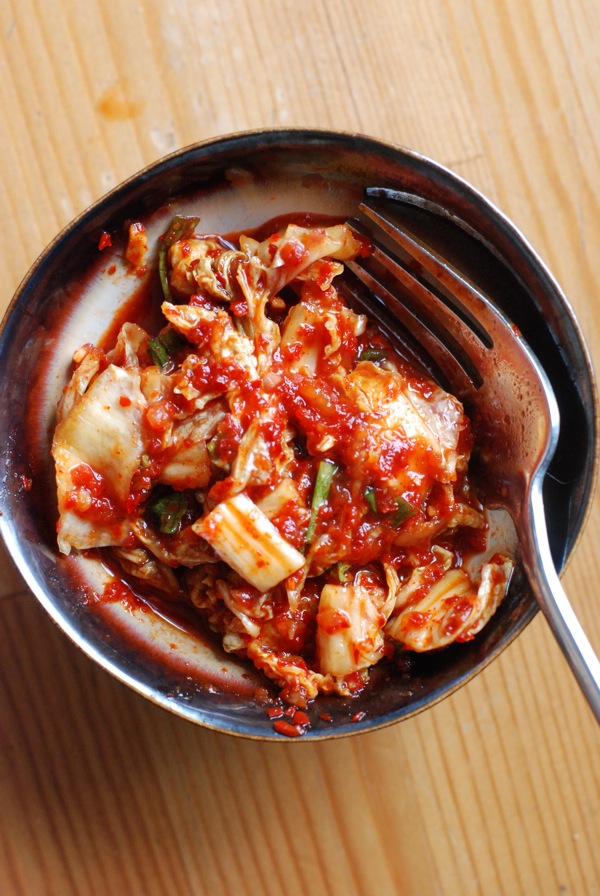
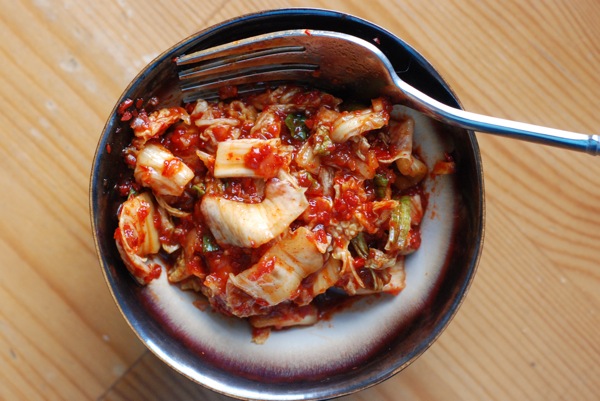
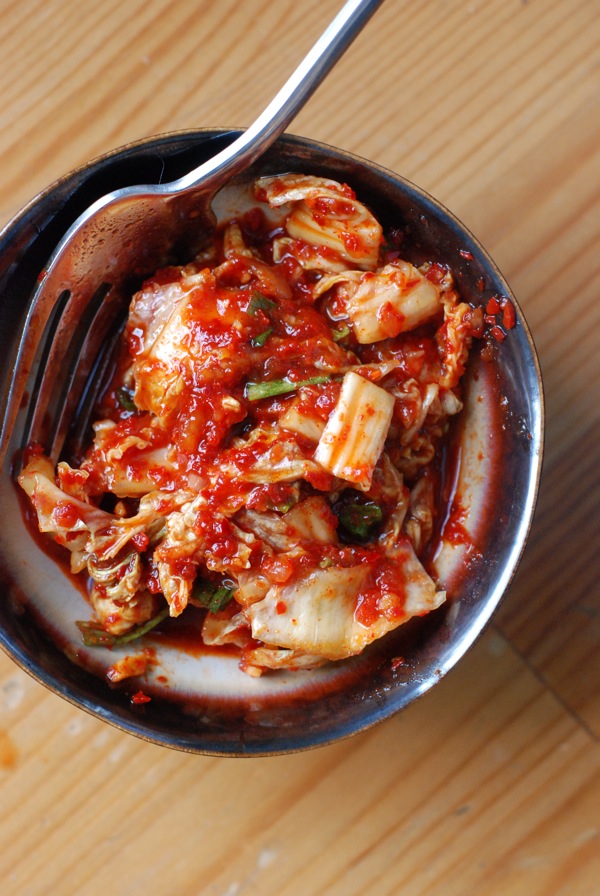
Sometimes, a post writes itself. As I was piling the big heap of pickled cabbage into my largest mason jar, I thought of all the times I'd pigged out on Kimchi in the past, all those times I'd been absolutely sure there was no way to make this stuff at home. I remembered the moment I'd received David Chang's Momofuku cookbook, how excited I was to discover that there was a recipe for kimchi -- a very easy, very doable recipe, involving no more than ten minutes of active prep time. I recalled how few recipes on this site are inspired by East Asia, how frustrated that's made me over the years, considering how prominently East Asian flavors figure into my home cooking and, to an even greater extent, my eating out. And I knew that as soon as work calmed down and Rosh Hashana had passed, I'd be telling you about this one-bowl dish that's quickly become a staple in my kitchen.

Like lacto-fermented pickles, the things that make kimchi so delicious are (mostly) environmental. Exposure to air and time turn the mixture of cabbage, chili, fish sauce, salt, and sugar into something much more intriguing than the individual components might suggest. Some of the kimchi I've had at restaurants has been overly pungent or funky, too sharply salty or sour, without proper balance. My favorite kimchi in the DC metro area, from the Annandale restaurant Ye Chon, is very good, but it sometimes lacks that hint of sweetness that balances the sour, salty, and spicy flavors and keeps your chopsticks coming back for more. Chang's kimchi gets that balance just right.

The most time-intensive part of this recipe is the shopping. If you don't already have fish sauce, you'll need to buy some. Don't be seduced by the tiny bottles they sell at Whole Foods; to make this properly, you'll need the stuff that comes in the big bottle (a bottle usually has between 3-6 cups worth). Yes, it's another thing to store in the fridge, and I get that that's a turn-off. And yes, I'm aware that fish sauce can smell like dirty socks. Have you already clicked away? No? I promise that kimchi reins in the funk of the fish sauce, and that the result will smell nothing like the locker room. My favorite fish sauce brands are Squid and Three Crabs, but anything you find at Hmart or an Asian grocer will be totally fine.

Another key ingredient is Korean chili powder, also called Kochukaru. I went to Hmart (the Asian grocery) in search of something by that name, and saw only pounds and pounds of "chili powder." Turns out, all the chili powder in the Korean aisle at Hmart is kochukaru. If you ask, the ladies behind the register will tell you it's what they use to make kimchi. You want the coarsely ground stuff. The last special ingredient is jarred salted shrimp, which I didn't use (I keep a kosher home, which means no shellfish). My kimchi was still delicious.

Other than that, we're talking basics. Cabbage, salt, sugar. Garlic and ginger. Soy sauce. Scallions and carrots round out the vegetables in this kimchi, and I've been known to dig to the bottom of the jar for some of those irresistible pickled scallion bits.

I've said before that my goal with this blog is convincing myself, along with you, that good food really isn't so hard to make. Yes, sometimes it requires ingredients that aren't exactly staples. Sometimes we end up needing to teach ourselves new tricks. But with one trip to the somewhat-obscure grocery store and a couple minutes of advance reading, something like kimchi -- which once seemed impossible to make at home -- can be in a mason jar, on your tabletop, in your mouth in practically no time. When good food is this simple, fear of cooking seems like a waste, doesn't it?

Kimchi Adapted from David Chang's Momofuku

1 small to medium head Napa cabbage, discolored or loose outer leaves discarded 2 tablespoons kosher or coarse sea salt (don't use table salt -- it's too harsh) 1/2 cup plus 2 tablespoons sugar 20 garlic cloves, minced 20 slices peeled fresh ginger, minced 1/2 cup kochukaru (Korean chile powder) 1/4 cup fish sauce 1/4 cup usukuchi (light soy sauce) 2 teaspoons jarred salted shrimp -- I didn't use this, and my kimchi came out great 1/2 cup 1-inch pieces scallions (greens and whites) 1/2 cup julienned carrots

Cut the cabbage lengthwise in half, then cut the halves crosswise into 1 inch wide pieces. Toss the cabbage with the salt and 2 tablespoons of the sugar in a bowl. Let sit for several hours or overnight in the refrigerator.

Combine the garlic, ginger, kochukaru, fish sauce, soy sauce, shrimp if using, and remaining 1/2 cup sugar in a large bowl. If it is very thick, add water 1/3 cup at a time until the brine is just thicker than a creamy salad dressing but no longer a sludge. Stir in the scallions and carrots.

Drain the cabbage and add it to the brine. Cover and refrigerate. After 24 hours, the kimchi will taste great. Don't eat it all right then and there, though -- it'll taste even better after a week of sitting, and at its prime 2 weeks out. It will still be good for another couple weeks after that, though it will grow stronger and funkier.

Simple Sauteed Snow Peas

Readers, meet my new favorite side dish.

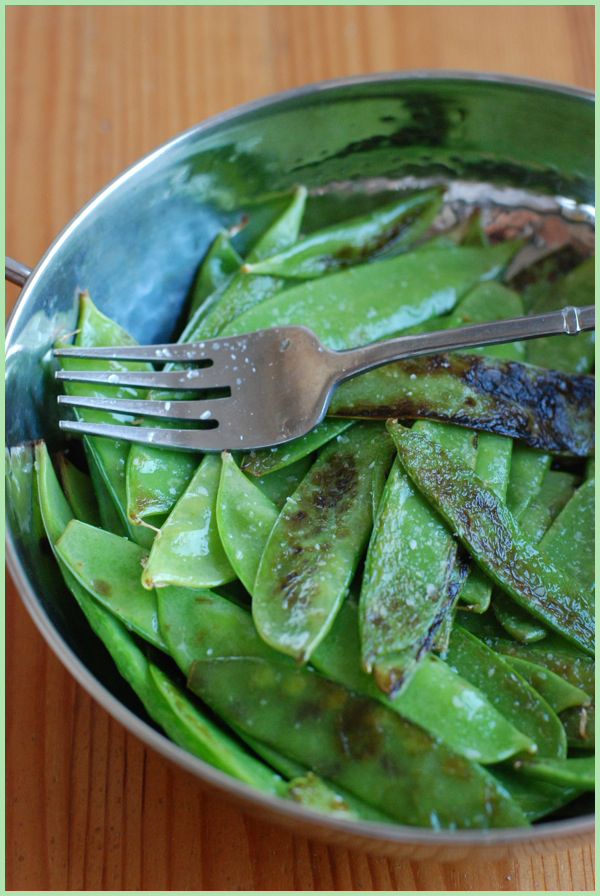
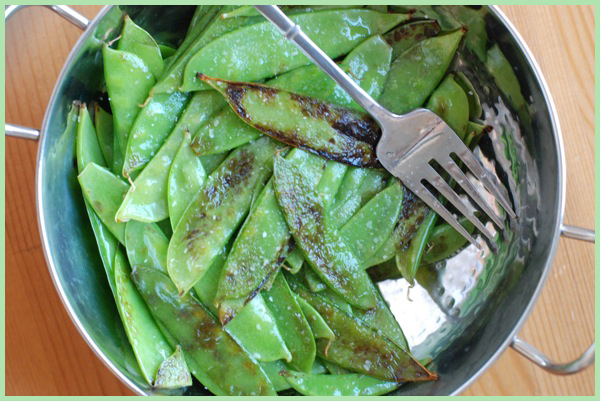
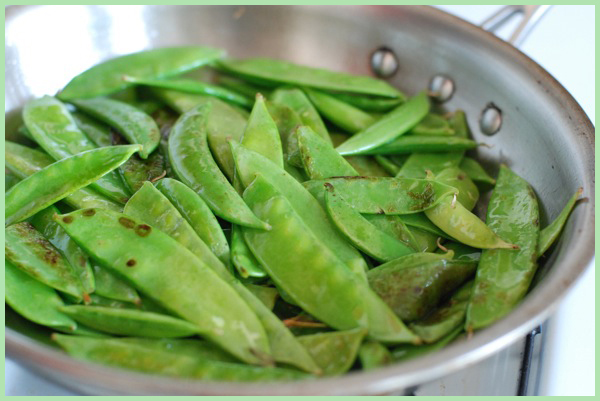
We spent the morning of our first full day in Santa Fe downtown, at a farmers' market adjacent to an artists' market (a lethal concoction as far as my wallet was concerned). At the tail end of our stroll through the farm stands, I caught a glimpse of an overall-clad gentelman manning a fry pan set over a camping stove. I headed over to see what he was cooking, and before I could see any of the wiry, bright green snowpeas bouncing around the frying pan, I hear the crackle-snap of their dip in the hot oil and knew the end result would be mighty tasty. I stuck around. Sure enough, after a few flips of the pan, the blistered snowpeas landed on top, giving their still-green comrades a turn over the heat. Once all the peas were glistening with oil and many were blackened in spots, the gentleman tossed a generous pinch of flaky salt over the vegetables, poured them onto a plate, and shouted for customers and neighboring farmers to get one while they're hot. I wasted no time popping one of the smoking-hot snowpeas into my mouth.

Their crunch was what caught me first: blackened where their bumpy surfaces had touched the scalding pan, much of the flesh managed to remain crisp, striking just the right balance of doneness. The snowpeas were vivid green, their juices gathering at the bottom of the plate and mixing with that lovely salt. I could've eaten the whole lot myself. Naturally, I bought a couple pounds of his bounty, determined to wow D's family with this surprising treat.

This isn't one of those stories that ends in failure. I'll spoil the punch-line right now: for an addictive appetizer or side, it just doesn't get more foolproof than this. You need only the most modest mis en place: a hot pan, a glug of oil, a couple pinches of salt, and the freshest, crispest snowpeas you can find. The dish practically makes itself. If you want to put them over the edge, squeeze some lemon over the peas just before serving.

If you're making these for a crowd and don't have a very large (15-inch) pan, make them in batches. You want these guys to really blister, and they won't if the pan is crowded. Let the snap-crackle of the peas be your guide: when the vegetables first hit the pan, they'll really sizzle (watch those forearms -- the oil will spatter). After a while, the sound will let up. If the next time you flip the peas, none have browned on the bottom, add a splash more oil: let the sizzling resume. I've made these twice, and each time, the peas have needed about four pan-flips, maybe a total of 7-8 minutes in the pan. Don't stress if yours seem done after 5 minutes or need a bit extra time -- they'll be done when they're done.

Last night, I served a dish of these snow peas as a side dish to complement seared tuna. But the first time I made them, I served them up right out of the frying pan, smoking hot, to a crowd of hungry bellies waiting on barbequed chicken. These were the perfect low-key appetizer, just the sort of thing you want to absentmindedly munch on while waiting for dinner to hit the table.

Simple Sauteed Snow Peas serves 6

2 lbs. snow peas, as fresh and crunchy as you can find 'em, rinsed and thoroughly dried olive oil 2 pinches salt wedge of lemon

Heat 2-3 tablespoons olive oil on medium-high in a large stainless steel pan, not a nonstick one. When the oil shimmers on the surface, add 1/3 of the snow peas (careful! oil will splatter). Leave the pan alone for a minute or two, and the peas on the bottom will begin to blister. After about 2 minutes, give the pan a big toss. Blistered peas should rise to the top, and less cooked ones should descend to the bottom of the pan, close to the heat. Again, let the pan be for about 2 minutes. Toss again, to redistribute peas. If peas haven't blistered, add a tablespoon more olive oil to the pan.

After about 7-8 minutes, peas should be cooked through but still crispy, and some should have darkened or blistered spots. At this point, sprinkle a pinch of salt over the peas, and transfer to a serving bowl or platter. Repeat this process twice more, cooking 1/3 of total peas each time. After all peas have been cooked and transfered to serving dish, squeeze wedge of lemon over peas, use large wide spoon to distribute lemon juice, and serve immediately. (Peas will also be delicious at room temperature, so if you're not serving as an appetizer to some hungry folks, don't sweat it; set them aside, and serve when everything else is ready.)