 Summer doesn't take its time in DC. Blink, and before you know it, it's dripping down your back, glowing on your face, sticking the jeans you shouldn't have worn today to the back of your legs. Yep, awesome. In prepping for Washington's summer-o-sweat, I've been reminding myself to breathe deeply and contemplating ways to limit stove and oven use. But you can only eat so many salads before the sheer sight of baby greens makes you scream. The solution? Make now, eat later, chill in-between.

In these early days of summer, when evenings are cool enough to mitigate the unyielding humidity, I make a big pot of soup, pack it into containers, and stick half in the fridge, half in the freezer. Then, on hot days, I can pop a bowl of chilled soup right out of the fridge and eat it immediately, for some much-needed respite from the sun without a painfully hot cooking process. Same goes for iced coffee, which I make at night and drink the next day at work. Needless to say, freezing half is a strategic move to set us up for July and August, when nary a flame shall burn in this unfortunately insulated apartment.

On the topic of summer treats, coffee ice cubes are a fantastic way to chill your latte without diluting it. If you need a recipe, yikes.
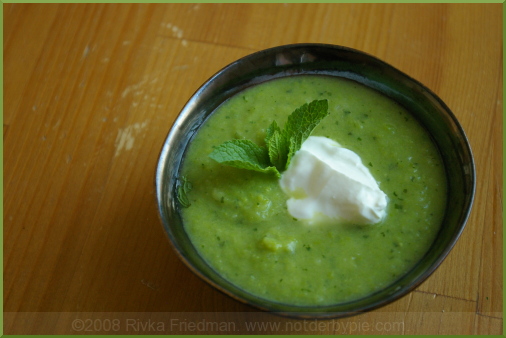
Here's a soup I've recently fallen in love with. It's been making its way around my neighborhood, and every cook has made her own changes. Shockingly, I'm no exception. I topped my bowl with a bit of lebne (or labaneh, a tangy cross between yogurt and sour cream) instead of creme fraiche, and garnished with mint instead of chives. I also adjusted the proportions a bit. Feel free to carry on the tradition, and change it to suit your preferences (or the contents of your fridge).
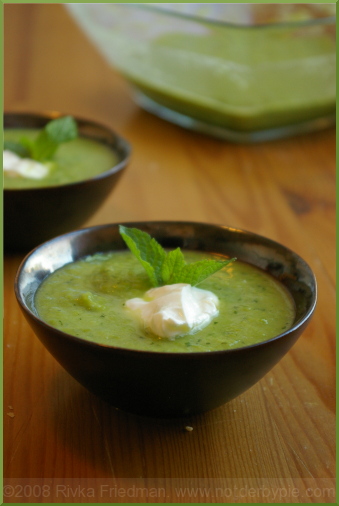
Chilled Leek and Pea Soup with Mint
- 3 leeks, white and light green parts only, chopped
- 1 yellow or white onion, chopped
- olive oil
- 16-oz. peas, fresh or frozen (not canned)
- 4 cups chicken or vegetable broth
- salt and pepper, to taste
- 1 cup fresh mint
- 1/8 Tbsp. nutmeg
- In a stock pot, heat olive oil over medium heat and saute nutmeg, leeks and onions with a bit of salt until translucent, about 4 minutes. The goal here is to let them develop some flavor without turning too brown or burning. Stir regularly.
- When leeks and onions have finished, add stock, and bring to a simmer. Then add peas, and cook, covered, for 10 minutes, until soft.
- Remove the soup from the heat, and add mint. Stir to combine. If you have an immersion blender, blend the soup til smooth. Alternatively, transfer soup to food processor in small batches to puree; if you overfill the processor, it'll spray hot soup all over you -- my personal version of hell, summer or not!
- After all the soup has been blended, transfer back into the pot, and chill. serve with a bit of creme fraiche, yogurt, sour cream, etc on top, and garnish with mint sprigs or chopped chives.