Oven-Dried Tomatoes

Hi friends! Long time no see. I'm taking some time to let marriage soak in, and that means less time to blog. While I'm away, my friend Jeremy Brosowsky is sharing his method for preserving the last of summer's bounty. And DC folks -- Jeremy has a fantastic new company called Compost Cab, the perfect solution for us urban folk who want to compost but don't have a garden. Check it out.

Gather ye rosebuds, my friends. And by rosebuds, I mean tomatoes. We'll likely get another head-fake day or two, when the warm air makes it feel like summer even though the quality of the light is glaringly fall. But make no mistake: summer's over. Last-gasp time, folks.

For the next week, maybe two, you're going to see sad, lonely crates of tomatoes looking out of place among the hardened bounty of early fall at your local farmers' market. No, they're not as good as their mid-summer cousins, the ones so vibrant you want to bite into them like they're apples. These fall tomatoes need to be coaxed out. But, oh, is it worth it.

For much of the past couple of weeks, I've been plowing through 100 pounds of tomatoes -- that's two bushels, if you're keeping score at home. Most got sauced. But some 25 lucky pounds got oven-dried. It's the apotheosis of the fall tomato. And it couldn't be much easier.

The ingredient list is mercifully short. Tomatoes. Olive oil. Salt.

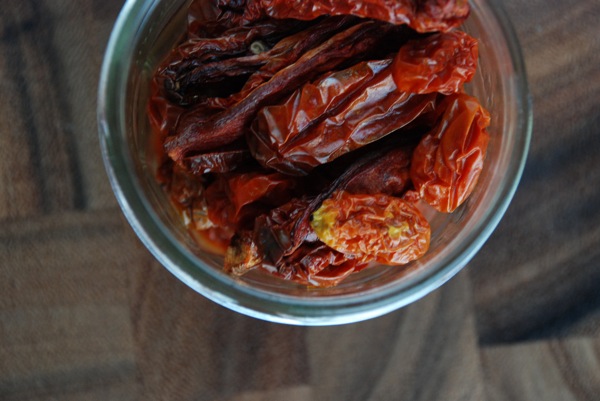
Tomatoes shrivel as they dry, so don't get caught up in looks -- seconds work just fine. You can use any kind of tomato you want -- it's a free country! But you're looking for sugar here, and plum tomatoes are the classic for a reason. When the February doldrums roll around and I'm aching for a taste of summer, I pop one of these suckers in my mouth, grin a stupid grin, and mumble something about how f**king happy I am that I made these oven-dried tomatoes way back before Halloween.

(I also make oven-dried grape tomatoes, which are awesome, too. Same process as below, but I leave them whole with a little burst of juice left inside.)

Most people use a baking sheet, but I've discovered that the tomatoes dry more quickly and uniformly when I cook them on a cooling rack. Another benefit of the rack is that you avoid any pooling of oil. I line a baking sheet with foil, place the rack on the sheet, and brush or spray the rack with oil.

I sort the plums by size to maximize the chance of each batch drying consistently. I wash and dry them. Then, working along the length of the tomato, I quarter the larger ones, and cut the smaller ones in half or thirds. Use your judgment. Place them on the rack as close together as possible without touching.

You're going to use precious little olive oil, just enough for an ultra-thin coating -- almost a sheen -- on the tomatoes. Because we use so little, and because the taste of the finished product is so straightforward and pure, I break out the good stuff from McEvoy Ranch (http://www.mcevoyranch.com/html/oil_vars.html). But whatever you have on hand will work fine. Use a brush.

I like kosher salt, but if all you have is table salt, that's cool. Either way, sprinkle evenly and judiciously.

Some people tell you to set your oven at the lowest possible setting, usually 170F or so. Others say you can go as high as 200F. I split the difference, set my oven to 185F, and don't worry about it. Put your tomatoes in the oven, and leave them be for six hours. At that point, start checking in on them. I aim for just on this side of leathery, which usually takes 10-12 hours. Remove them from the heat when they're what your looking for. And please, please, please don't forget about them -- it's just so sad when a batch morphs from candy-sweet to metallic-burnt because you fell asleep on the couch.

Once these little beauties cool, put them in a jar in the fridge and they'll keep for months. Little bites of summer. Love it. You will, too.
Pickled [Anything!]

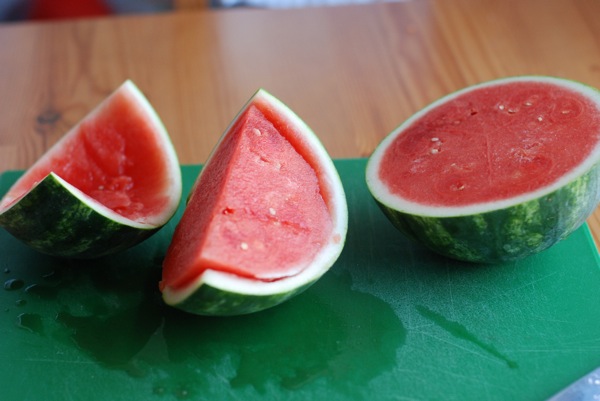
Yes, yes, yes. I love pickles. Pickle anything, and I'll eat it. Cucumbers. Tomatoes. Green beans. Grapes. Cherries. Watermelon rind. Cauliflower. Beets. Eggplant. Are you bored yet? I could keep going.

If you ask my fiancee how she feels about pickles, she'll tell you she's crazy for the sweet bread-and-butter variety, that she slaps 'em on every burger or dog she eats. She'll also tell you that I've gone mad, and that our house is turning into one big canning jar. Really. And you know what? She's kind of right. I have gone a bit nuts. We've got five quarts of pickles so far, and I'm not done yet. How could I be, when only cucs have been bottled? I've got three green tomatoes waiting to meet a similar fate, and two heads of cauliflower, some beets, and a bag of baby eggplants aren't far behind. Think this process too complicated or confusing? I'm here to set you straight.

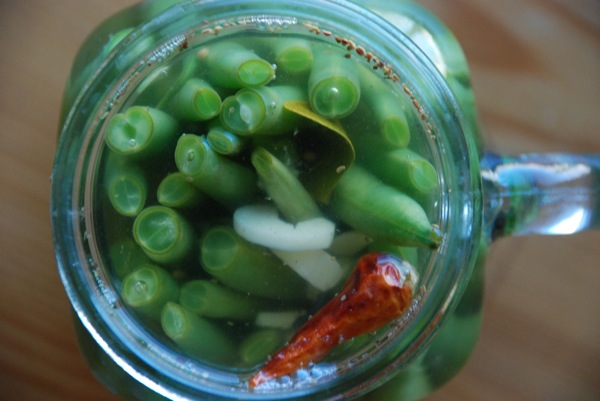
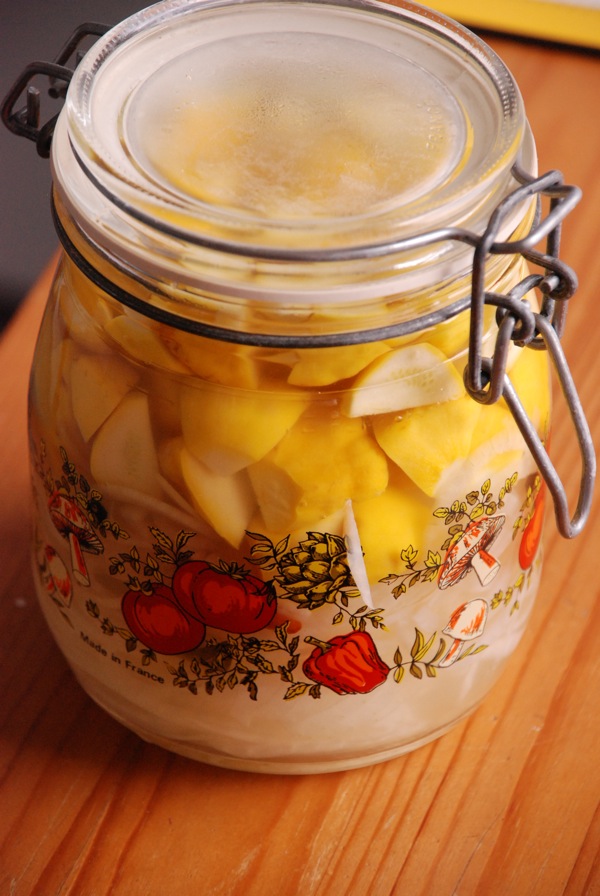
All the pickles I'm jarring this year -- all 8 (gulp!) quarts of them -- will use one of two brines. To my taste, these brines are perfect: not too vinegary, not too salty. The first is my basic brine, in which I pickle just about everything. It has plenty (but not too much) dill and a double dose of kick from raw garlic and chile. The other is a brine I've taken from the Zuni Cafe Cookbook, a favorite of mine. From a recipe called "Carol's Pickled Onions," this brine is slightly sweeter, with intriguing notes from bay leaves and black peppercorns. I use it for onions, of course, but also for zucchini -- both large zucchinis, which I slice into coins, and the smaller "pattypan" variety, which I simply quarter. The zucchini and onions together make a great addition to a first course of breads and spreads.

In each of these recipes, the ratio of vinegar to water to salt needs to stay as is, so the vegetables will pickle properly. That said, feel free to alter the spices and seasonings as you wish. If you like a sweet pickle, add a couple tablespoons of sugar to the basic brine, no problem.

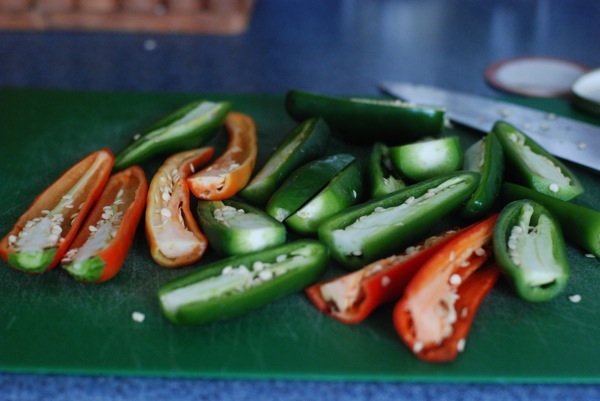
This year, I went bold -- I pickled some chilies in my basic brine. Haven't opened them yet, but they'd make a perfect accompaniment to vietnamese pho or any kind of kabob.

Basic Brine adapted from a recipe by Tara of Tea and Cookies

1 pound vegetables: green tomatoes, cucumbers, green beans, beets, and cauliflower are all great 2 quarts water 1 cup white vinegar 1/2 cup kosher salt 2 teaspoons celery seed 1 teaspoon dill weed or fresh dill 3 cloves minced garlic 2 small dried chilies 3-4 quart-size glass containers for pickling

Sterilize your jars, bands, and lids either by submerging them in water and bringing to a boil for 10 minutes, or by running through a full dishwasher cycle. Set sterilized jars, bands, and lids on clean towel while you prepare the brine and vegetables.

Combine water, vinegar, and salt in medium saucepan over medium-low heat, and allow salt to fully dissolve. Meanwhile, slice vegetables to desired size, and transfer to prepared jars. Distribute spices evenly among jars.

When brine comes to a boil and salt is no longer visible, turn off heat, and carefully and slowly pour brine over vegetables, leaving a 1/2-inch of "headspace" (space between the top of the liquid and the lip of the jar). Wipe rims of jars with damp towel or napkin, center lids on jars, and screw bands onto jars just until snug (not too tight).

If storing in the refrigerator, you're done -- just let the pickles develop flavor for a few days before eating them.

Instructions for processing jars for shelf storage:

In a large stockpot or canner, heat enough water to cover the jars by 1/2 an inch. When water is at a rolling boil, add jars and process for 10 minutes. Turn off heat, let water bath cool for about 5 minutes, and remove jars to countertop. Leave jars alone, and as they cool, their lids will pop into place. Wait 18 hours before checking to make sure the lids sealed; do this by removing the band and lifting the jar up by its lid. If the lid stays on the jar, the seal is strong. Pickles are shelf-stable and will keep for up to one year.

Carol's Onion Brine adapted from the Zuni Cafe Cookbook

headnote: This pickling recipe has not been tested for shelf stability, so I can these in small batches and store them in the refrigerator. While the jars take up valuable fridge space, they have the added benefit of not needing to be processed in a hot water bath like the pickles above.

12 ounces firm yellow onions, zucchini, or a mix 1 1/4 cups Champagne vinegar or white wine vinegar 1 1/4 cups water 2 tablespoons sugar 2 bay leaves 1-2 small dried chilies a few whole black peppercorns 2 teaspoons salt

Thoroughly clean 2 quart-sized jars or 1 larger jar.

Peel and slice onions into rings about 1/8 inch thick, discarding ends. If you have a mandoline, now's the time to use it. Discard any pieces that have discolored.

Combine vinegar, water, sugar, bay leaves, chilies, peppercorns, and salt in small saucepan. Bring to a simmer over medium-low heat, then turn heat up to medium and add onion rings and/or zucchini. Stir the crowded pan and let it return to a simmer. Simmer for just under 1 minute, then remove from heat.

Pour hot pickles and brine directly into jars (you may need a funnel for this). Cover and store in the refrigerator. Pickles will be ready in just about 24 hours, and get better as they sit. They'll keep in the brine for several months.

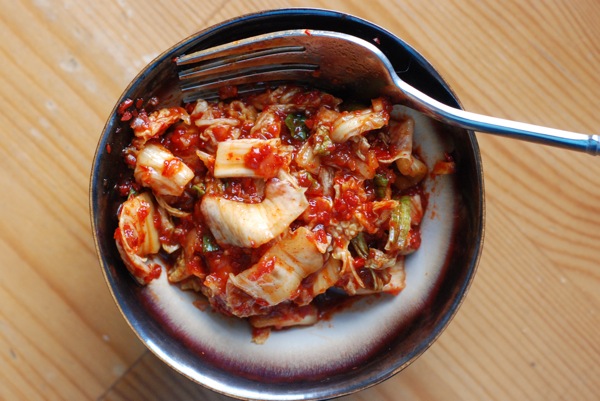
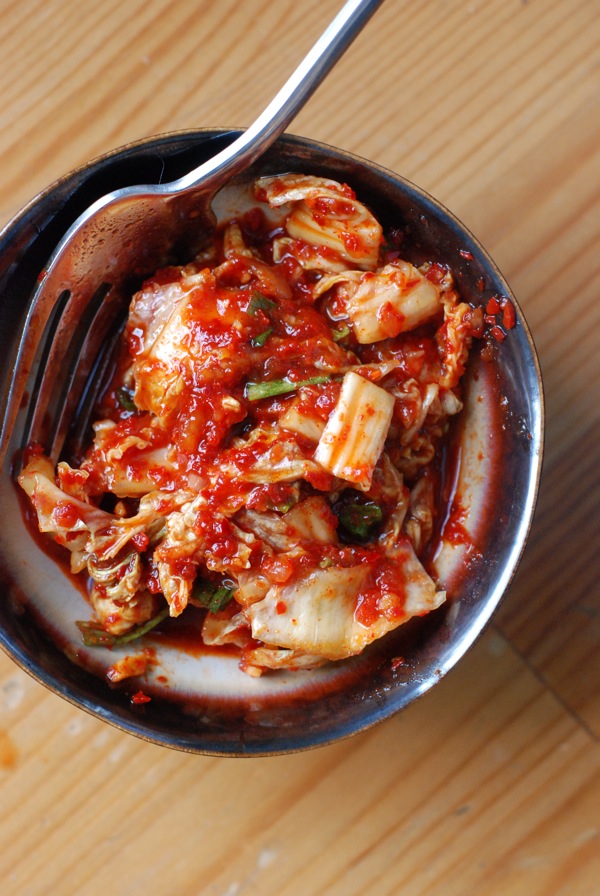
Kimchi

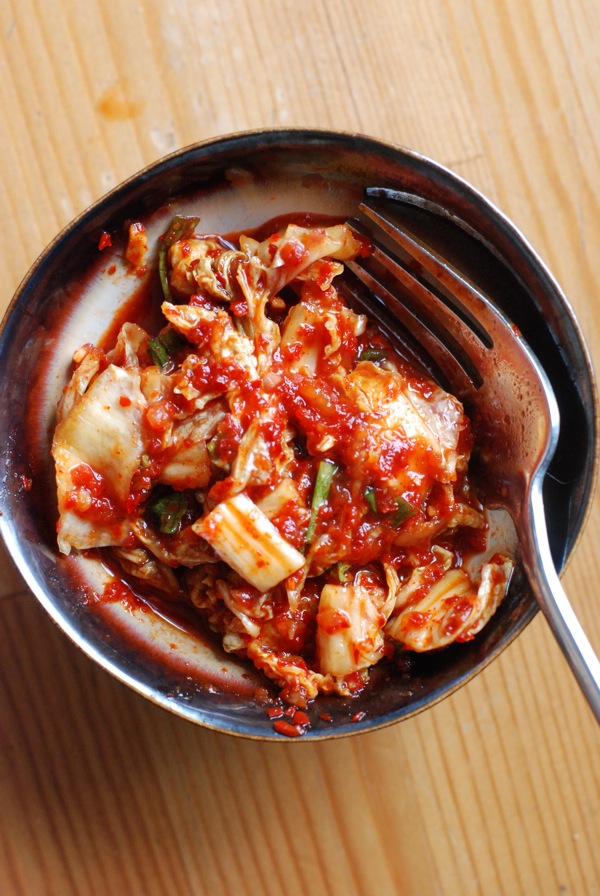
Sometimes, a post writes itself. As I was piling the big heap of pickled cabbage into my largest mason jar, I thought of all the times I'd pigged out on Kimchi in the past, all those times I'd been absolutely sure there was no way to make this stuff at home. I remembered the moment I'd received David Chang's Momofuku cookbook, how excited I was to discover that there was a recipe for kimchi -- a very easy, very doable recipe, involving no more than ten minutes of active prep time. I recalled how few recipes on this site are inspired by East Asia, how frustrated that's made me over the years, considering how prominently East Asian flavors figure into my home cooking and, to an even greater extent, my eating out. And I knew that as soon as work calmed down and Rosh Hashana had passed, I'd be telling you about this one-bowl dish that's quickly become a staple in my kitchen.

Like lacto-fermented pickles, the things that make kimchi so delicious are (mostly) environmental. Exposure to air and time turn the mixture of cabbage, chili, fish sauce, salt, and sugar into something much more intriguing than the individual components might suggest. Some of the kimchi I've had at restaurants has been overly pungent or funky, too sharply salty or sour, without proper balance. My favorite kimchi in the DC metro area, from the Annandale restaurant Ye Chon, is very good, but it sometimes lacks that hint of sweetness that balances the sour, salty, and spicy flavors and keeps your chopsticks coming back for more. Chang's kimchi gets that balance just right.

The most time-intensive part of this recipe is the shopping. If you don't already have fish sauce, you'll need to buy some. Don't be seduced by the tiny bottles they sell at Whole Foods; to make this properly, you'll need the stuff that comes in the big bottle (a bottle usually has between 3-6 cups worth). Yes, it's another thing to store in the fridge, and I get that that's a turn-off. And yes, I'm aware that fish sauce can smell like dirty socks. Have you already clicked away? No? I promise that kimchi reins in the funk of the fish sauce, and that the result will smell nothing like the locker room. My favorite fish sauce brands are Squid and Three Crabs, but anything you find at Hmart or an Asian grocer will be totally fine.

Another key ingredient is Korean chili powder, also called Kochukaru. I went to Hmart (the Asian grocery) in search of something by that name, and saw only pounds and pounds of "chili powder." Turns out, all the chili powder in the Korean aisle at Hmart is kochukaru. If you ask, the ladies behind the register will tell you it's what they use to make kimchi. You want the coarsely ground stuff. The last special ingredient is jarred salted shrimp, which I didn't use (I keep a kosher home, which means no shellfish). My kimchi was still delicious.

Other than that, we're talking basics. Cabbage, salt, sugar. Garlic and ginger. Soy sauce. Scallions and carrots round out the vegetables in this kimchi, and I've been known to dig to the bottom of the jar for some of those irresistible pickled scallion bits.

I've said before that my goal with this blog is convincing myself, along with you, that good food really isn't so hard to make. Yes, sometimes it requires ingredients that aren't exactly staples. Sometimes we end up needing to teach ourselves new tricks. But with one trip to the somewhat-obscure grocery store and a couple minutes of advance reading, something like kimchi -- which once seemed impossible to make at home -- can be in a mason jar, on your tabletop, in your mouth in practically no time. When good food is this simple, fear of cooking seems like a waste, doesn't it?

Kimchi Adapted from David Chang's Momofuku

1 small to medium head Napa cabbage, discolored or loose outer leaves discarded 2 tablespoons kosher or coarse sea salt (don't use table salt -- it's too harsh) 1/2 cup plus 2 tablespoons sugar 20 garlic cloves, minced 20 slices peeled fresh ginger, minced 1/2 cup kochukaru (Korean chile powder) 1/4 cup fish sauce 1/4 cup usukuchi (light soy sauce) 2 teaspoons jarred salted shrimp -- I didn't use this, and my kimchi came out great 1/2 cup 1-inch pieces scallions (greens and whites) 1/2 cup julienned carrots

Cut the cabbage lengthwise in half, then cut the halves crosswise into 1 inch wide pieces. Toss the cabbage with the salt and 2 tablespoons of the sugar in a bowl. Let sit for several hours or overnight in the refrigerator.

Combine the garlic, ginger, kochukaru, fish sauce, soy sauce, shrimp if using, and remaining 1/2 cup sugar in a large bowl. If it is very thick, add water 1/3 cup at a time until the brine is just thicker than a creamy salad dressing but no longer a sludge. Stir in the scallions and carrots.

Drain the cabbage and add it to the brine. Cover and refrigerate. After 24 hours, the kimchi will taste great. Don't eat it all right then and there, though -- it'll taste even better after a week of sitting, and at its prime 2 weeks out. It will still be good for another couple weeks after that, though it will grow stronger and funkier.

Preserved Lemons

I like sour things. I don't mean tart or citrusy or with a faint hint of brightness; everyone likes that. I mean sharply, brightly, eye-squintingly mouth-puckeringly sour. I've been known to suck on the end of a lemon wedge on occasion. I love lemon-based vinaigrettes. Basically, if something's a bit on the tart side, squeeze that lemon a couple more times, -- op, maybe once more -- give it one last little shake, yep just like that, and I'll take it, thankyouverymuch.

But lemons aren't the one-note that my sour obsession might suggest. They're among the more versatile ingredients in your fridge, actually. In fact, when the kind folks at Washingtonian asked me if I had any advice for new cooks, I suggested keeping fresh lemons on hand, because they very often end up being the finishing touch to whatever it is I'm making. You've got the juice, fruity and sour and just a bit sweet at times; then there's the zest, more mellow in tartness but fully present in aroma and flavor; and if that's not enough dimension, there are endless things you can do to lemons to radically change the flavors they bring to the table, such as grill them, braise them, candy them, or....preserve them.

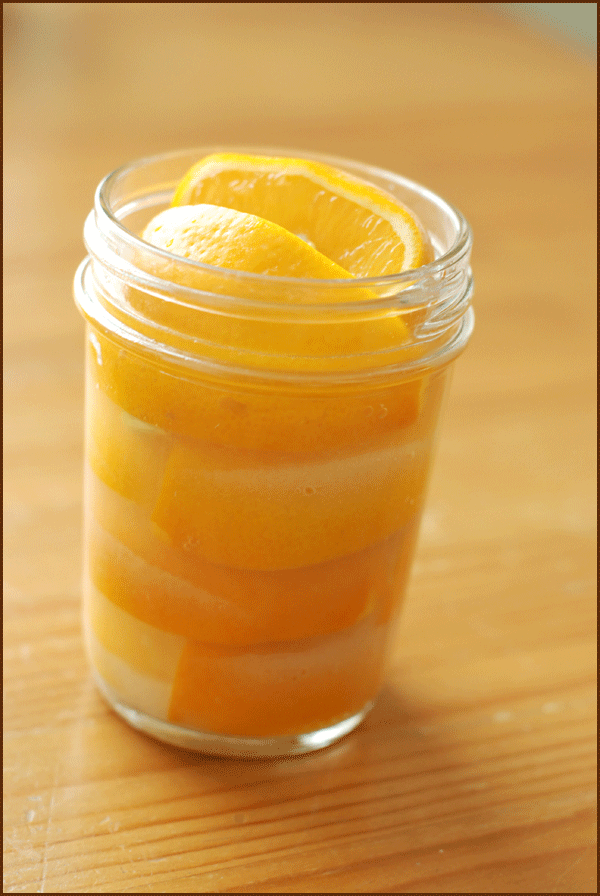
So what are preserved lemons, you ask? I'll tell you this: their name is quite deceiving. If you're thinking preserves, think again. This ain't no jam. It's not even sweet. It's completely and utterly savory, in the most wonderful sense. Instead of preserving lemons with sugar as in marmalade, here you're preserving them in salt. The lemons are either sliced, quartered, or packed whole into jars layered with plenty of salt and enough lemon juice to fill the jars, then allowed to sit about on the countertop for several days (or weeks) until the salt and lemon and time work together to do their magic. The result is at once vigorously tart and deeply aromatic. It hits sour and sweet and salty, yes salty, and then it opens up and hits you with floral, spicy notes. If fresh lemons are the finishing touch to many recipes, preserved lemons are the cornerstone to some truly spectacular food.

Did I mention that they're an absolute cinch to make? That's right folks. Have your cake and eat it, too.

Preserved Lemons

4 Meyer lemons, or regular lemons if Meyers aren't available 1/4 cup salt, more as needed extra freshly-squeezed lemon juice if needed 2 cloves or 1/8 teaspoon ground cloves 1 sterilized half-quart jar

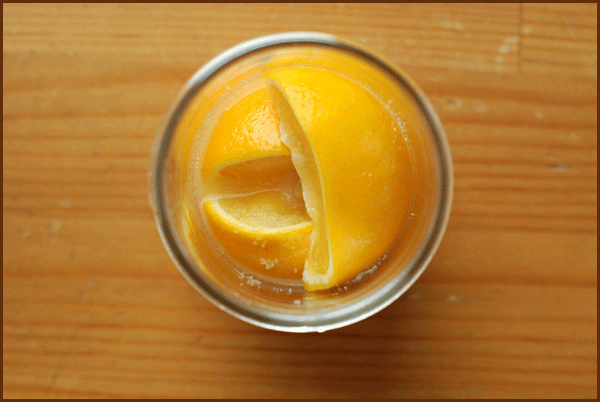
Clean lemons very well and blot dry. Slice lengthwise into quarters. Add a sprinkle of salt to the bottom of the jar, and pack 2 quarters tightly into jar, pressing so that quarters emit their juice a bit and most air bubbles rise to the top. Sprinkle salt overtop. Continue layering lemons and salt this way until jar is full. Add cloves. Add extra lemon juice if necessary to fill jar, and top with a final layer of salt. Seal jar, shake a couple of times to distribute salt and lemons, and then set on counter for a few days, up to a week. Shake and turn up and down once a day. After several days, transfer to the fridge for about 3 weeks, turning once a day. At the end of three weeks, peels will be sufficiently tender.

To use, rinse lemon quarter to remove salt. Remove pith if desired (not necessary) and use in Moroccan and Middle Eastern dishes.