Pickled [Anything!]

Yes, yes, yes. I love pickles. Pickle anything, and I'll eat it. Cucumbers. Tomatoes. Green beans. Grapes. Cherries. Watermelon rind. Cauliflower. Beets. Eggplant. Are you bored yet? I could keep going.
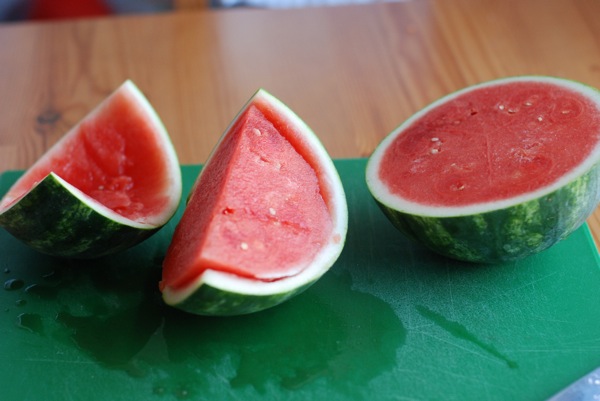
If you ask my fiancee how she feels about pickles, she'll tell you she's crazy for the sweet bread-and-butter variety, that she slaps 'em on every burger or dog she eats. She'll also tell you that I've gone mad, and that our house is turning into one big canning jar. Really. And you know what? She's kind of right. I have gone a bit nuts. We've got five quarts of pickles so far, and I'm not done yet. How could I be, when only cucs have been bottled? I've got three green tomatoes waiting to meet a similar fate, and two heads of cauliflower, some beets, and a bag of baby eggplants aren't far behind. Think this process too complicated or confusing? I'm here to set you straight.

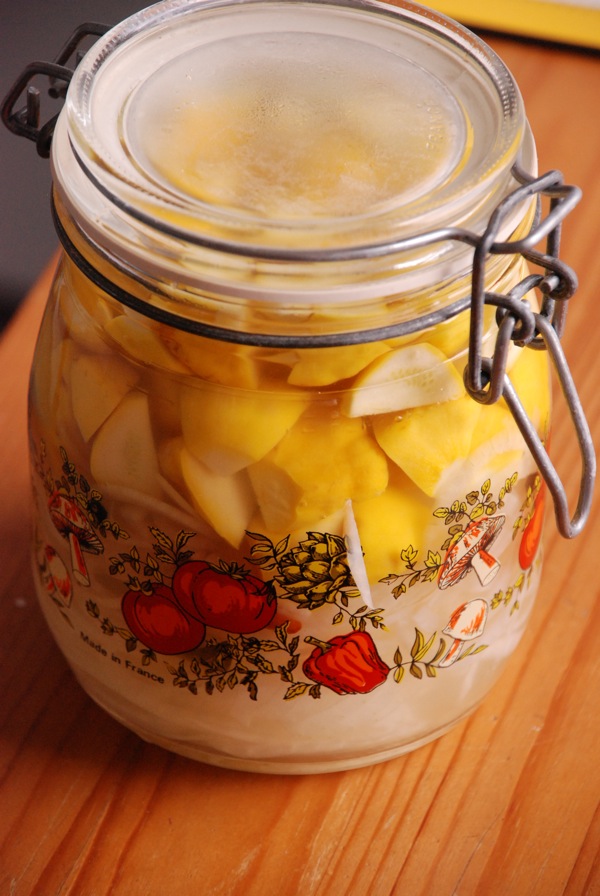
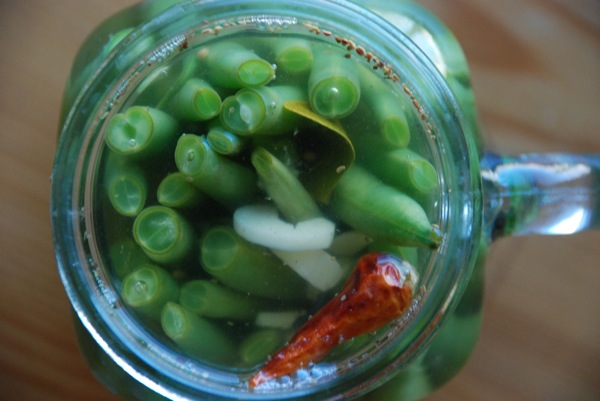
All the pickles I'm jarring this year -- all 8 (gulp!) quarts of them -- will use one of two brines. To my taste, these brines are perfect: not too vinegary, not too salty. The first is my basic brine, in which I pickle just about everything. It has plenty (but not too much) dill and a double dose of kick from raw garlic and chile. The other is a brine I've taken from the Zuni Cafe Cookbook, a favorite of mine. From a recipe called "Carol's Pickled Onions," this brine is slightly sweeter, with intriguing notes from bay leaves and black peppercorns. I use it for onions, of course, but also for zucchini -- both large zucchinis, which I slice into coins, and the smaller "pattypan" variety, which I simply quarter. The zucchini and onions together make a great addition to a first course of breads and spreads.

In each of these recipes, the ratio of vinegar to water to salt needs to stay as is, so the vegetables will pickle properly. That said, feel free to alter the spices and seasonings as you wish. If you like a sweet pickle, add a couple tablespoons of sugar to the basic brine, no problem.

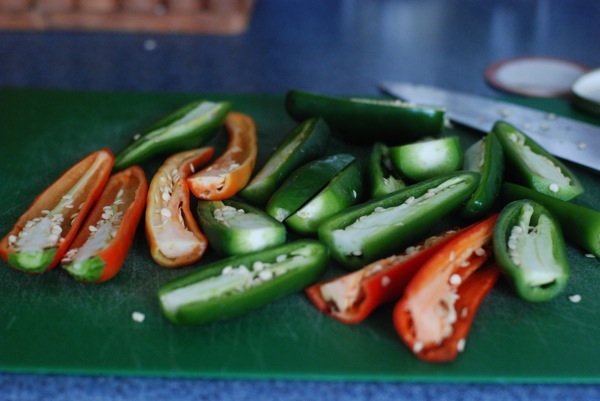
This year, I went bold -- I pickled some chilies in my basic brine. Haven't opened them yet, but they'd make a perfect accompaniment to vietnamese pho or any kind of kabob.

Basic Brine adapted from a recipe by Tara of Tea and Cookies

1 pound vegetables: green tomatoes, cucumbers, green beans, beets, and cauliflower are all great 2 quarts water 1 cup white vinegar 1/2 cup kosher salt 2 teaspoons celery seed 1 teaspoon dill weed or fresh dill 3 cloves minced garlic 2 small dried chilies 3-4 quart-size glass containers for pickling

Sterilize your jars, bands, and lids either by submerging them in water and bringing to a boil for 10 minutes, or by running through a full dishwasher cycle. Set sterilized jars, bands, and lids on clean towel while you prepare the brine and vegetables.

Combine water, vinegar, and salt in medium saucepan over medium-low heat, and allow salt to fully dissolve. Meanwhile, slice vegetables to desired size, and transfer to prepared jars. Distribute spices evenly among jars.

When brine comes to a boil and salt is no longer visible, turn off heat, and carefully and slowly pour brine over vegetables, leaving a 1/2-inch of "headspace" (space between the top of the liquid and the lip of the jar). Wipe rims of jars with damp towel or napkin, center lids on jars, and screw bands onto jars just until snug (not too tight).

If storing in the refrigerator, you're done -- just let the pickles develop flavor for a few days before eating them.

Instructions for processing jars for shelf storage:

In a large stockpot or canner, heat enough water to cover the jars by 1/2 an inch. When water is at a rolling boil, add jars and process for 10 minutes. Turn off heat, let water bath cool for about 5 minutes, and remove jars to countertop. Leave jars alone, and as they cool, their lids will pop into place. Wait 18 hours before checking to make sure the lids sealed; do this by removing the band and lifting the jar up by its lid. If the lid stays on the jar, the seal is strong. Pickles are shelf-stable and will keep for up to one year.

Carol's Onion Brine adapted from the Zuni Cafe Cookbook

headnote: This pickling recipe has not been tested for shelf stability, so I can these in small batches and store them in the refrigerator. While the jars take up valuable fridge space, they have the added benefit of not needing to be processed in a hot water bath like the pickles above.

12 ounces firm yellow onions, zucchini, or a mix 1 1/4 cups Champagne vinegar or white wine vinegar 1 1/4 cups water 2 tablespoons sugar 2 bay leaves 1-2 small dried chilies a few whole black peppercorns 2 teaspoons salt

Thoroughly clean 2 quart-sized jars or 1 larger jar.

Peel and slice onions into rings about 1/8 inch thick, discarding ends. If you have a mandoline, now's the time to use it. Discard any pieces that have discolored.

Combine vinegar, water, sugar, bay leaves, chilies, peppercorns, and salt in small saucepan. Bring to a simmer over medium-low heat, then turn heat up to medium and add onion rings and/or zucchini. Stir the crowded pan and let it return to a simmer. Simmer for just under 1 minute, then remove from heat.

Pour hot pickles and brine directly into jars (you may need a funnel for this). Cover and store in the refrigerator. Pickles will be ready in just about 24 hours, and get better as they sit. They'll keep in the brine for several months.

Soy-Glazed Baby Eggplant

First of all, can I just say? Your comments on my last post were awesome. I am so on board for knife-sharpening, pie crust, roast chicken, and everything in between. I simply can't wait to get started with our kitchen resolutions. Huzzah!

This past Sunday, bubbling with excitement about your responses, I went to the farmers' market, drumming up some crazy ideas for things to make. Sometimes, when I'm at the farmers' market, I try to channel Alice Waters. I think about what her trips to the market must be like -- lifting fruit close to her face, sniffing for freshness, really getting her nose in there to find that peach that's just bursting with sweetness, and deciding after her trip what's on the menu for that night, for the rest of the week. My trips aren't always as whimsical. Yes, I pick what's freshest and plan a meal around my purchases -- but I'd be lying if I said I hadn't made the same pearl couscous-mushroom-zucchini-goat cheese dish three weeks in a row. Once I hit a routine that works, I tend to stick with it for a while.

But then it became September. (Um, when? What? I'm getting married in under three weeks. Whoa.) Newly freed from the shackles of nights and weekends at the office, I suddenly realized that tomatoes! and peaches! and corn! are just shy of done for the year. Eek! Better get cookin'.

It's not all about peaches and tomatoes. There are other, less-used fruits and vegetables that I haven't eaten enough this summer. Faced with an imminent season change, I set out to the market last week determined to snag some more exotic summer produce. Among the haul: some beautiful baby eggplants.

I love cooking with eggplants. I'll broil them down to a pulp, scrape out the smoky, softened flesh, mix it with tahini or yogurt and some lemon, and serve with toasted pita. The whole mess is even better drizzled with a bit of pomegranate syrup. But when I get my hands on the baby eggplants -- the ones with the funky colors and the beautifully taut skins -- I prefer to keep them intact, the more to showcase their shape when serving.

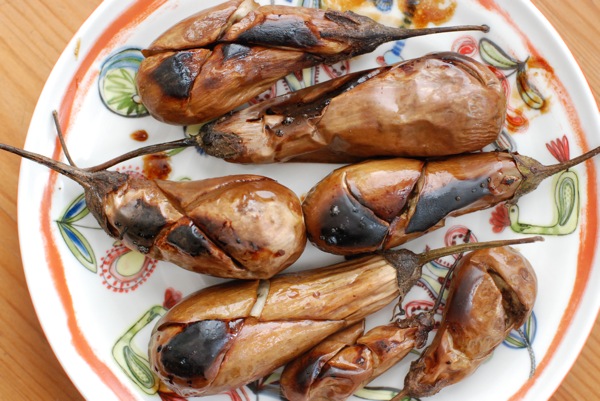
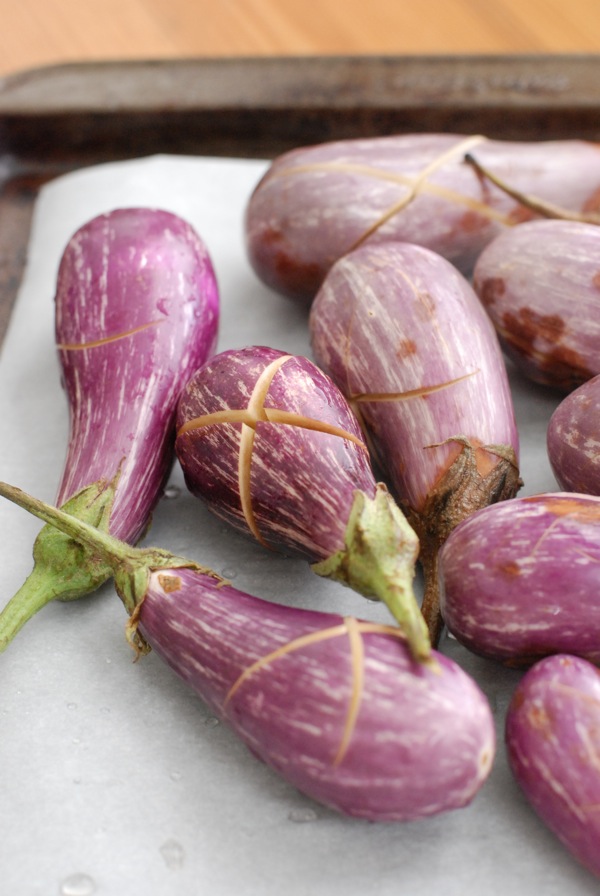
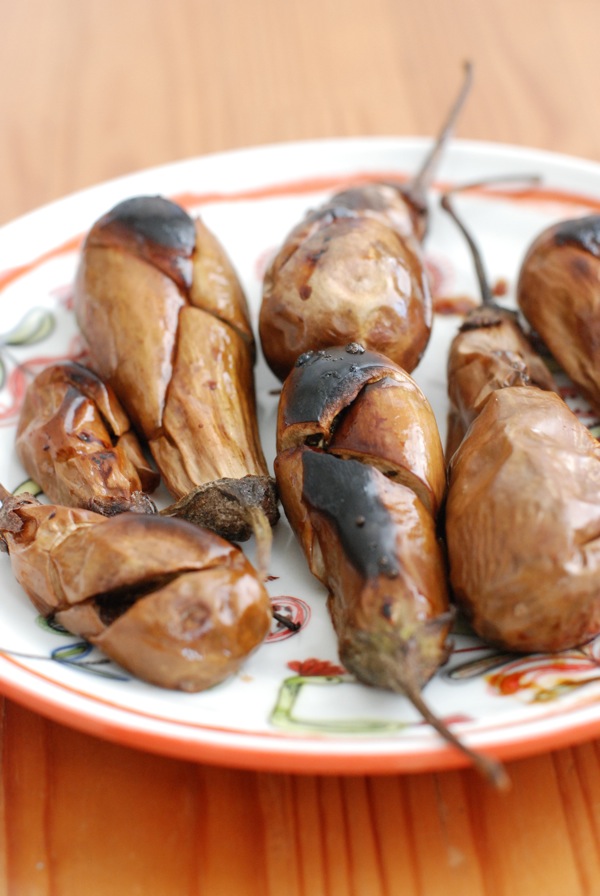
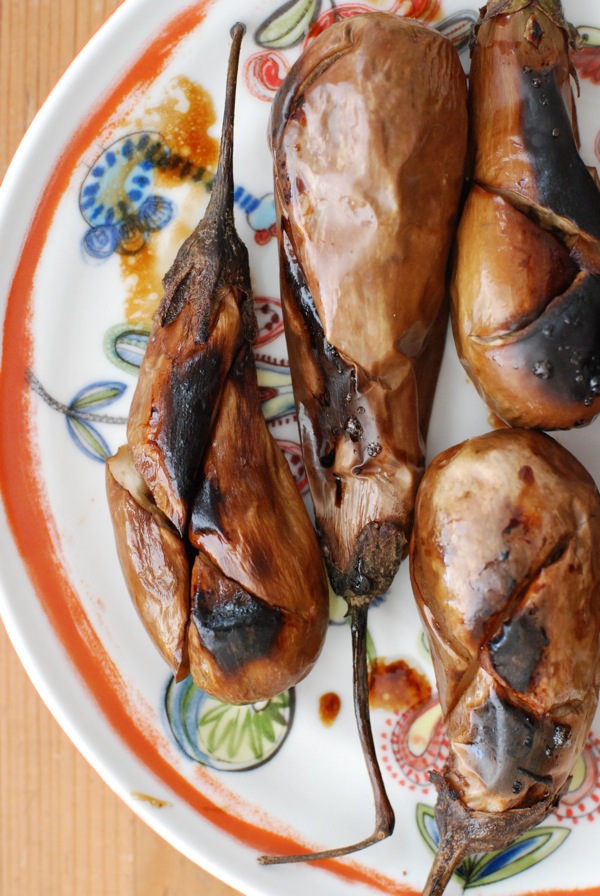
On a whim, I pulled out the nearly-depleted tub of butter, some soy sauce, and -- heck, why not? -- some honey. I cut an "x" in each of the eggplants, dotted the slit with plenty of butter, and painted on a soy-honey glaze. Then I broiled them for 15 or 20 minutes -- just long enough that their skins had charred and their flesh had really softened. Depending on the size of your baby eggplant, they'll soften in anywhere from 10-20 minutes. The result is soft, smoky, and sweet eggplant with no bitterness. You'll want to snatch them up by the stem and pop 'em in your mouth just like that.

And when, after making 20 of these eggplants, you end up with a measly 5 left to serve your guests, just don't say I didn't warn you.

Soy-Glazed Japanese Eggplant

20 Japanese (long skinny) or round baby eggplants 4 tablespoons butter 4 tablespoons soy sauce 8 tablespoons honey

Preheat broiler.

Rinse and dry eggplants. Set on a rimmed baking sheet lined with parchment paper.

Cut an "x"-shaped slit in each of the eggplants, about 3/4 the length of the eggplant and about half way deep into the eggplant. Dot each of the slits with plenty of butter. Really use your fingers to mash that butter into the slit. When it melts, it'll make the finished eggplants silky and tender.

Mix honey and soy sauce in small bowl until fully combined. Brush mixture onto eggplants, using all of glaze.

Broil eggplants for anywhere from 10-20 minutes, until skins are charred and flesh is fully soft. Check at 10, 15, and 20 minutes to make sure eggplants are fully cooked but not overly burned.

Serve hot or at room temperature.

Summer Squash Couscous with Sultanas, Pistachios, and Mint

My newest hero? The Internet Cooking Princess. Have you seen her blog? I hope you'll clicking over there and check it out. The retro look is lovely, the recipes are top-notch, and her voice is funny and fresh. Also: she made up this couscous salad recipe, and it has become my food of summer.

I took a first look at this recipe and thought, yep -- this is totally something I would make. Hook, line and sinker, I was sold. But examining the recipe more closely, I noticed all sorts of little touches that -- how do you say? -- I'd never have thought to do.

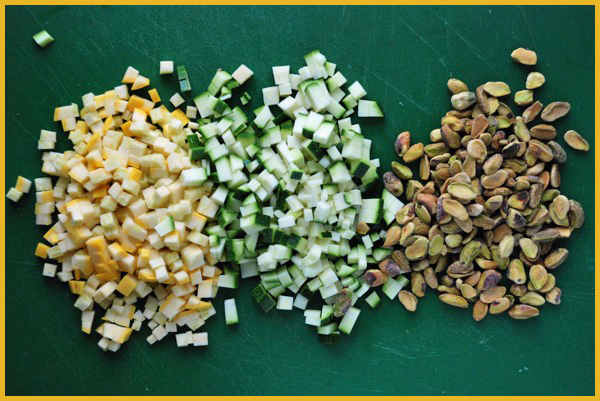
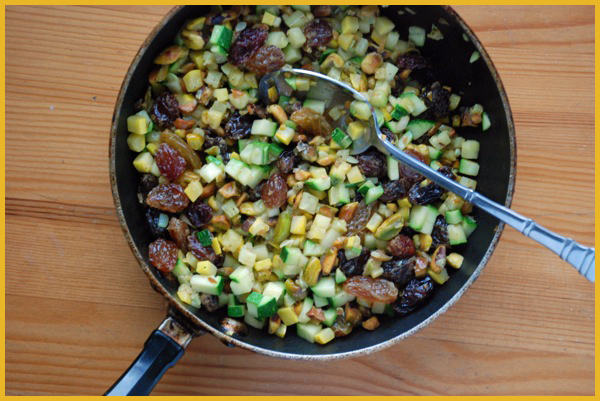
Example: it all starts with a brunoise, a summer squash chopped into pieces so tiny, so evenly tiny, you'll be hooked on their cuteness. Also, she has you cook some shallot, but just for a scant minute or two. I always brown shallots, or caramelize them, or hell, use them raw. I never just cook them for a hot minute. But it works; the shallot softens slightly, but retains its distinctive bite and stands up to the other ingredients in the salad.

And then there's that whole cooked-pistachios thing. I remember when Top Chef-Stephanie made a lamb dish with braised pistachios a few seasons back, and Tim Allen raved that he wished more people would serve him braised pistachios. I was as puzzled then as I was when I saw that ICP has you cook the pistachios. I always toast them until golden, adding them to a dish just before serving so they stay crunchy. Admittedly, I did toast them before following ICP's instructions, because I know I like that intensified pistachio flavor, but heating them through with the moist zucchini and raisins softens them both texturally and flavor-wise to nice effect.

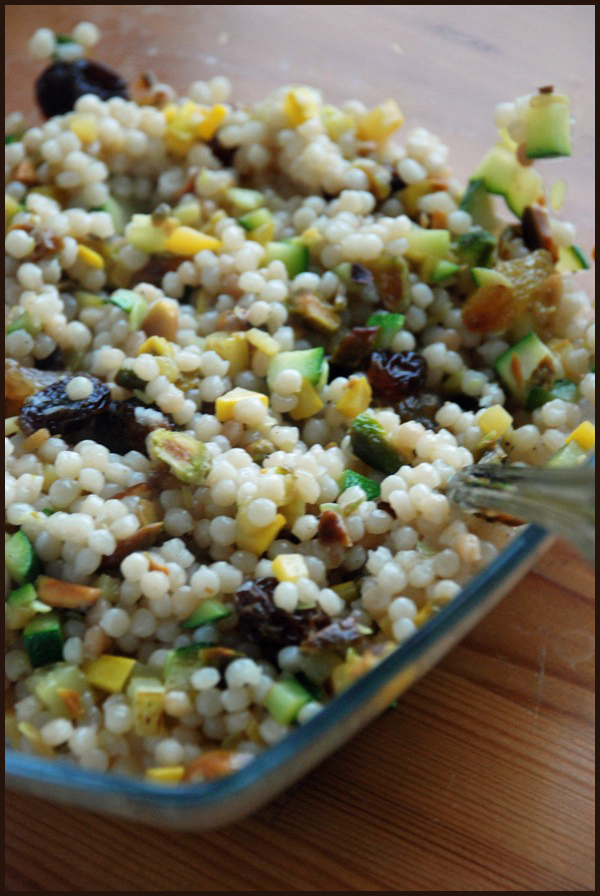
Lastly, and most memorably, Internet Cooking Princess understands the value of subtlety. She has you smash a couple of garlic cloves and let them infuse the dressing while you do everything else. The salad is balanced: sweet and savory, tangy and nutty, rich and fresh. It's just right; it's addictive. And considering I've made it once with regular couscous, once with Israeli pearl couscous, and hell, once with leftover spaghetti, I think I'm an expert on the subject.

Summer Squash Couscous with Sultanas, Pistachios, and Mint From the Internet Cooking Princess, via Food52 (but of course!)

1 tablespoon lemon zest Juice of one lemon 1/2 teaspoon honey Olive oil 3 garlic cloves, crushed 1 1/4 cup vegetable stock 1 cup couscous 1/2 cup diced yellow squash 1/2 cup diced zucchini 1 medium shallot, finely chopped 1/2 cup sultanas/golden raisins (I used a mix) 1/4 cup chopped pistachios Kosher salt 2 tablespoons chopped fresh mint Freshly ground black pepper

Preheat the oven to 350. Spread pistachios on rimmed baking sheet in a single layer. Toast about 10 minutes, until pistachios have turned golden. Set aside.

In a small bowl, whisk the lemon zest, lemon juice, honey, and 1/4 cup olive oil. Add garlic cloves and let them steep for about 30 minutes.

Next, bring stock to a boil in a medium saucepan. Stir in couscous, cover, and turn off heat; allow couscous to sit for 5 minutes, or until it absorbs all the liquid. Fluff the couscous with a fork so the grains don't start clumping together, pour into a large mixing bowl, and set aside.

In a skillet over medium high heat, add 2 tablespoons of olive oil. Add the chopped squash and zucchini, shallot, sultanas, pistachios and a pinch or two of salt. Only cook for about a minute or two -- you still want the squash and zucchini to be al dente. This just ensures they aren't too al dente, and all the flavors can marry before they hit the couscous. Set aside until everything reaches room temperature. (Admittedly, I wasn't so strict about this part, and added everything while it was warm. Such is the way with weekday lunch...)

Once the vegetables have reached room temperature, add them to the couscous and toss to combine. Remove and discard cloves of garlic from the dressing, and toss it with the couscous (add the dressing gradually, as you may not need it all; I used about half). Fold in the mint, season with additional salt and pepper if necessary and serve at room temperature.

Simple Sauteed Snow Peas

Readers, meet my new favorite side dish.

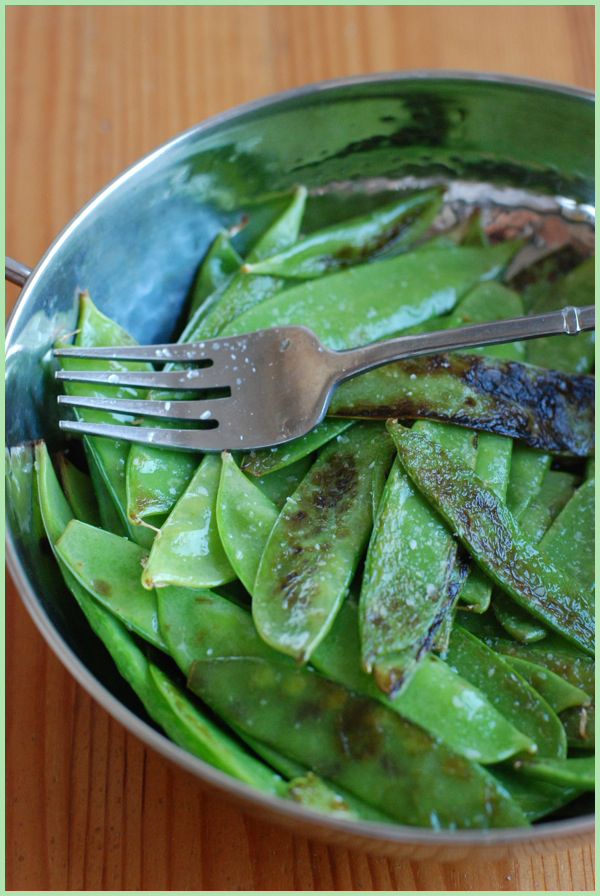
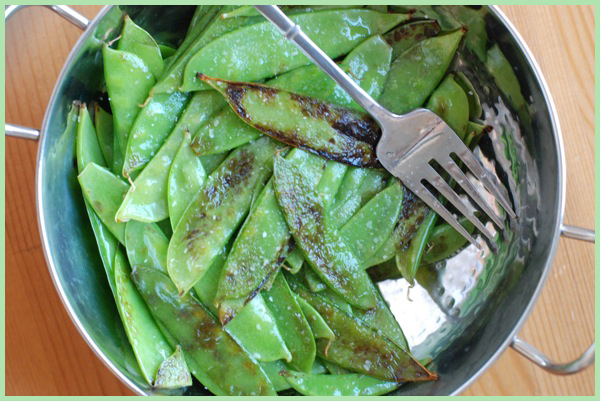
We spent the morning of our first full day in Santa Fe downtown, at a farmers' market adjacent to an artists' market (a lethal concoction as far as my wallet was concerned). At the tail end of our stroll through the farm stands, I caught a glimpse of an overall-clad gentelman manning a fry pan set over a camping stove. I headed over to see what he was cooking, and before I could see any of the wiry, bright green snowpeas bouncing around the frying pan, I hear the crackle-snap of their dip in the hot oil and knew the end result would be mighty tasty. I stuck around. Sure enough, after a few flips of the pan, the blistered snowpeas landed on top, giving their still-green comrades a turn over the heat. Once all the peas were glistening with oil and many were blackened in spots, the gentleman tossed a generous pinch of flaky salt over the vegetables, poured them onto a plate, and shouted for customers and neighboring farmers to get one while they're hot. I wasted no time popping one of the smoking-hot snowpeas into my mouth.

Their crunch was what caught me first: blackened where their bumpy surfaces had touched the scalding pan, much of the flesh managed to remain crisp, striking just the right balance of doneness. The snowpeas were vivid green, their juices gathering at the bottom of the plate and mixing with that lovely salt. I could've eaten the whole lot myself. Naturally, I bought a couple pounds of his bounty, determined to wow D's family with this surprising treat.

This isn't one of those stories that ends in failure. I'll spoil the punch-line right now: for an addictive appetizer or side, it just doesn't get more foolproof than this. You need only the most modest mis en place: a hot pan, a glug of oil, a couple pinches of salt, and the freshest, crispest snowpeas you can find. The dish practically makes itself. If you want to put them over the edge, squeeze some lemon over the peas just before serving.

If you're making these for a crowd and don't have a very large (15-inch) pan, make them in batches. You want these guys to really blister, and they won't if the pan is crowded. Let the snap-crackle of the peas be your guide: when the vegetables first hit the pan, they'll really sizzle (watch those forearms -- the oil will spatter). After a while, the sound will let up. If the next time you flip the peas, none have browned on the bottom, add a splash more oil: let the sizzling resume. I've made these twice, and each time, the peas have needed about four pan-flips, maybe a total of 7-8 minutes in the pan. Don't stress if yours seem done after 5 minutes or need a bit extra time -- they'll be done when they're done.

Last night, I served a dish of these snow peas as a side dish to complement seared tuna. But the first time I made them, I served them up right out of the frying pan, smoking hot, to a crowd of hungry bellies waiting on barbequed chicken. These were the perfect low-key appetizer, just the sort of thing you want to absentmindedly munch on while waiting for dinner to hit the table.

Simple Sauteed Snow Peas serves 6

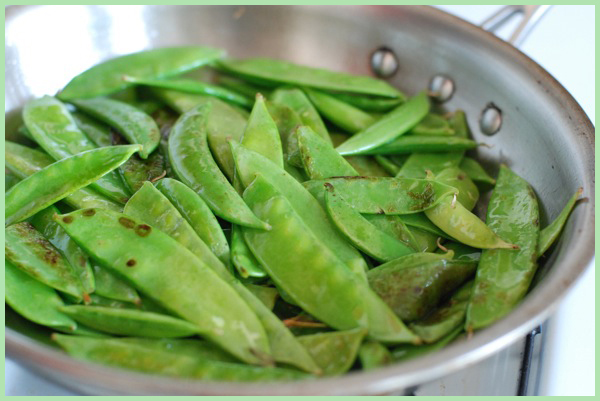
2 lbs. snow peas, as fresh and crunchy as you can find 'em, rinsed and thoroughly dried olive oil 2 pinches salt wedge of lemon

Heat 2-3 tablespoons olive oil on medium-high in a large stainless steel pan, not a nonstick one. When the oil shimmers on the surface, add 1/3 of the snow peas (careful! oil will splatter). Leave the pan alone for a minute or two, and the peas on the bottom will begin to blister. After about 2 minutes, give the pan a big toss. Blistered peas should rise to the top, and less cooked ones should descend to the bottom of the pan, close to the heat. Again, let the pan be for about 2 minutes. Toss again, to redistribute peas. If peas haven't blistered, add a tablespoon more olive oil to the pan.

After about 7-8 minutes, peas should be cooked through but still crispy, and some should have darkened or blistered spots. At this point, sprinkle a pinch of salt over the peas, and transfer to a serving bowl or platter. Repeat this process twice more, cooking 1/3 of total peas each time. After all peas have been cooked and transfered to serving dish, squeeze wedge of lemon over peas, use large wide spoon to distribute lemon juice, and serve immediately. (Peas will also be delicious at room temperature, so if you're not serving as an appetizer to some hungry folks, don't sweat it; set them aside, and serve when everything else is ready.)