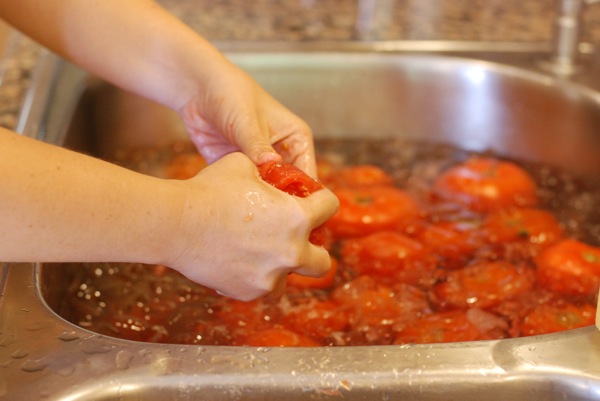
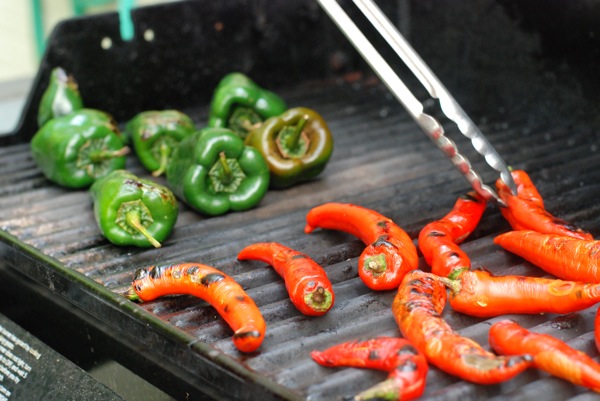
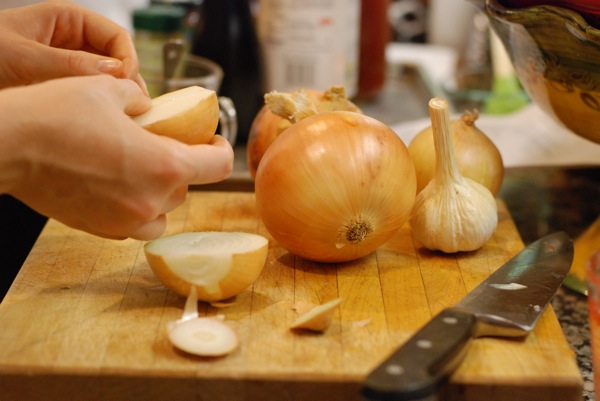
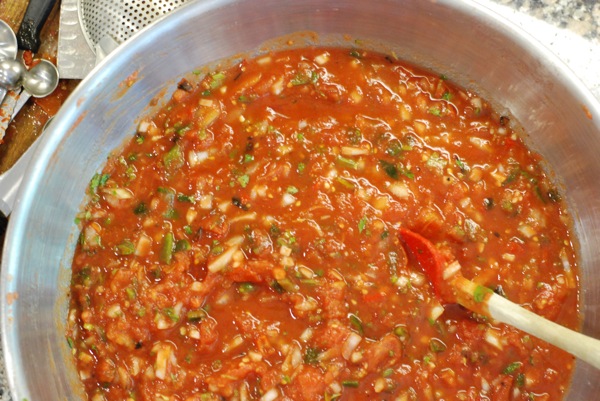
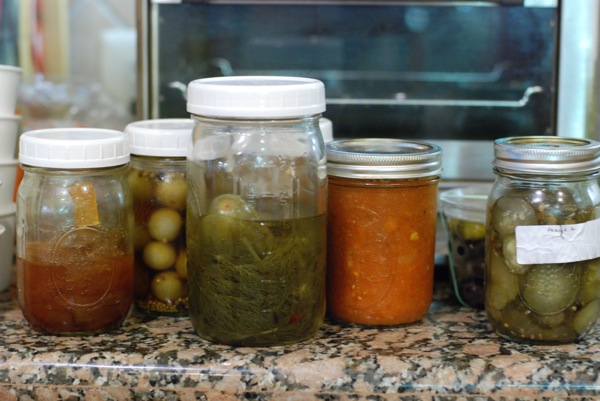
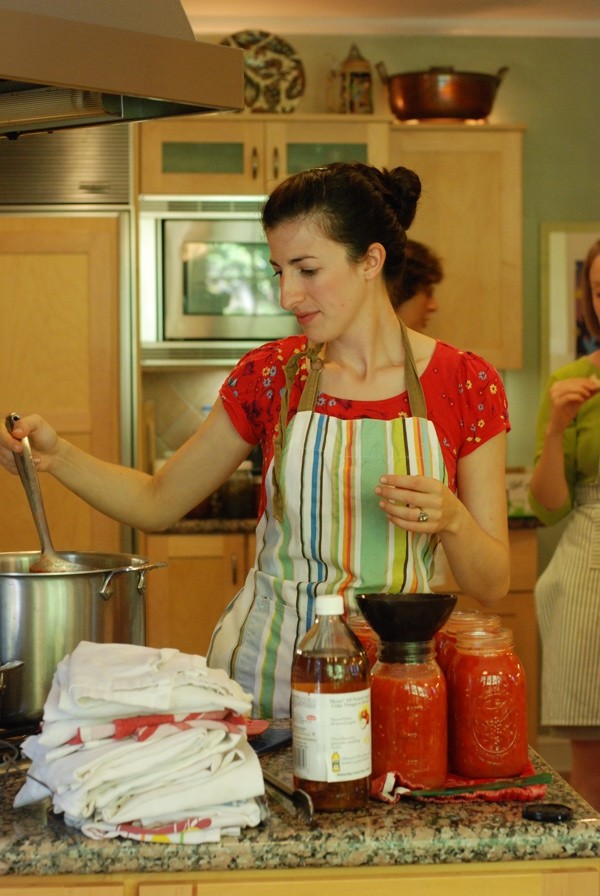
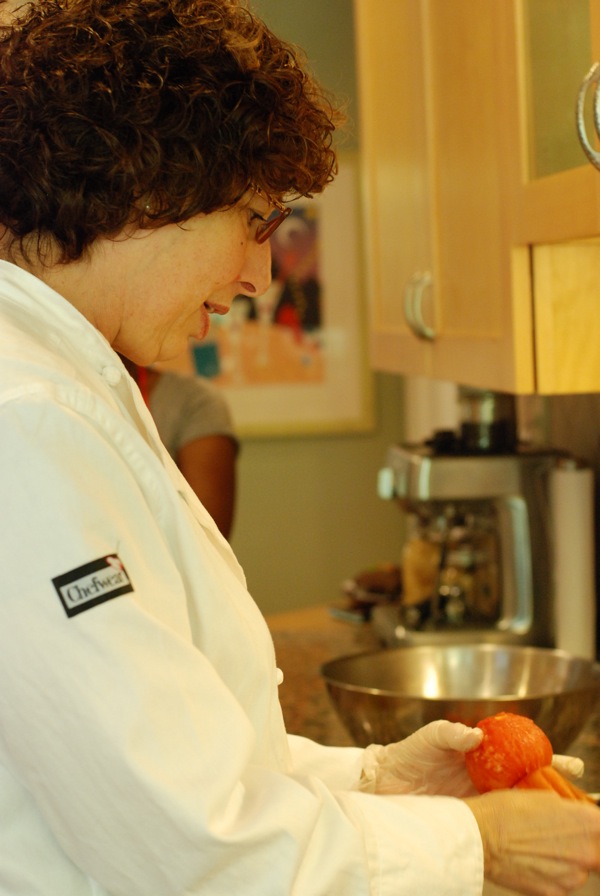
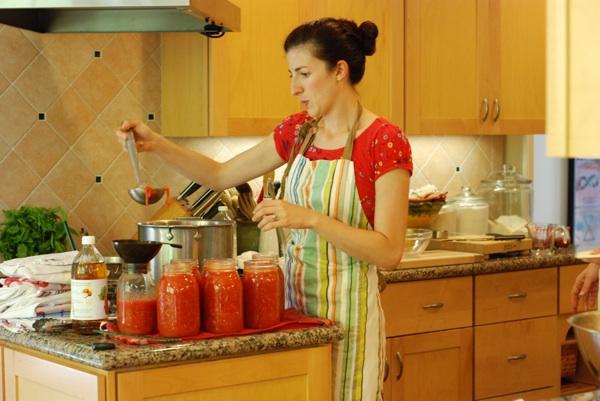
This past weekend, I an invigorating, inspiring Sunday in Mrs. Wheelbarrow's Kitchen. In five hours' time, we blanched, shocked, peeled, and squished tomatoes for canned crushed tomatoes. We roasted the heck out of tomatoes, carrots, garlic, and onion for roasted tomato-vegetable soup. We charred, peeled, and chopped peppers for roasted poblano salsa. We chatted all things food over salad greens, fig vinegar, pistachio oil, cheese and baguette, and brownies, all the while keeping a watchful eye on the pressure-canner. We dunked big jars of tomato mush into a boiling water bath, then listened to the music of "ping! pop!" as the lids snapped into place. We perused cookbooks and canning guides, gushed over Dorie Greenspan's lemon cream tart and Mrs. Wheelbarrow's own tamari almonds. We got giddy about dishes we love, laughed about Food52 cooks we stalk, and commiserated about recipes that had unexpectedly let us down. I left feeling a renewed sense of kitchen productivity, and -- more importantly for you, dear readers -- a renewed drive to share what I'd learned, share the things I've been thinking about.
It starts here, today.
I've always had a list of kitchen aspirations: dishes I'd like to learn to make, techniques I'd like to master, skills I'd like to acquire. For too long, that list has been relegated to the back bit of my brain. No longer. This is the year to learn those skills, conquer those fears, make those delicious things.
Today, I'm launching a new feature: Kitchen Resolutions. You'll see it on the left side bar. It's a short-but-growing list of things I'd like to accomplish this year. Yes, it's a bit random -- everything from "sharpen knives" to "confit a duck" and more -- but that's the idea. They're here, and they're public -- now I've gotta do'em.
I can't possibly be the only one out there with kitchen fears; it would be all kinds of awesome if you all chimed in. Surely, you must have some sort of culinary phobia. Have you always been afraid to use anchovies? Are you intimidated by roast chicken? Whatever it is, we can do it. Here's my deal with you. Leave a comment. Share that one thing (or two, or three) that's got you stumped. I'll pick some of the entries over the next few months, and I'll post step-by-step tutorials, with pictures and everything.
If you don't, I'll go at it alone. But wouldn't it be so much fun to have company?
Meanwhile, I'm going to start crossing things off my own list. For starters, kimchi: check. And pressure canning? That's a check-plus, as of Sunday.
Cathy, aka Mrs. Wheelbarrow, is the canning expert in these parts. She offered all sorts of helpful tips on how to can properly and safely. First and foremost: when canning, follow the recipe. Canning isn't friendly to improvisation. Think the jam is too sweet? Want to cut the sugar? Don't. The ratio of fruit to sugar is an important element of successfully canning jam, and if you alter that ratio, your fruit may not preserve properly and could spoil on the shelf. Also important: ensuring sufficient acidity. Acid keeps food from spoiling, so don't skimp on that lemon juice. In fact, as we were finishing up our crushed tomatoes, Cathy explained that for canning (and only for canning), she uses bottled lemon juice. The flavor pales in comparison to that of freshly-squeezed lemons, but the acidity is consistent in the bottled stuff, whereas with lemons, you never know how acidic they'll be. Consistency is the key to success in canning.
There are two ways to can at home: a hot water bath and a pressure canner. More acidic things require only a hot water bath, which heats to 212º, or boiling. Products with lower acidity (our tomato-roasted vegetable soup, for example) must be processed using a pressure canner, which heats up to 241º, the temperature at which botulism dies.
Once cans have been filled, covered, and processed, you should leave them undisturbed. As the liquid inside the jars cools, the lids will be sucked downward onto the jar, and they'll pop into place. When the popping starts, you know the jars have sealed. After leaving jars for 24 hours, you test each to ensure that it has sealed properly. How to do this? Simple. Remove the band (that's the thing you screw onto the jar to hold the lid in place) and lift the jar by its lid (not too high off the table, in case the seal isn't strong and the jar drops). If the jar lifts, the seal is strong enough, and the jars are ready for storage. All home-canned food should be eaten within one year of processing.
There's so much more to tell, but that's for another time. For now, I hope you enjoy the pictures of our Sunday canning adventure, and that you start thinking about that one kitchen fear you've always wanted to conquer. Bring on the comments!
